Viewing entries in
Deep South

1 Comment

Camera Basics: White Balance

Are you having trouble with your pictures coming out too blue? Too orange? Too purple? Okay, so let's hope not purple. Odds are you're not setting your white balance correctly.  But don't worry, we're going to get that all straightened out, and you'll have beautiful, regular colored pictures in no time. There is a lot of scientific, intense information on White Balance (WB), and I'm sure if you google it you can get really in depth.  However, we're just focusing on the basics and easy terms here.  Essentially, there are many different types, shades, and temperatures of light, and our eyes are very good at perceiving them, but our cameras are not.  White Balance is the process of removing unrealistic colors from your photos, so that the objects that appear "white" or even in color to your eye, also appear so in your photographs.  As always, it's easier to explain with examples.

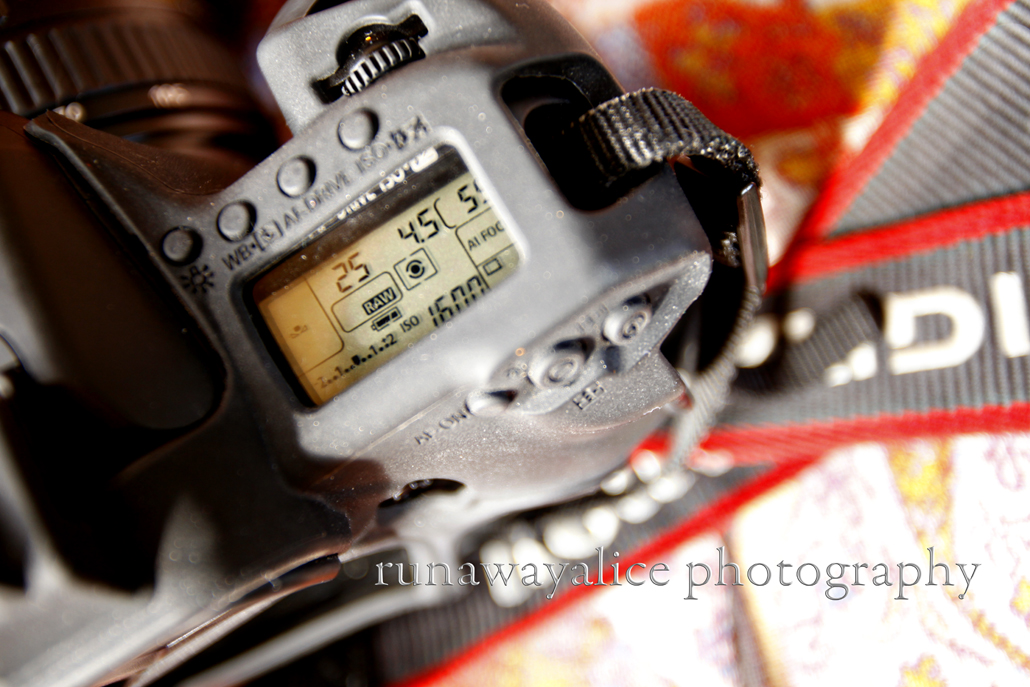
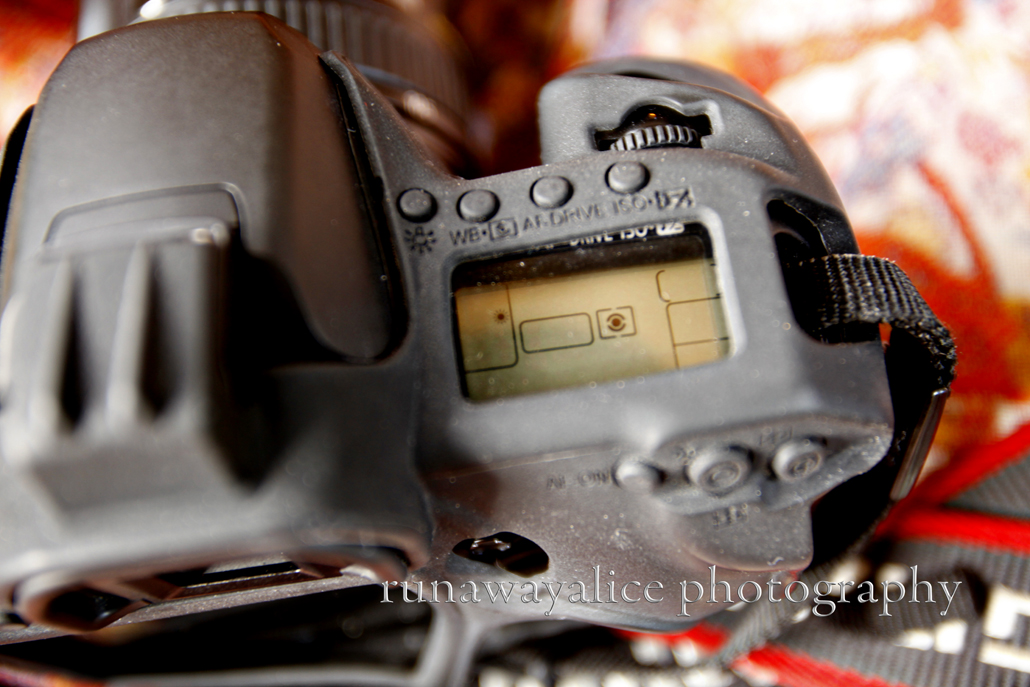
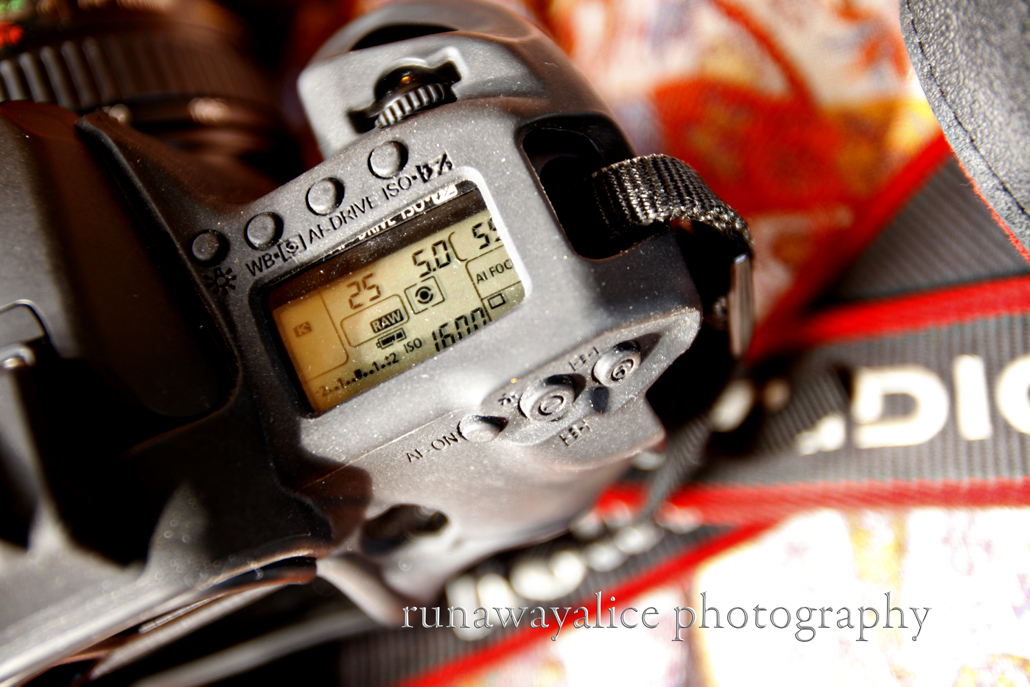
We are going to be focusing on this section of your display screen, so ignore all the other settings for right now.  If you need to, put the rest of your settings on Automatic, just this once, so you can focus on what we're talking about.  You can access your different White Balance settings by pushing the WB above your top display screen, and then using your large wheel to move in between the settings.  So here we have it set on AWB, that's Automatic White Balance, and is probably what most of you have had it set on until now.  AWB is good, but it is just the camera making an estimated guess at what the best white balance would be for what's going on in the photograph.  You're going to run into trouble with it if you have multiple light sources, or low light.

Here is an example of AWB.  Pretty good on average.  It's a little too cool at times for my taste.
Next up is your sunlight setting.  It's that happy little sun icon.  Obviously you want to use this when it's sunny outside, or you're near a window where you are getting primarily sun coming in.
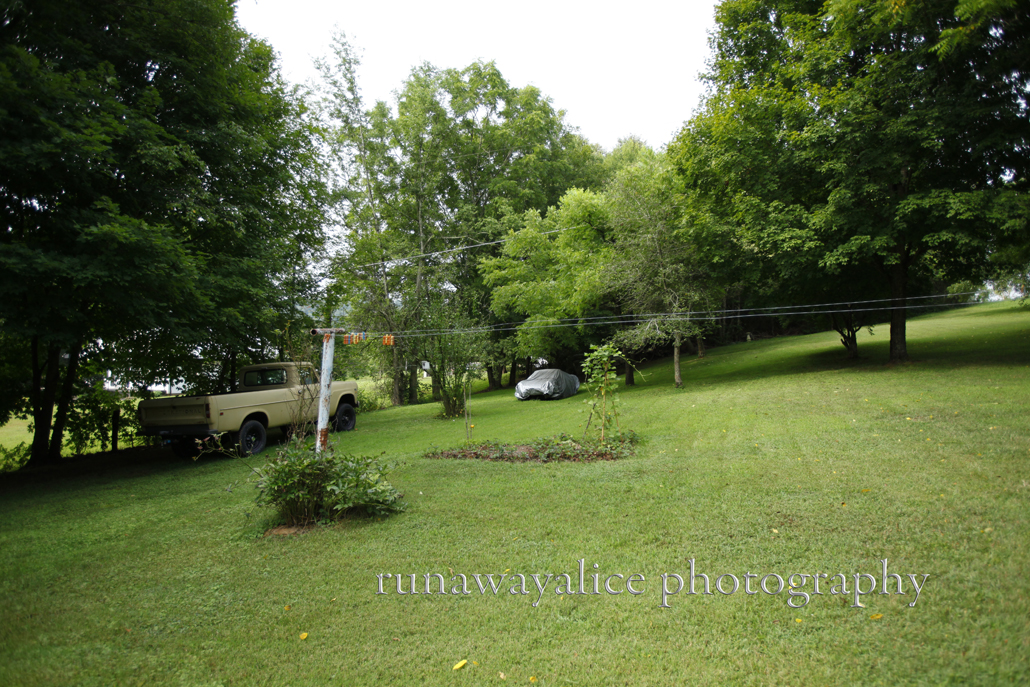
I think this looks a little better than the AWB setting.  It's a little more vibrant.

The icon of a house casting shade, is your shade setting.
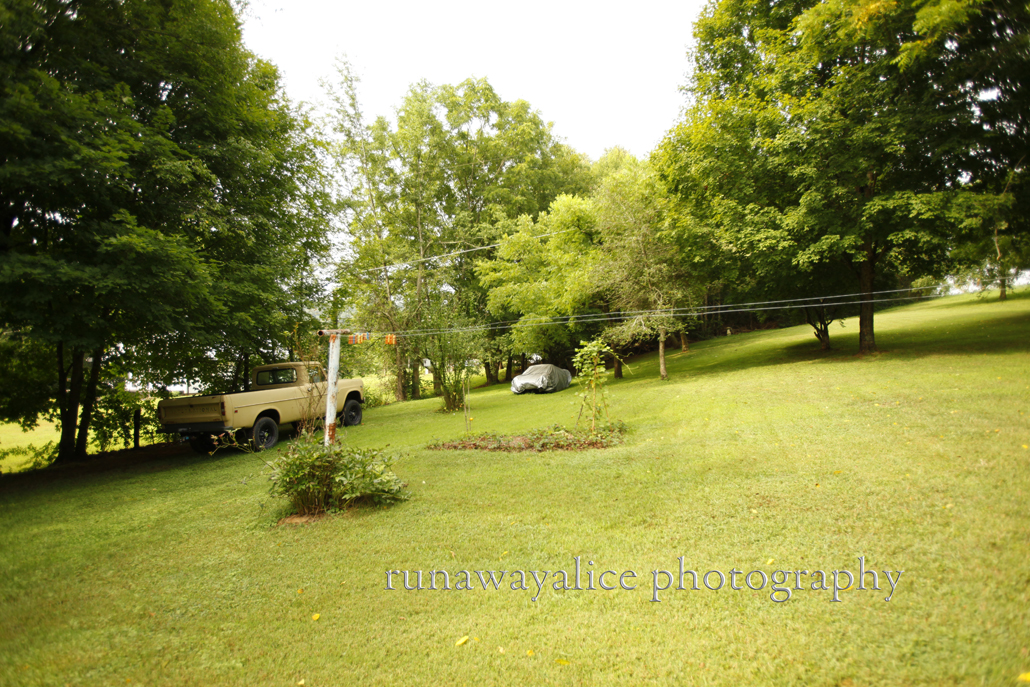
Obviously, you would want to use your shade setting actually in the shade and not in the middle of your back yard like I am.  But I primarily want to show you the difference in the tones.  Your shade setting is going to add back in some of the golden you would lose, if you were just on a sunlight or AWB setting because it is compensating for some of the lack of direct light.

The cloud of doom!! Cloudy setting folks.

Still adding in some golden tones, but not as intense as the shade setting.

Light bulb!  That one is pretty self explanatory.  You want to use this indoors when you have Tungsten light.

Again, this is just an example of how it would look on the wrong light source, it would look just normal if I was inside.

That icon is suppose to look like a fluorescent bulb.  You know the old ones in your elementary classrooms  that would sometimes go out and half the class would be left in darkness?  Yeah, those.  It's confusing to us young folks who now have fluorescent bulbs that look like regular light bulbs.  But if you take a picture outside with your camera on fluorescent, it will look like this:

Not pretty.

Flash!  That's right, you would need to use this setting when you have your flash on.
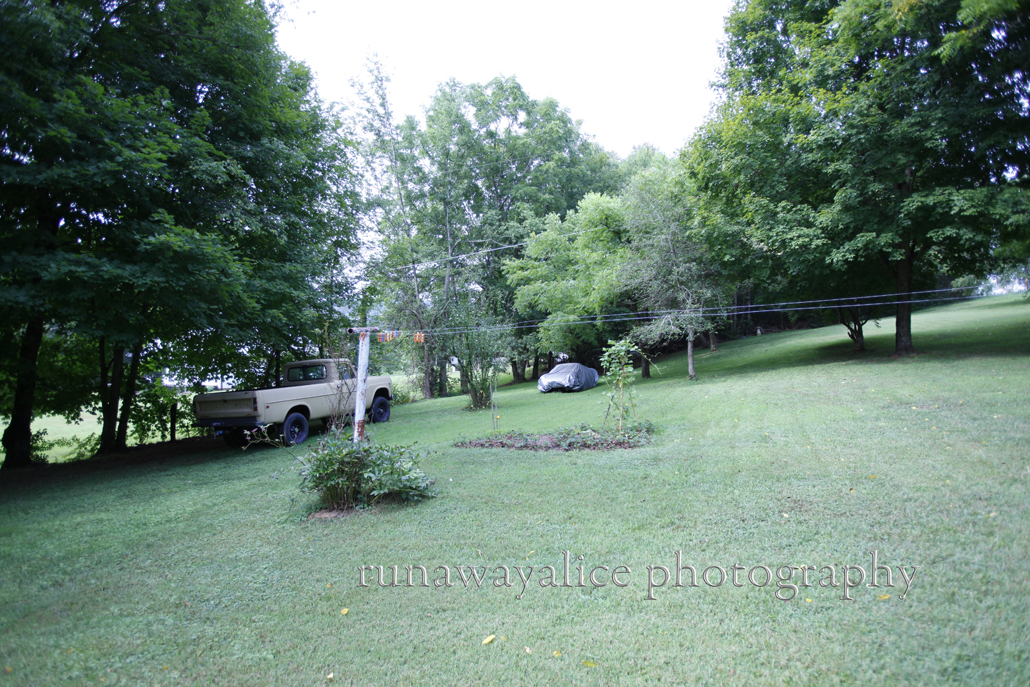
When you don't it looks kinda blue.

This little guy is suppose to look like a gray card, I think.  Anywho, this is your custom white balance setting.  If you have a gray card you can custom set how you would like the white balance to be.
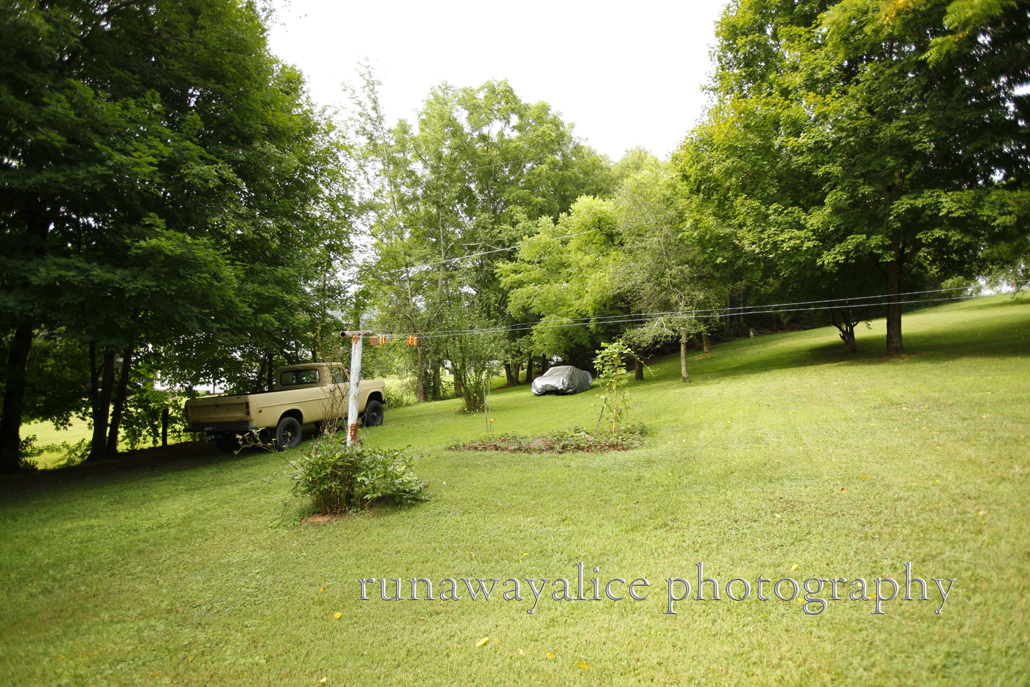
Mine is not custom set at this time, so it just kinda looks normal.
K is for Kelvin.  Kelvin is literally what is used to measure the temperature of a light source.  Kind of confusing, but think of a burning fire.  Lower levels of heat are orange and yellow and red, at higher levels it is blue and white.  Thus the different "temperatures" of light.  This setting allows you to set the color temperature over a broad range.

Now we're going to look at examples of using white balance correctly and incorrectly:

So here, I am in the shade shooting on my sunlight or daylight setting and it's a little blue.

Correctly, with the shade setting on.  Brings back some of the golden colors.

Disturbing photo of Ms. Brisco.  She wasn't too happy about being woken up to have her picture taken.  But this is on the Tungsten (light bulb) setting, and you can see the colors are even.

With the sunlight setting, you can see it's way too orange, and she's done with letting me take her picture.

Finding a more willing subject, here is another example of with the sunlight setting indoors with a tungsten lamp, and then the correct setting.

So there you go!  You're on your way to getting great looking pictures.  A few parting words before you go.  If you have lots of different light sources, say you are inside, with a lamp but there's a big window beside your subject with natural light coming through, what should you do?  You want to do what you can to make one light source the dominant source.  So either choose a setting to shoot on, and edit later if you have editing software, or close the shades, so the Tungsten is your dominant, or turn off the lamp.  You could also use a flash to try and blast out the other options.  But just try and think of which setting is going to give you the most even colors.

Also, color as always, is subject to opinion and taste.  In other words, if you like a photo but it's on the wrong setting, no biggie!  This is a creative art, and it's always fun to experiment.  I like most of my nature shots as realistic as I can get color wise, but for people I like to have a little warmer tone.  It's all about preference, so have fun!

1 Comment

Comment

Dish-o-the-Week: Cowboy Calzone's

That's right the dish-o-the-week is indeed another PW recipe.  The calzone's were absolutely scrumptious, and filling.  We'll be eating on them for awhile, but I did have some issues with making them.  Mostly the issues arose from my own inexperience, but some of them were due to unclear directions in the recipe.  I know what you're thinking, I just said I had issues with the Pioneer Woman.  It's just a minor detail, don't worry ladies and gents, my love for the P-Dub is still true, although as Speed Racer said, "The honeymoon may be over..." So the first part of making a calzone is making the dough for the yummy yummy outside.  Usually this is made of pizza dough, and the same is true for the Pioneer Woman recipe.  She uses a pizza dough recipe from her book.  So first things first:

Get your yeast ready!  I had surprisingly, never made a dough with yeast before.  So this was a new experience.

Next up, some flour and salt, with a little olive oil...

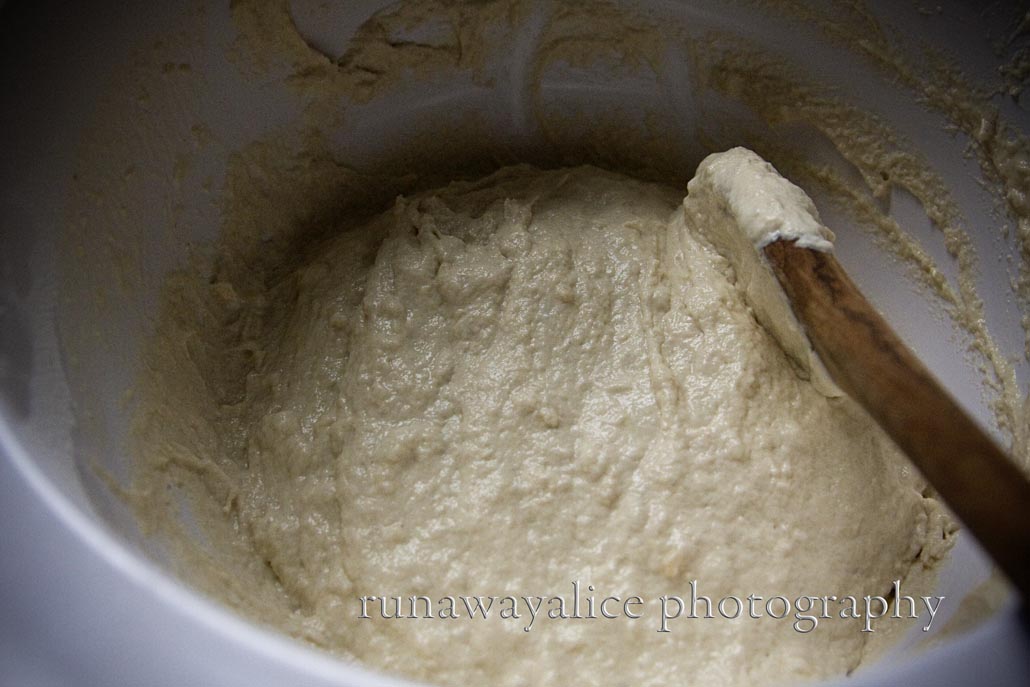
So then you mix it all together.  This is where I started to run into some problems.  Problem numero uno: I do not have a stand mixer so this all had to be done by hand.  Nothing wrong with that, sometimes it's fun doing it the old fashion way.  Problem numero dos: in the recipe it says "You can also mix by hand until the dough comes together."  I've never made pizza dough before, so I feel like most of this is my lack of knowledge.  But what is together enough?  Just till it's gooey? More than gooey? Do I need more flour?  I should have went with my gut and added more flour but I didn't.  So, as I read another recipe later, after this was all said and done, I saw an entry that said you should knead the dough for 10-15 minutes.  So..yeah.

Here is my un-kneaded dough, tossed in olive oil.

After that I put a moist towel over it, and put it in a warm place where it would not be disturbed, ie my ginormous microwave.

Two hours later, after my dough had risen, it had risen indeed! I began on the filling.

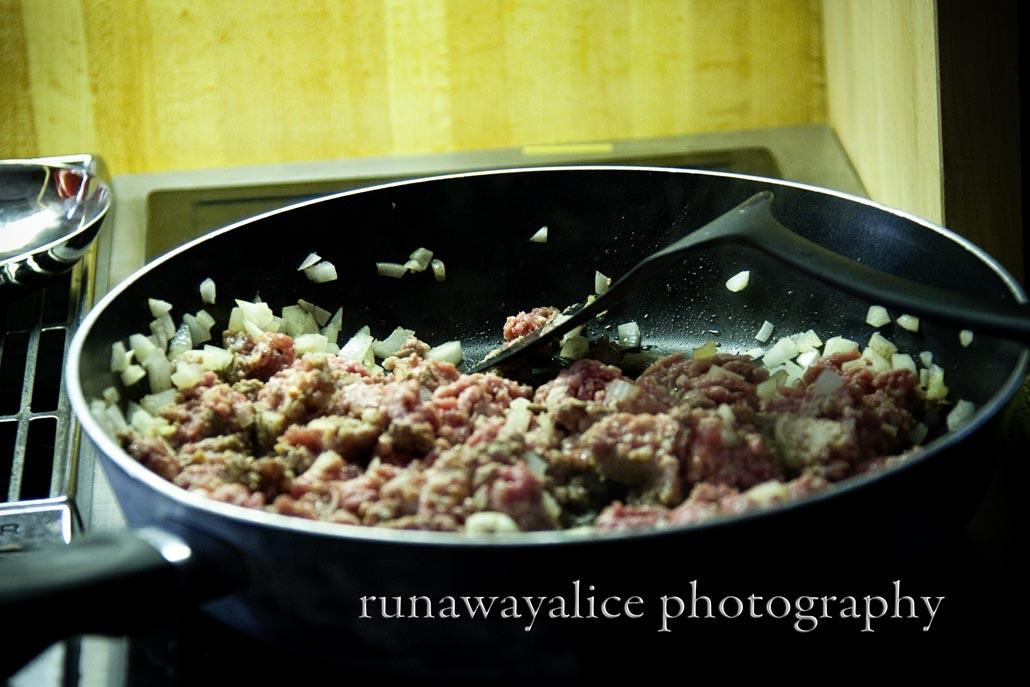
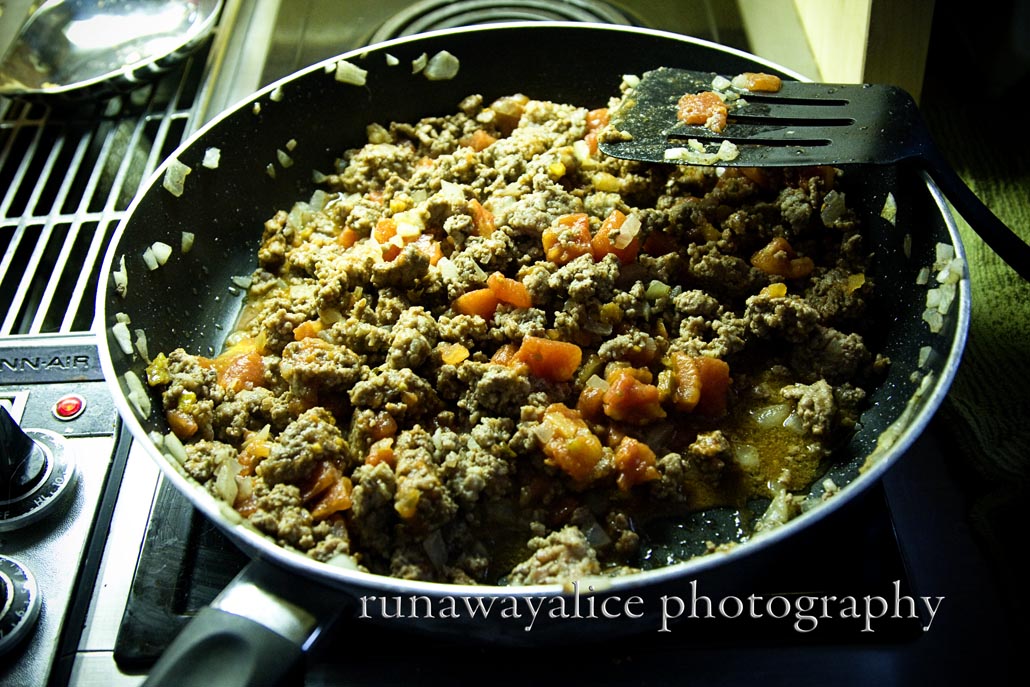
Added some tomatoes and chilies...

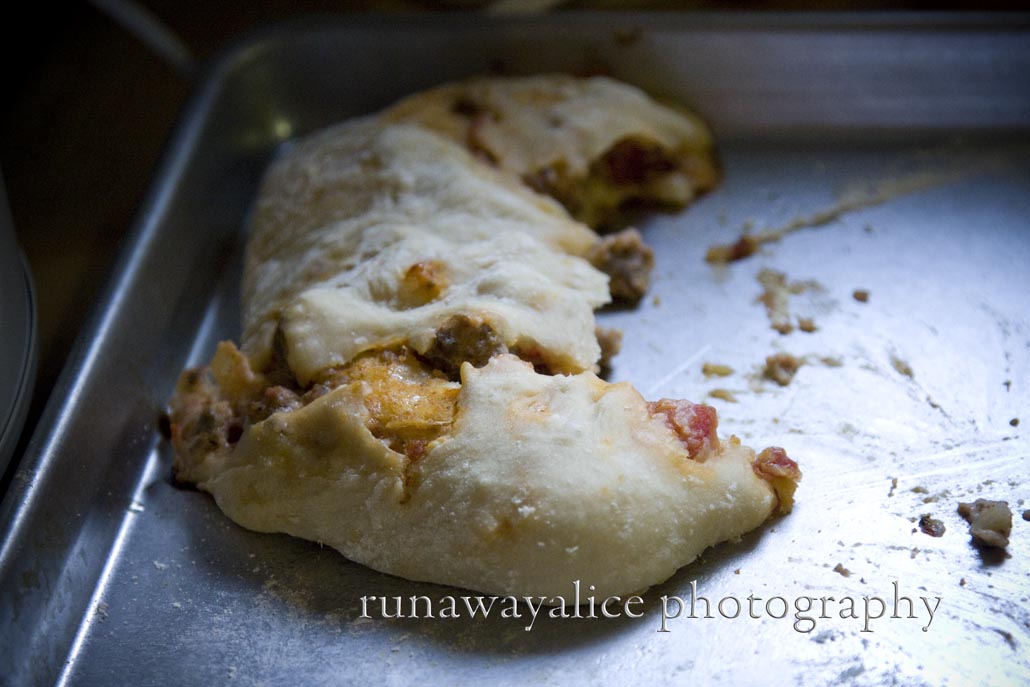
And they're done!  Not.  Yeah so this is my next picture.  Why? Because chaos ensued in my kitchen, and my hands were covered in flour and dough.  So basically what happened, was that I started mixing the cheese and egg together, then added the meat.  But it also looked completely different from the pictures in the cookbook.  I still haven't figured that one out.  Perhaps I didn't let my meat cool long enough, or maybe I should have drained the tomatoes first.  I also ended up with ALOT of filling.  But the primary issue was that since I had not thoroughly kneaded my dough, it was sticky and super hard to handle.  So my first calzone turned out looking like this:

Kinda came apart...just a bit.  But the rest were more or less okay.  And they were good but they needed something a little extra to me.  That I still can't put my finger on.  I think this is just one of those things that will get better the more I make it, and tweak it a little.

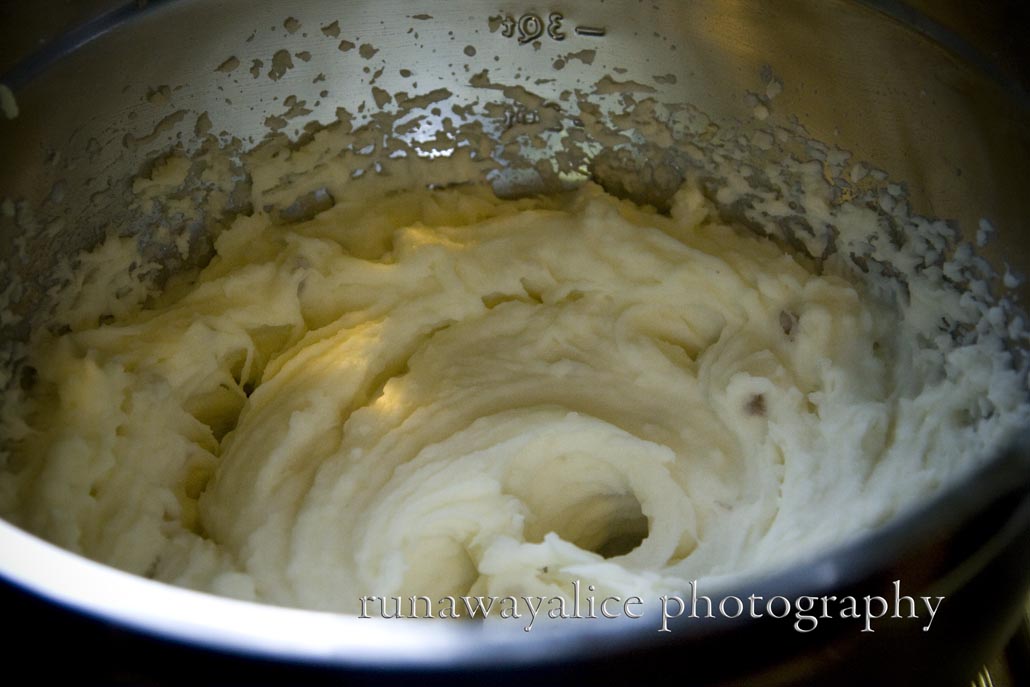
I served it with delicious mashed potatoes.  Of my own recipe!  I mean, you really can't get enough starches.

Mmmm creamy.

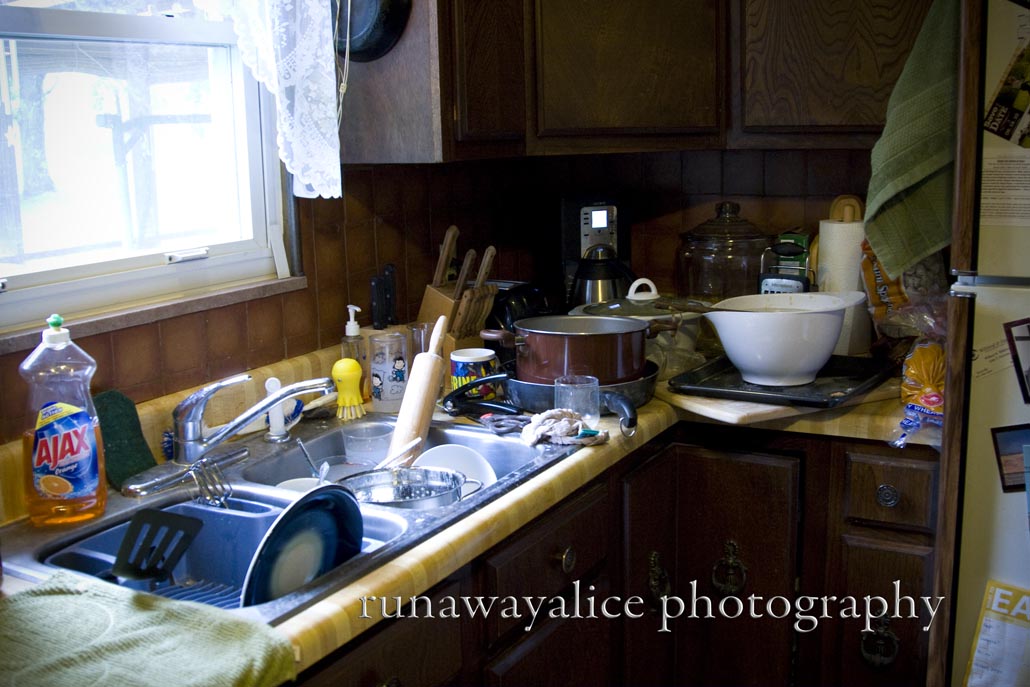
And the end, the ugly truth is that my kitchen looked like this....

Did I mention that we don't have one of those new fangled dish washing machines?  Just me and my handy scrub brush.  So in conclusion folks, it's all part of the cooking learning curve.  I will make better dough next time, figure out why I had a plethora of filling, and eat a delicious calzone for lunch.  No worries fans, me and P-dubs are still BFFs.  If only in my mind.

Comment

1 Comment

Dish-o-the-week: Broccoli and Cheese Casserole

Today we're trying out a Broccoli and Cheese Casserole, slow-cooker recipe for the dish-o-the-week.  Who doesn't love cheese, and broccoli, and garlic, and salt, and heart attacks?  I mean come on it's delicious together.  If you're eating well, or trying to avoid the goodness that is cheese, then be warned, stay away from this post.College students, Grad students, busy people everywhere....meet your new best friend...the crock pot!  Was that not epic enough?  Let's try it again....THE CROCK POT!!!  Better?  I kinda feel like I should be saying, "RELEASE THE KRAKEN'!!"  Anyone? Anyone? The crock pot (or you could call it the Kraken if you like) is a delightful invention.  Speed Racer's Aunt and Uncle gave him this particular one back in his bachelor days, so he could have dinner ready when he got back from work.  You really can go as blinged out as you want with a slow cooker these days.  They have digital displays, timers, inserts, stainless steel, and lots and lots of gizmos.  If you do not want to spend money right now do not look at William Sonoma's website, fo real.  I just did for some "research" and I am sorry.  Now that I have told you how much I love my crock pot, we can move on.  But really I love my, I mean "OUR", crock pot.

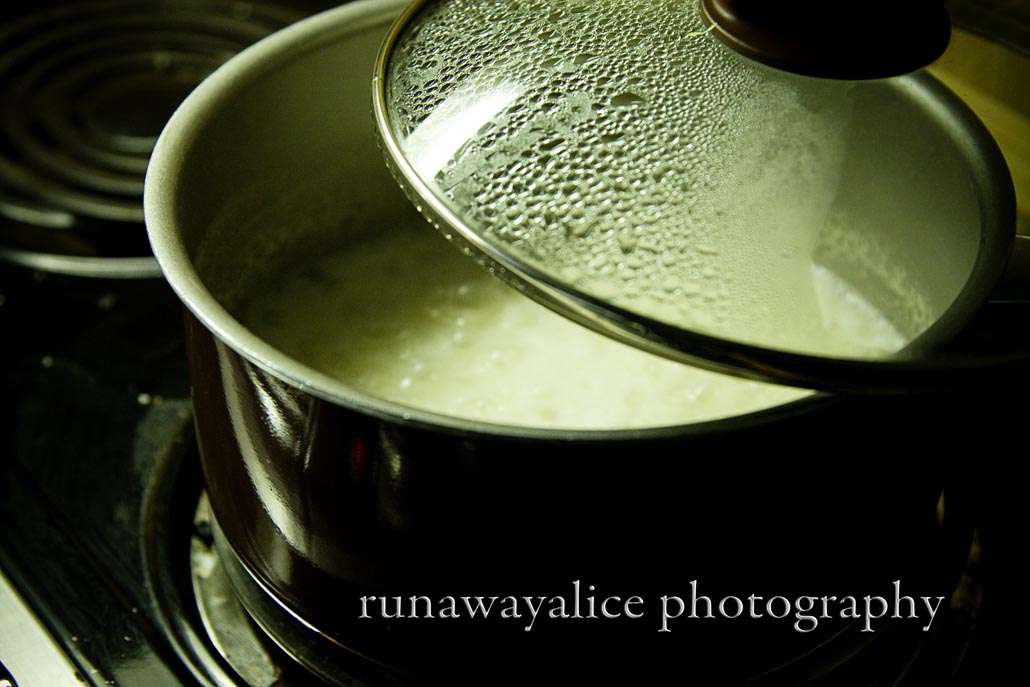
So first things first, you want to boil yourself some rice.

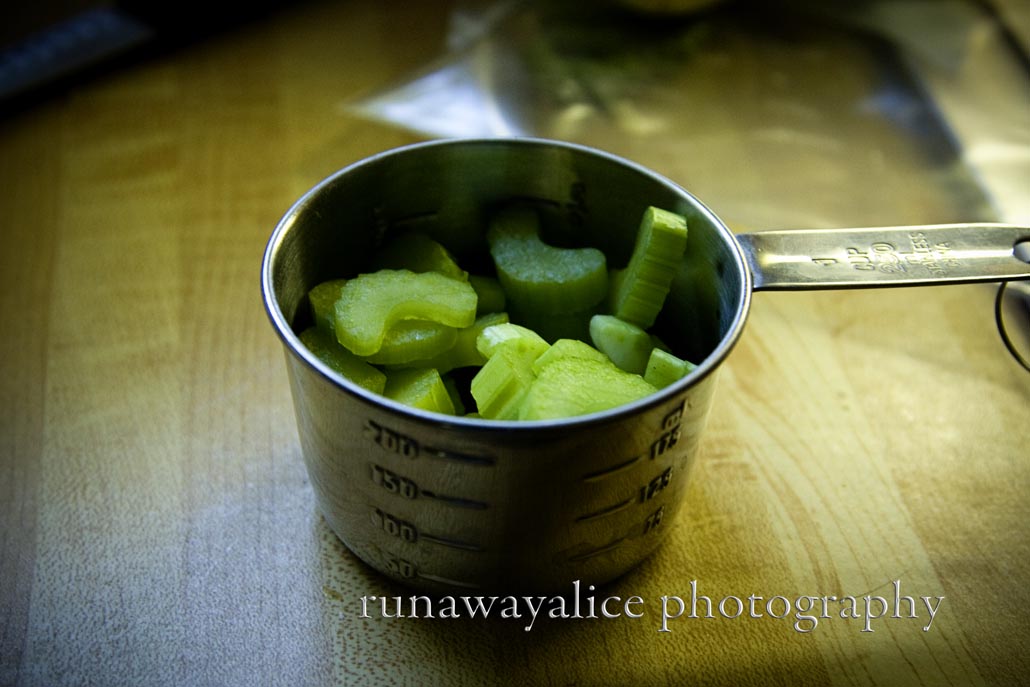
Next up, chopping up some celery.  You really don't need specific measurements for this recipe.  It's pretty basic and in the end you are just mixing everything together, so pretty much just put in how much you want of each, and what will fit in your crock pot.

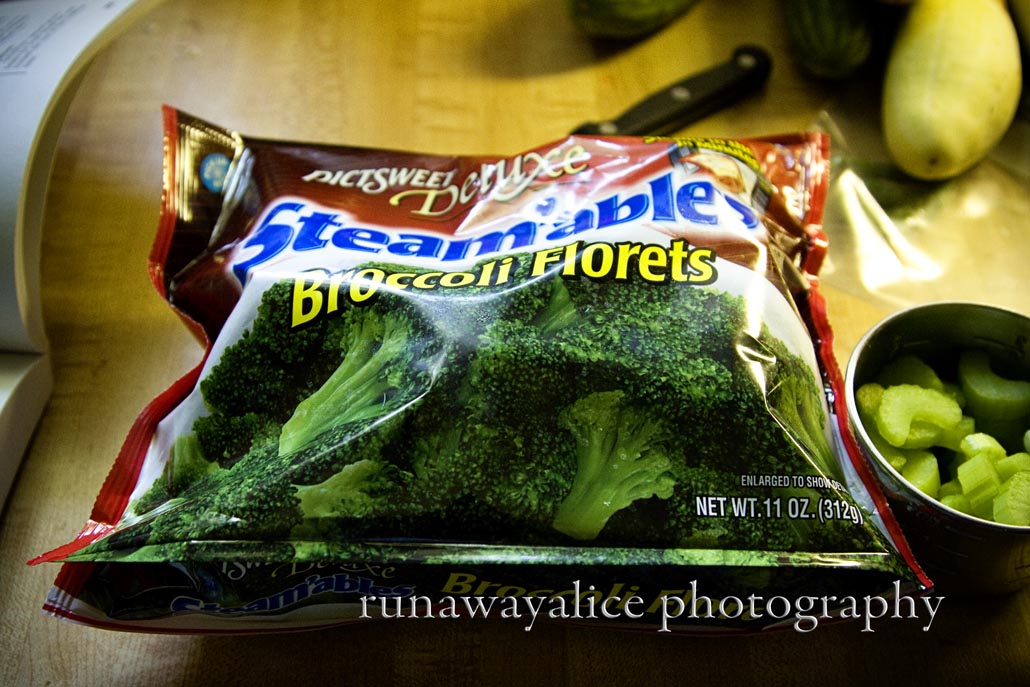
And of course you will want to thaw some broccoli or cook some fresh broccoli.  I went totally lazy on this recipe, so most of my stuff is store bought.  Sorry fans.  I also added cream of chicken soup, salt, pepper, garlic, mushrooms, and cheese sauce.  Like I said, not the healthiest recipe in the world, but hopefully it will be yummy.

One of my friends who also uses her crock pot a lot would have actually made chicken broth from a chicken, instead of the can.  But I bought the can, I even bought the discount can.  What can I say?

Then you mix it alllllllll together.

And Ta-da!  I can't tell  you how it tastes yet, because we haven't eaten it yet.  It was prepped this morning.  So jury is still out on that, I could be giving you a recipe that tastes absolutely horrible.  But I will let you know.  I put mine together pretty early, so right now it's in the fridge.  You want to cut it on low and cook for about an hour and a half (until it's warm all the way through) before you serve.  Enjoy!

1 Comment

3 Comments

Evening Escape

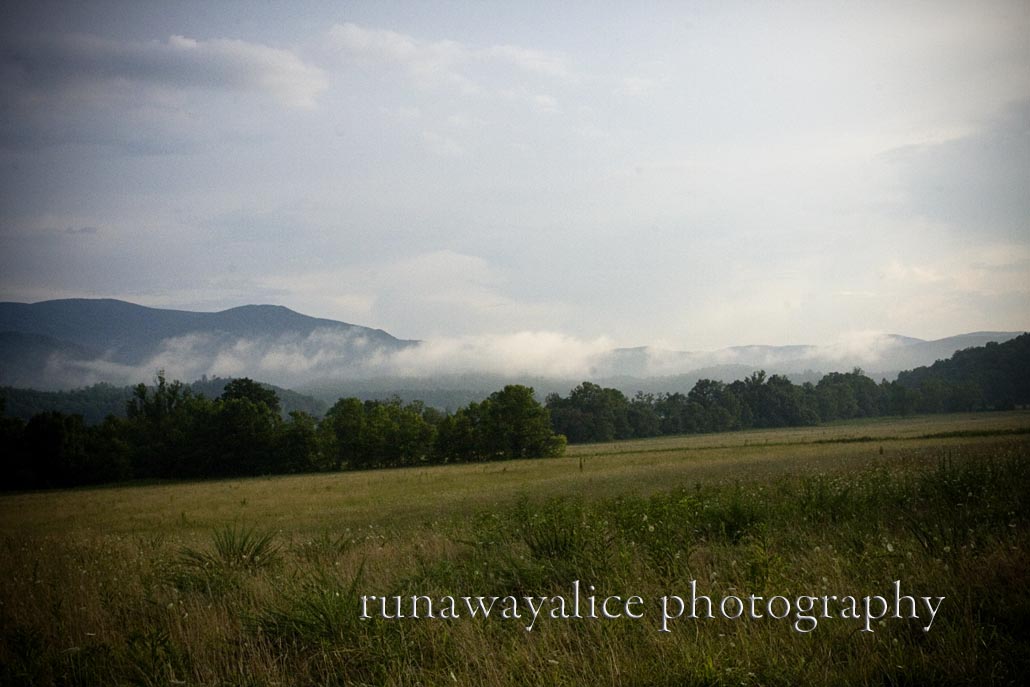
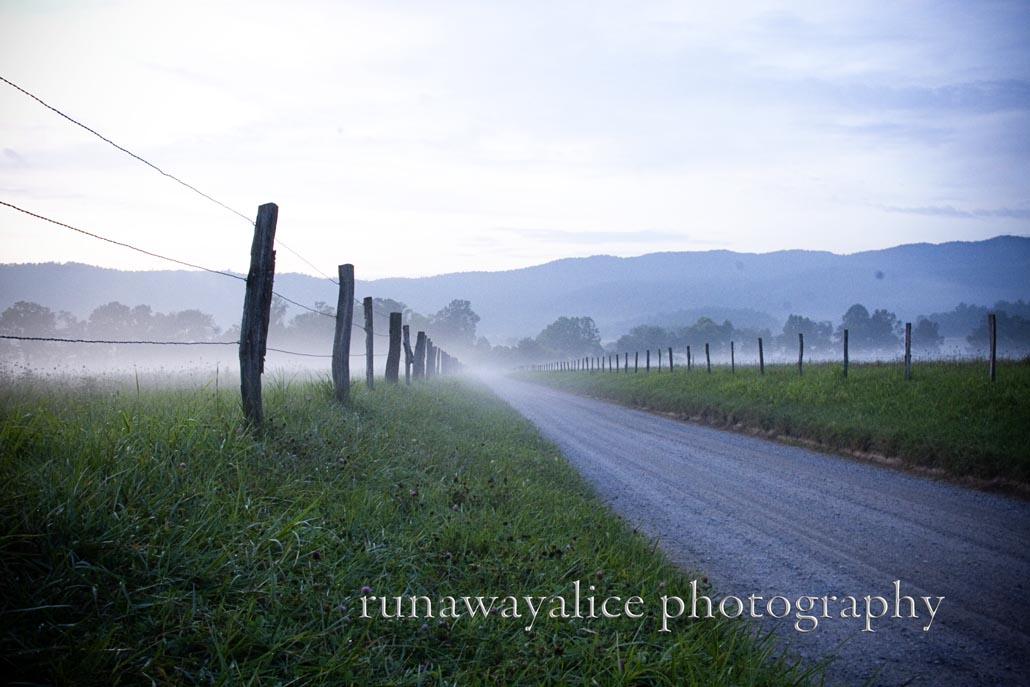
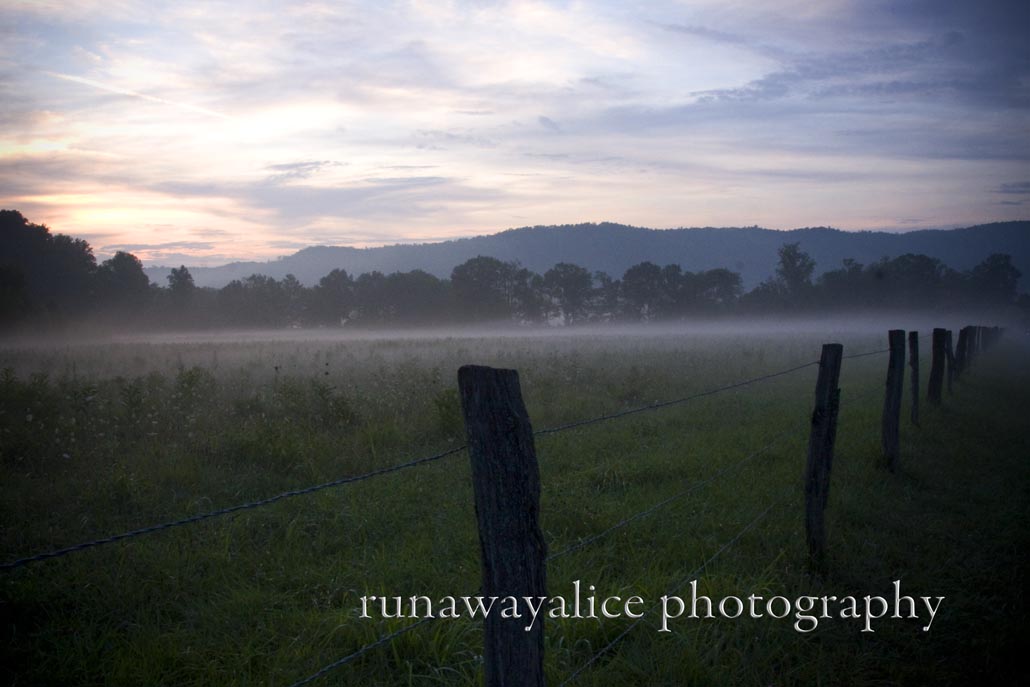
After a long day of editing and writing, Speed Racer and I just absolutely had to get out of the house last night.  We didn't want to spend money, and we wanted to just talk and relax, so we headed to the mountains.  It wasn't as relaxing as planned (there was a lot of traffic) but we did manage to get some photos!

We headed up to Cade's Cove, which as you know from previous posts, is one of my favorite places to go.  As Speed Racer pointed out last night, it's also always kinda hard going there, because it's so similar to where we use to live.  It does make us a little home sick at times, but it's also nice to get some fresh air.

The rest of his turkey friends were too fast for me, sneaky sneaky turkeys.

It's like being on safari!  I'm not lying, half the time I'm in Cade's Cove I expect a T-Rex to come attack our vehicle like in Jurassic Park.

You can't see it, because I didn't have a long enough lens, but there were two beautiful bucks in this field.

We had a little company.

It was a gorgeous night.

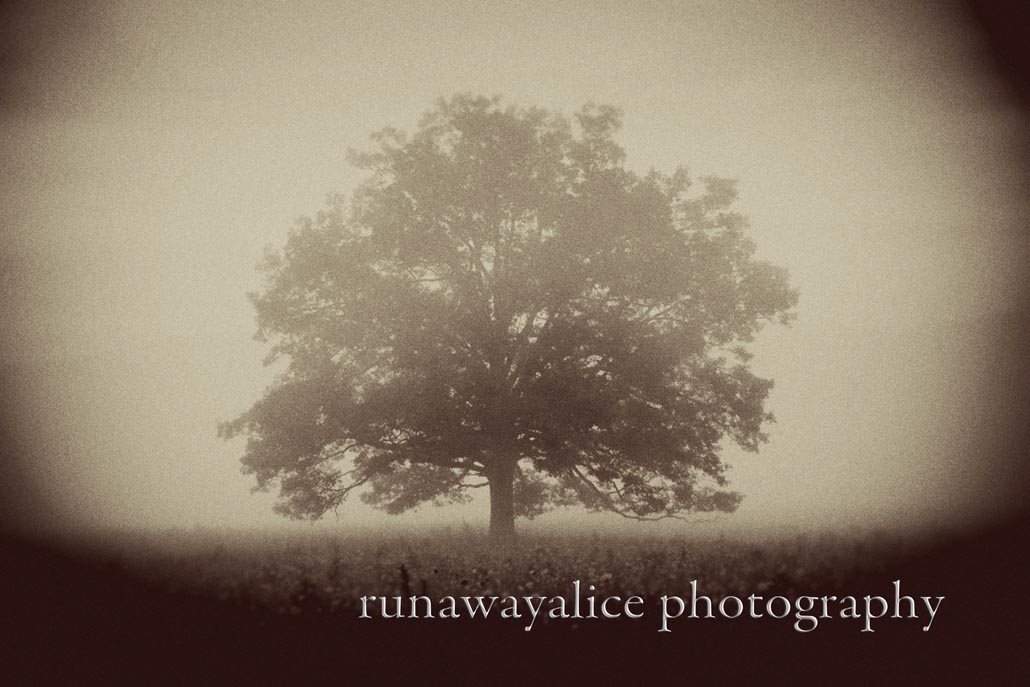
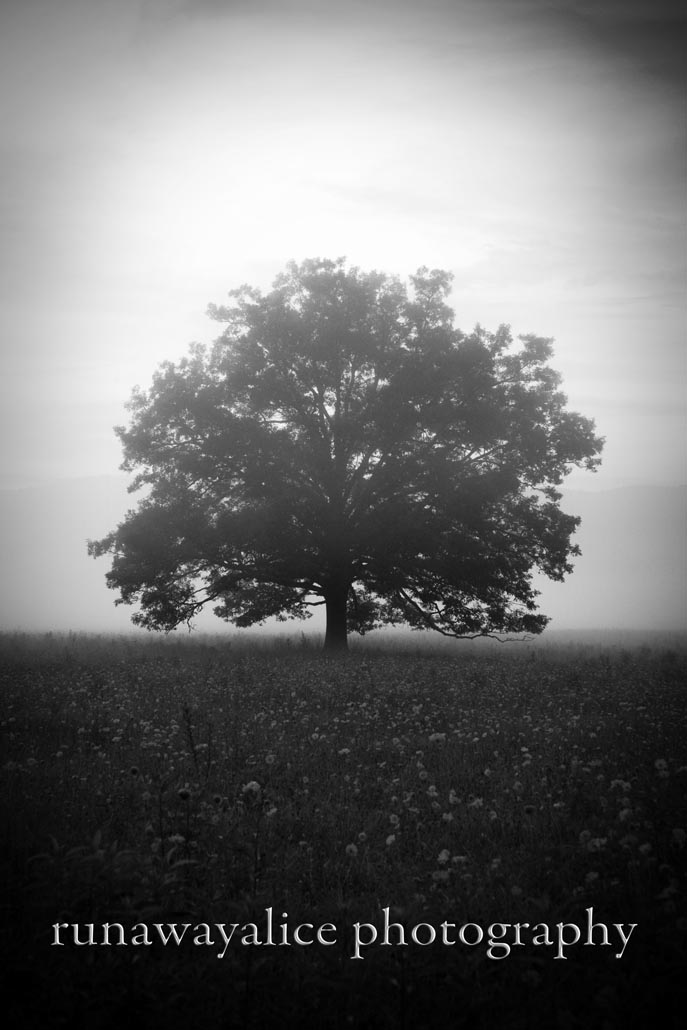
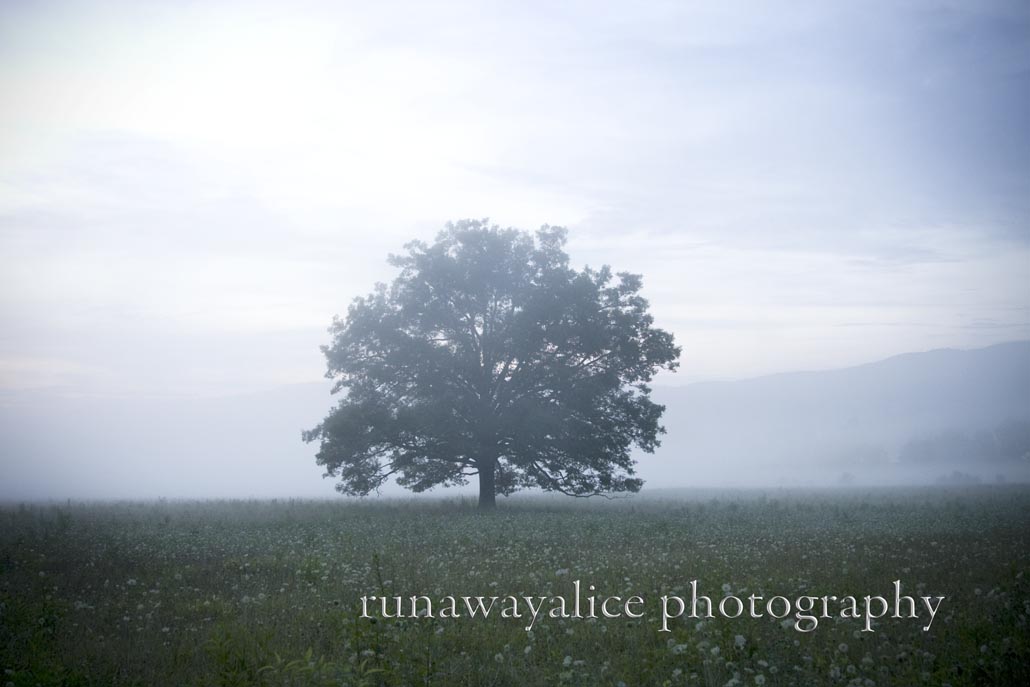
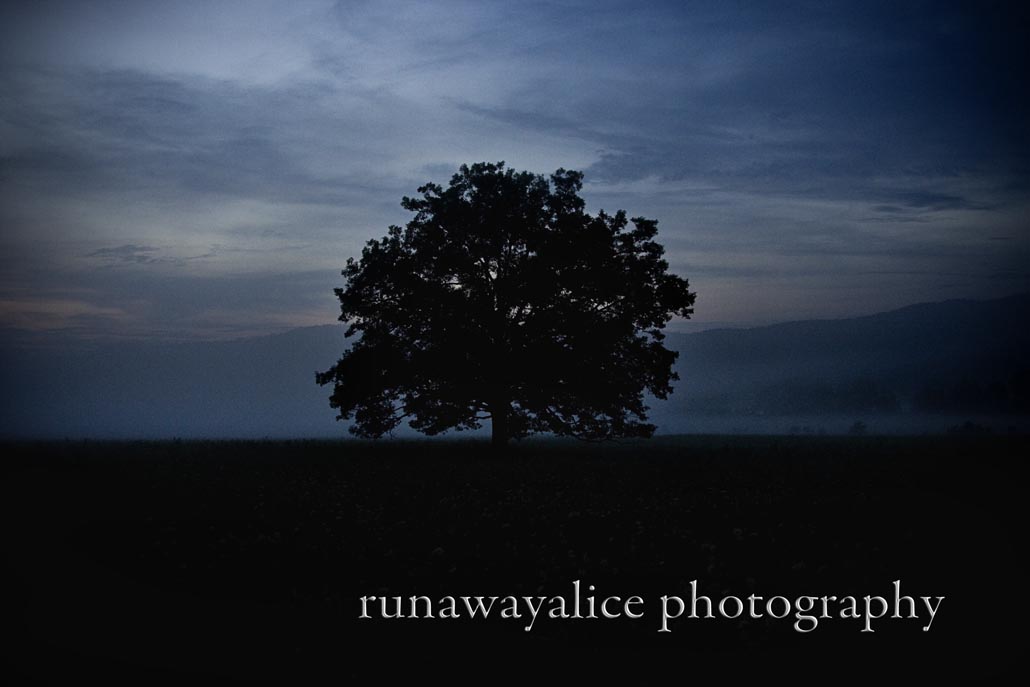
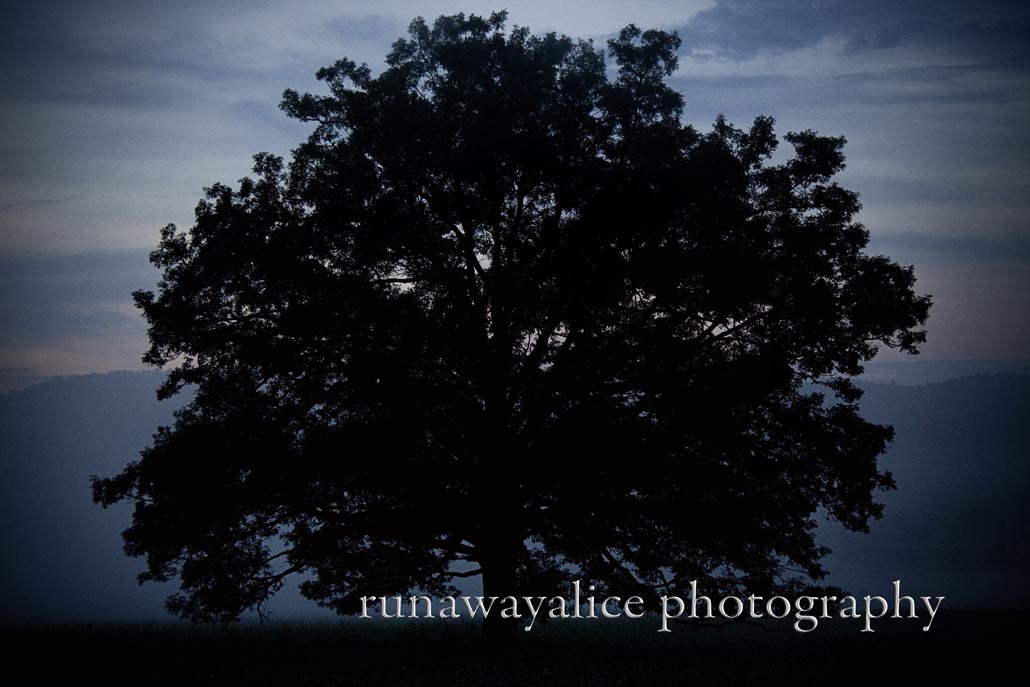
I was kind of in love with this tree.

There are lots of pictures of it.

Lots.

I'm sorry.

I....

Love...

It.

It's official.  It's going on my wall.

3 Comments

1 Comment

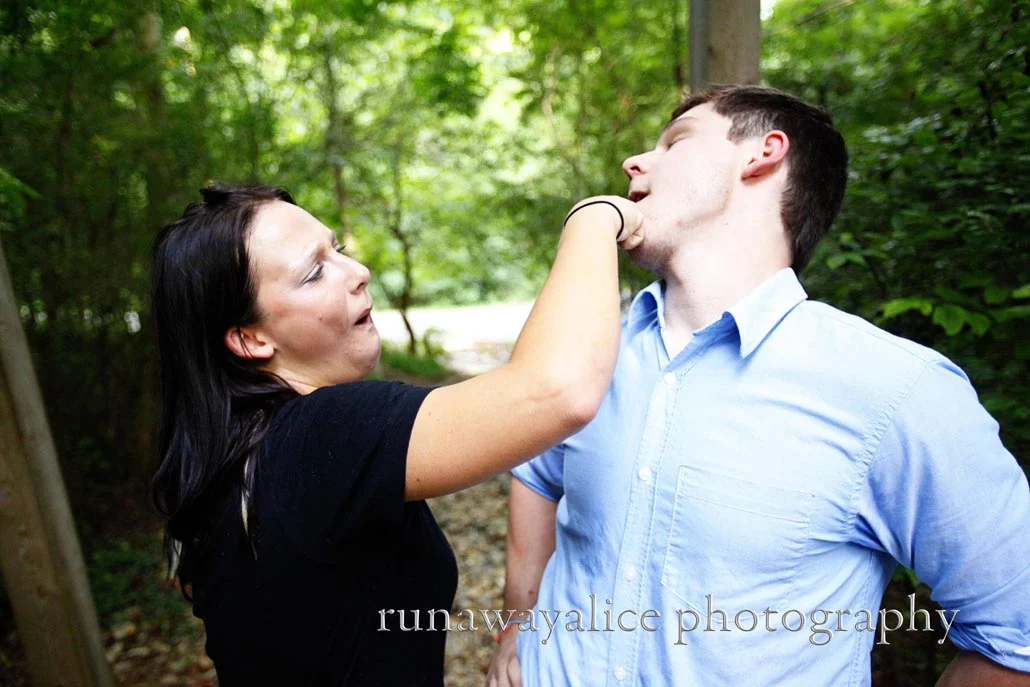
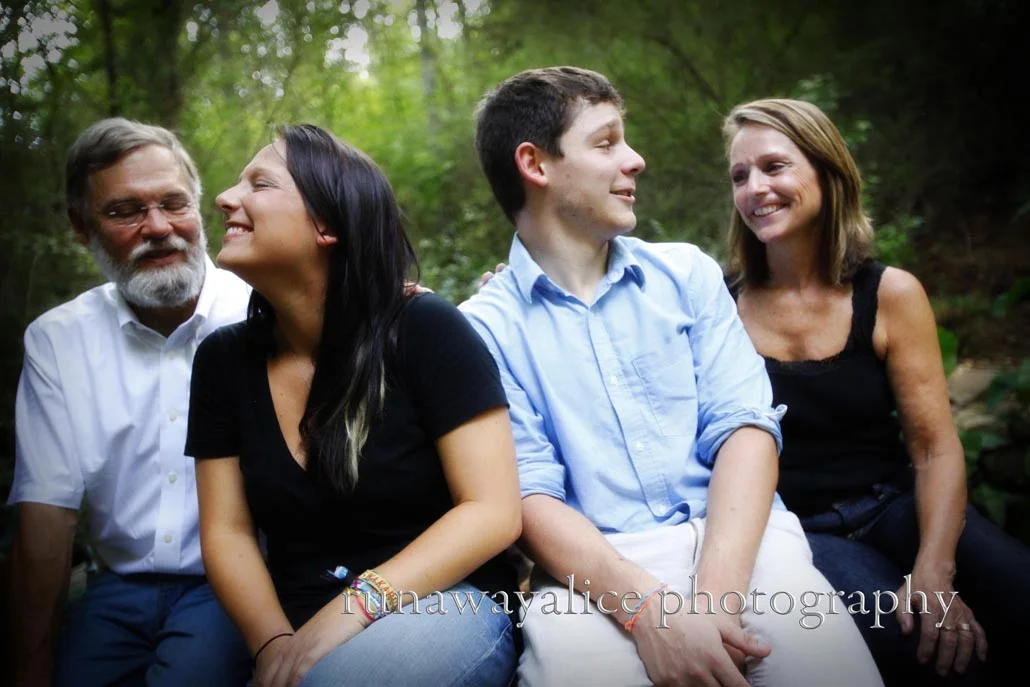
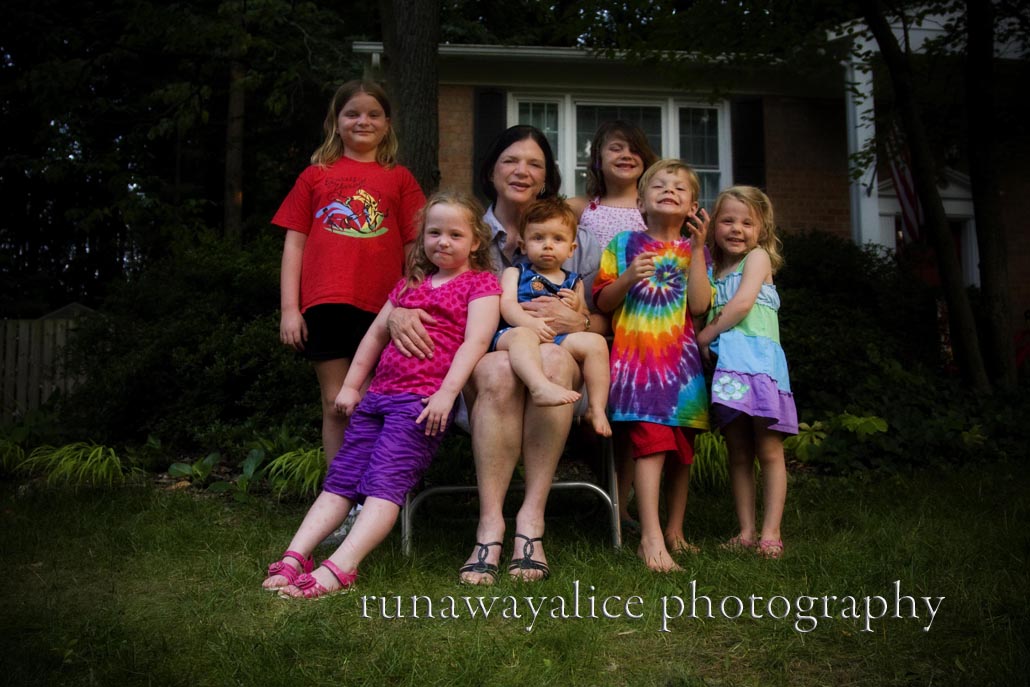
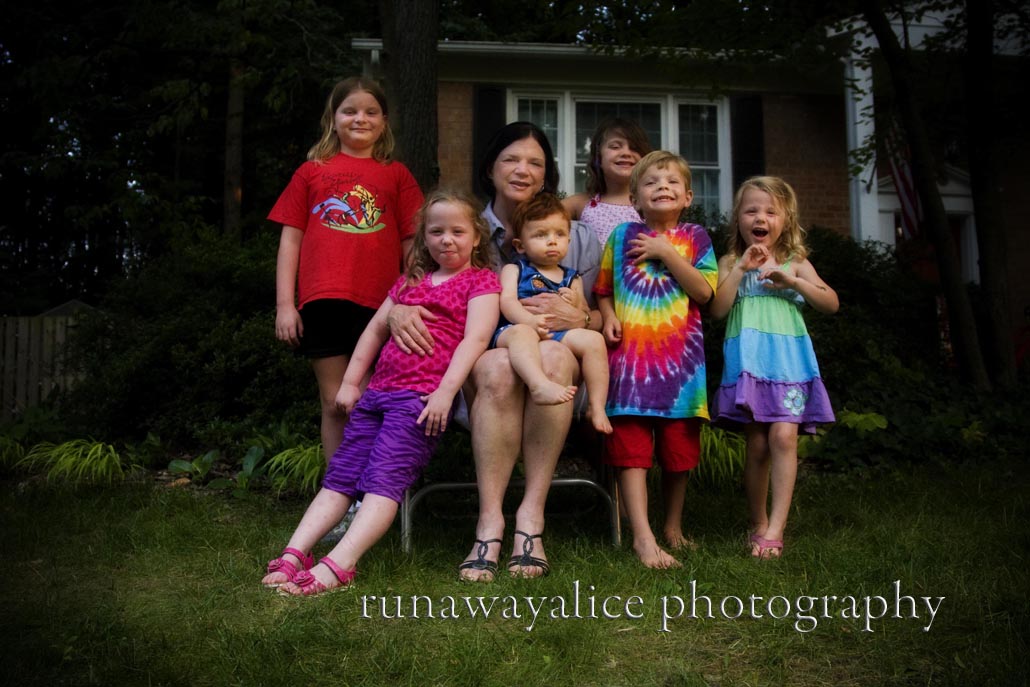
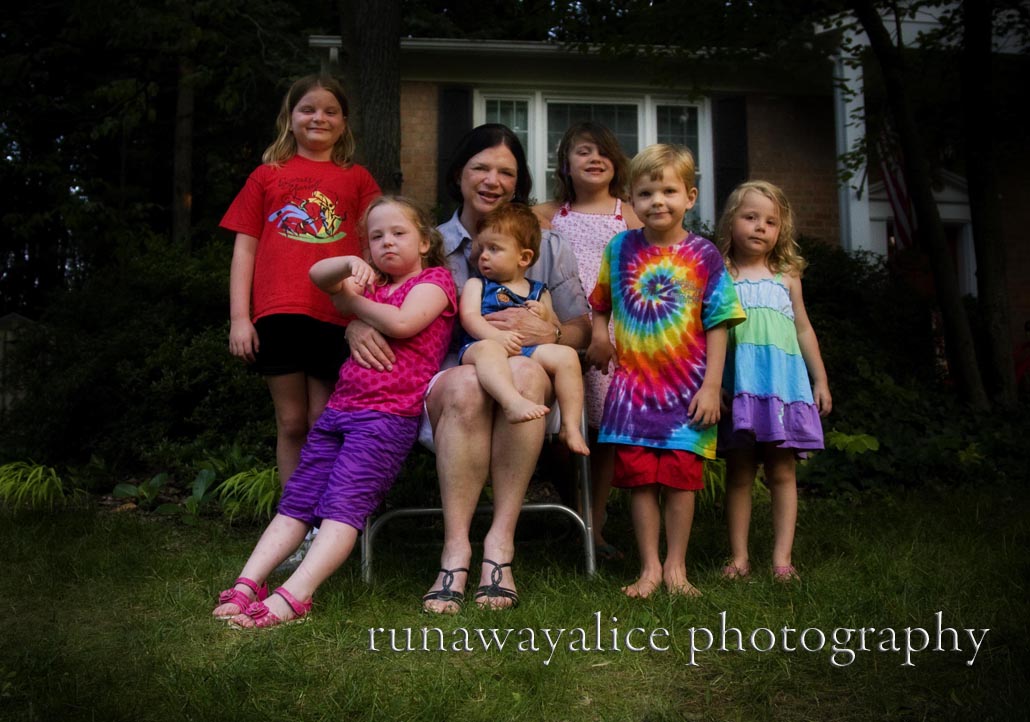
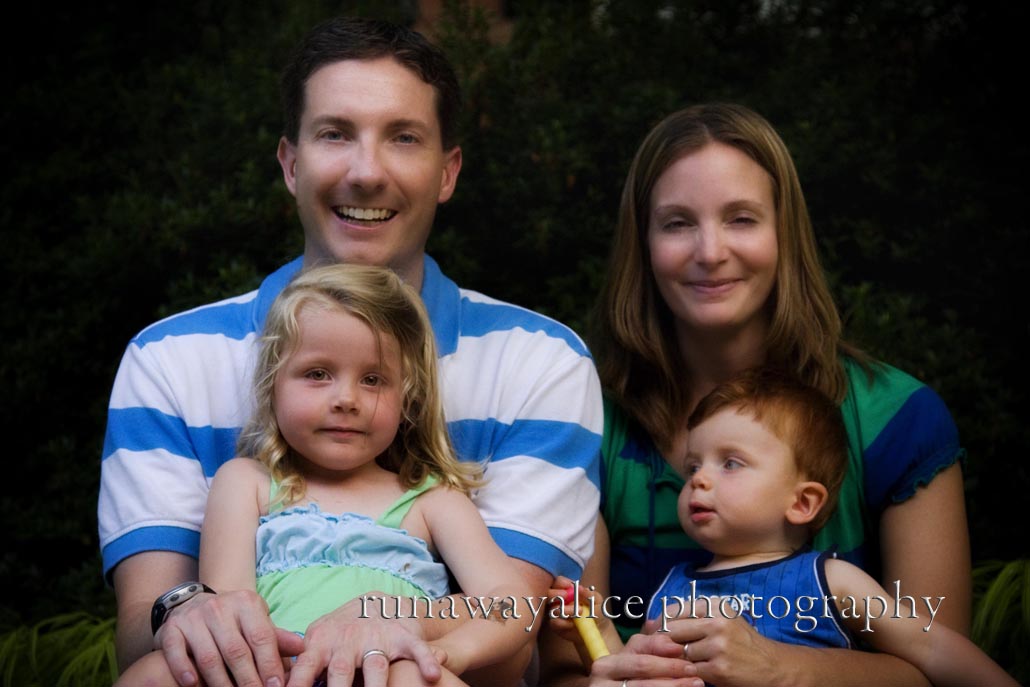
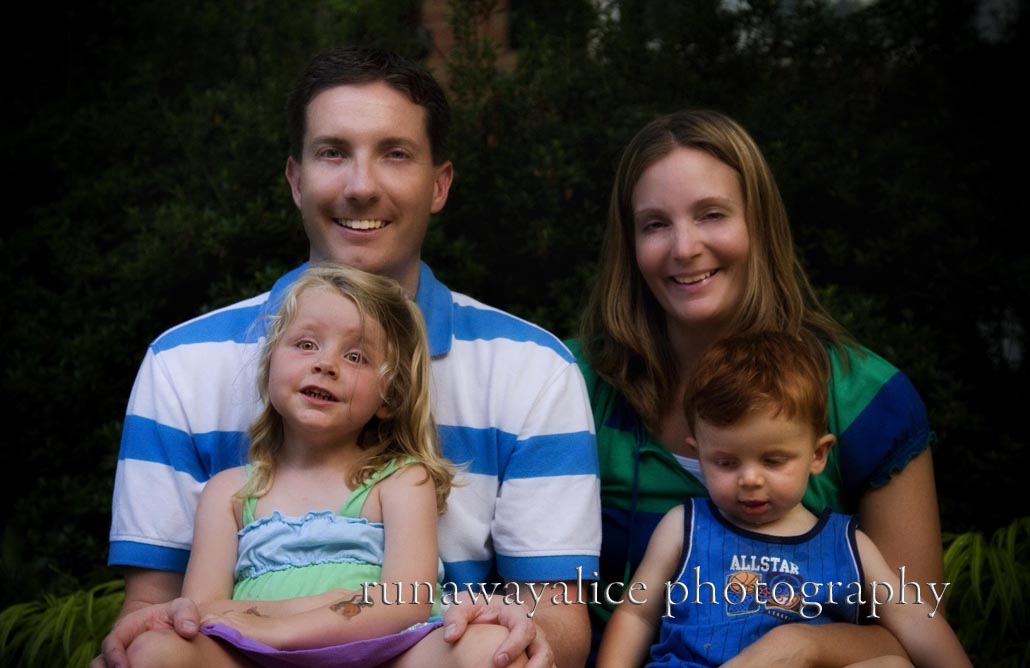
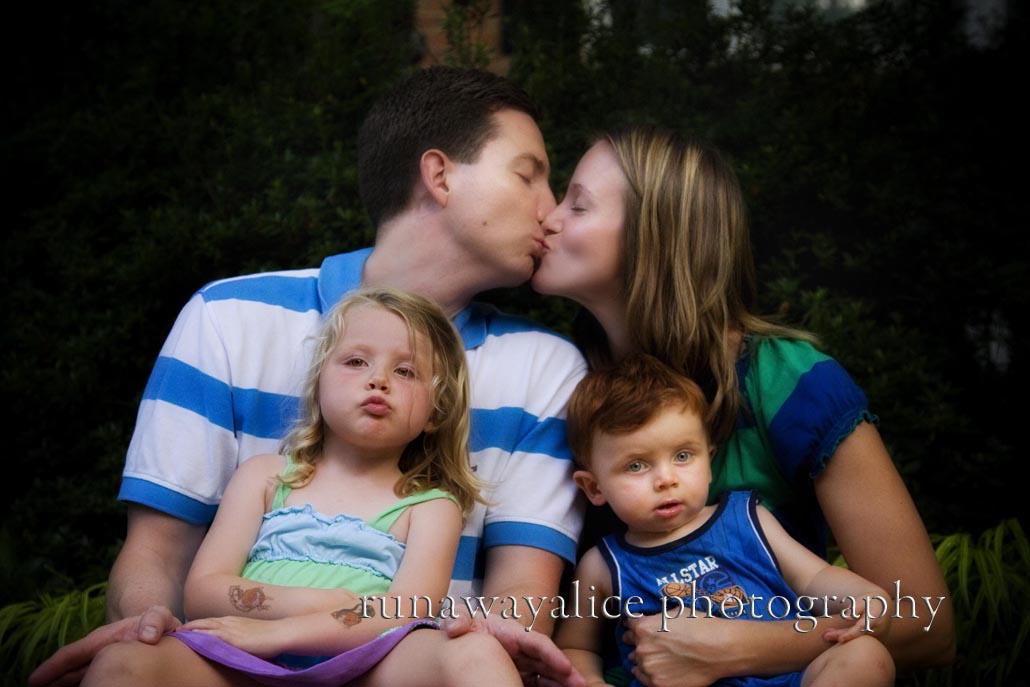
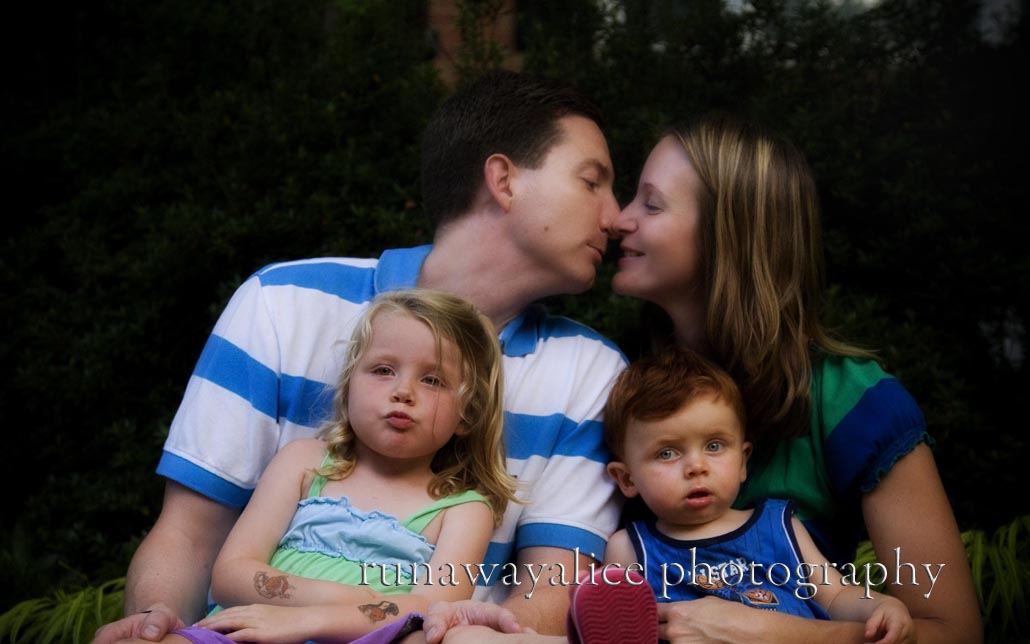
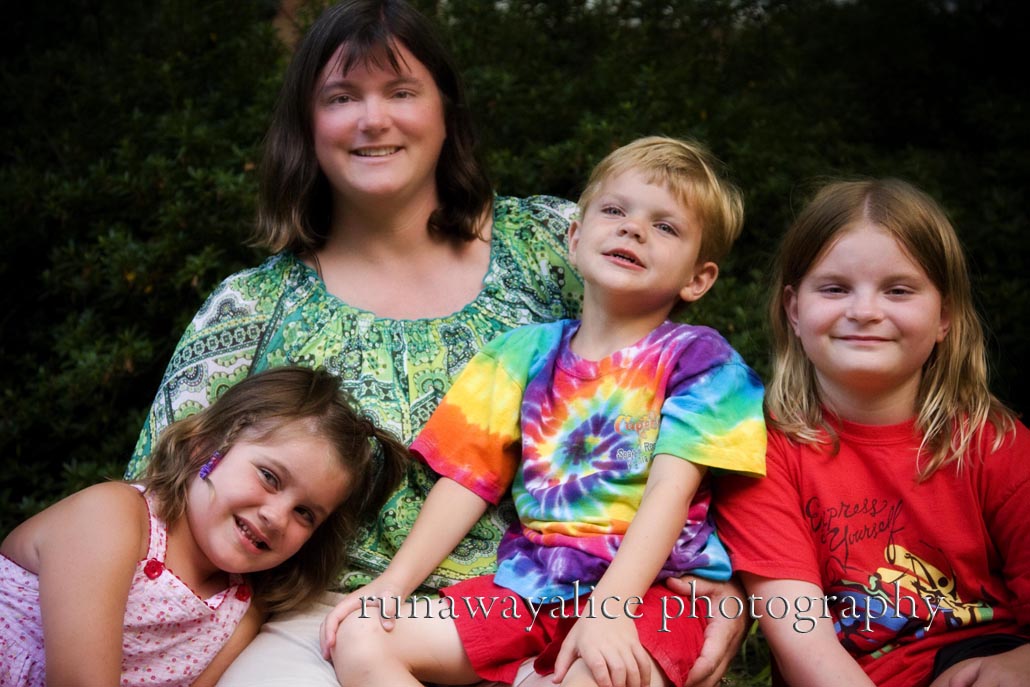
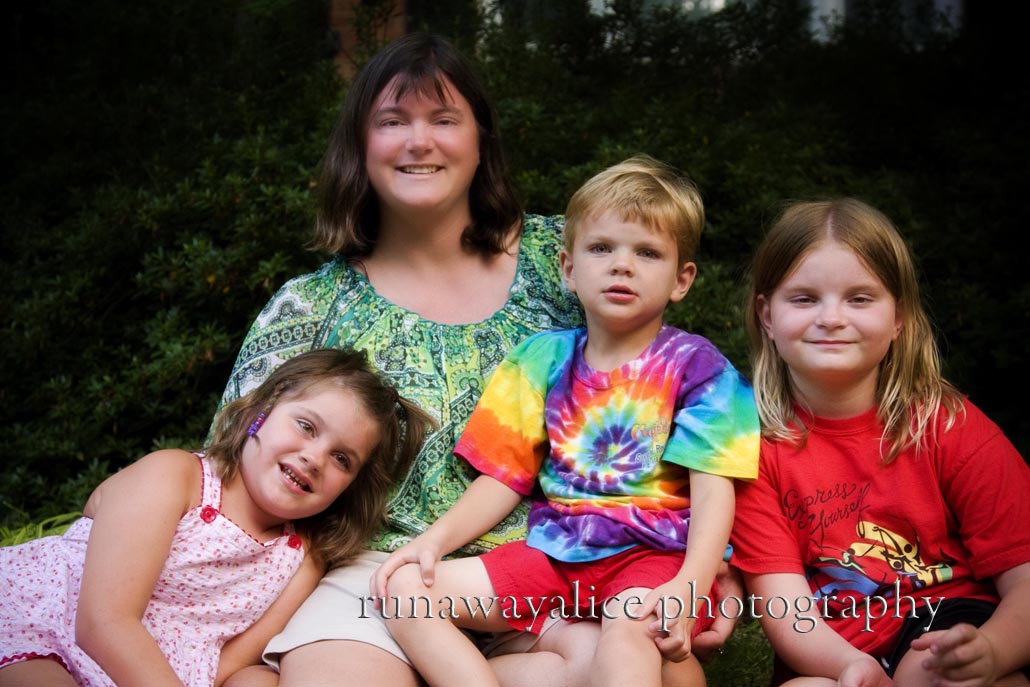
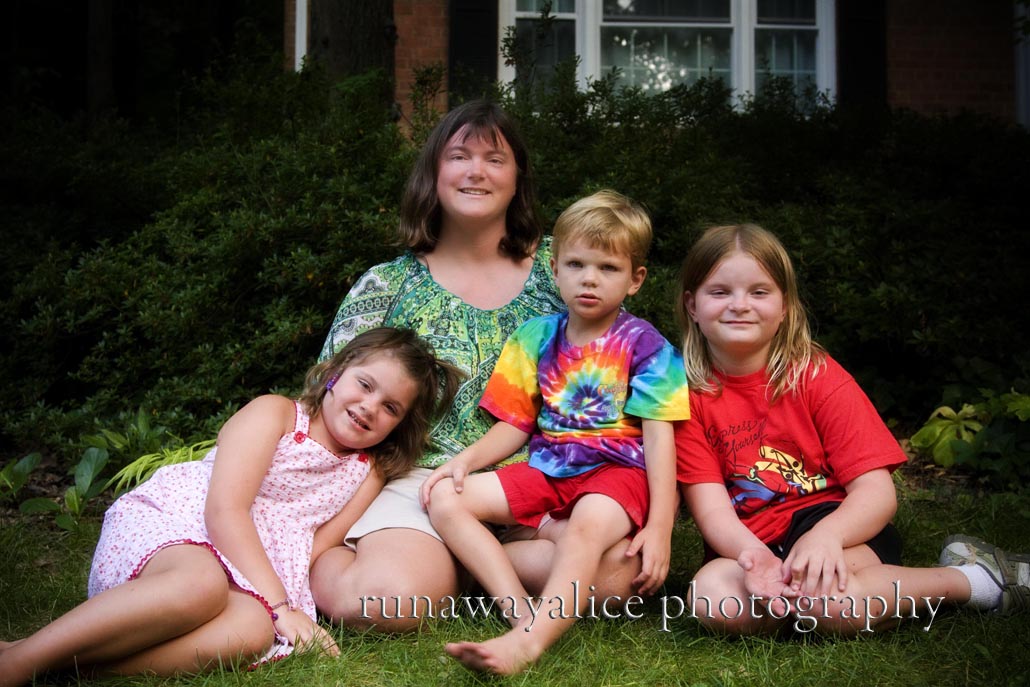
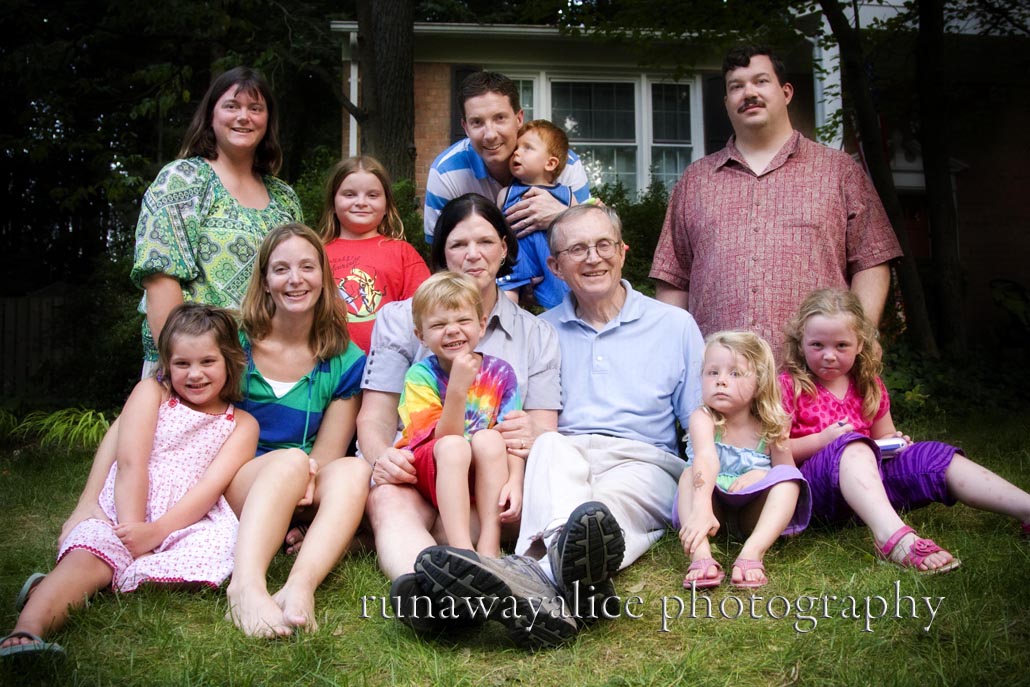
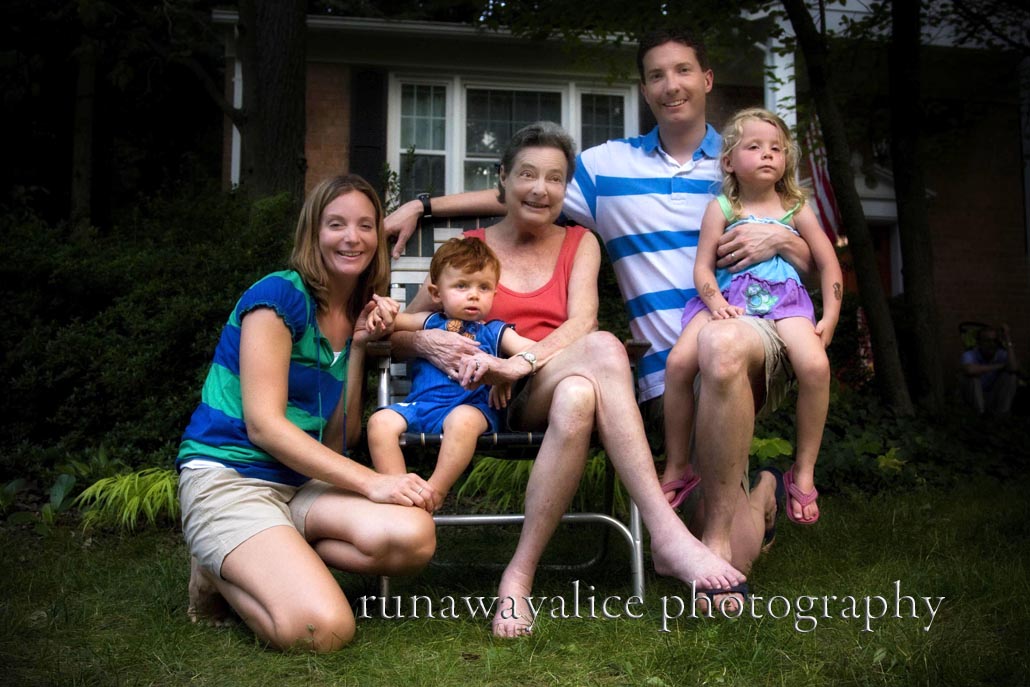
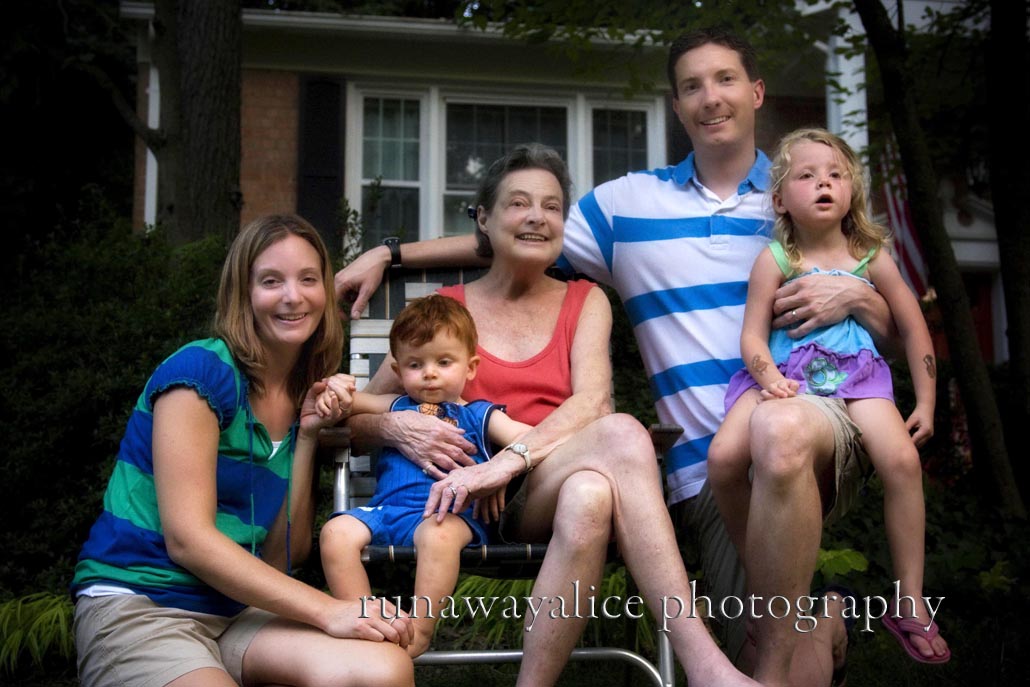
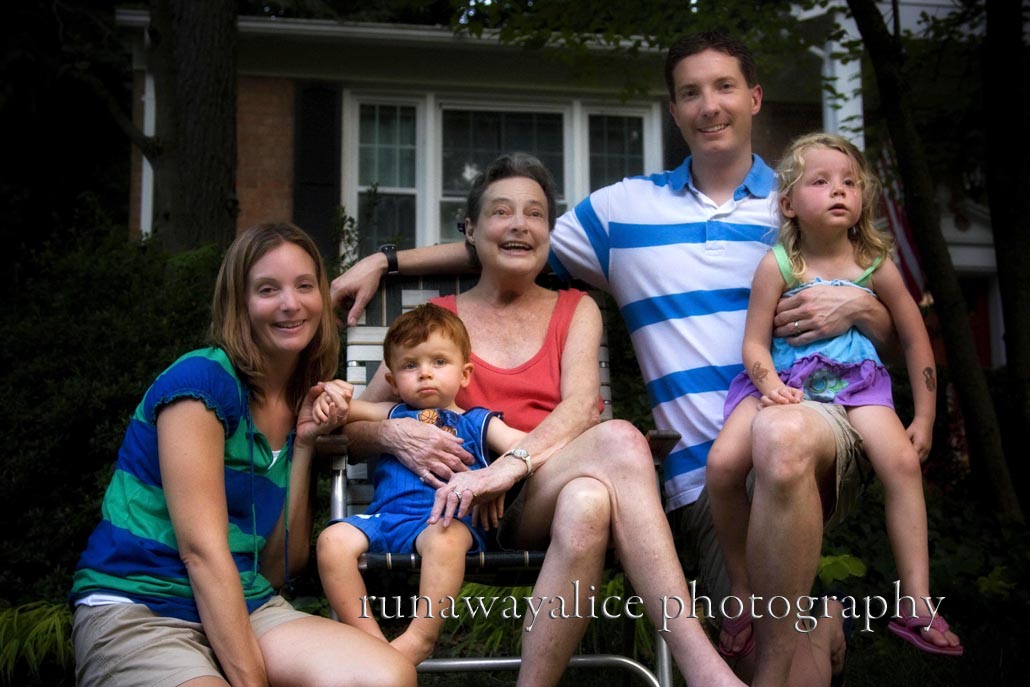
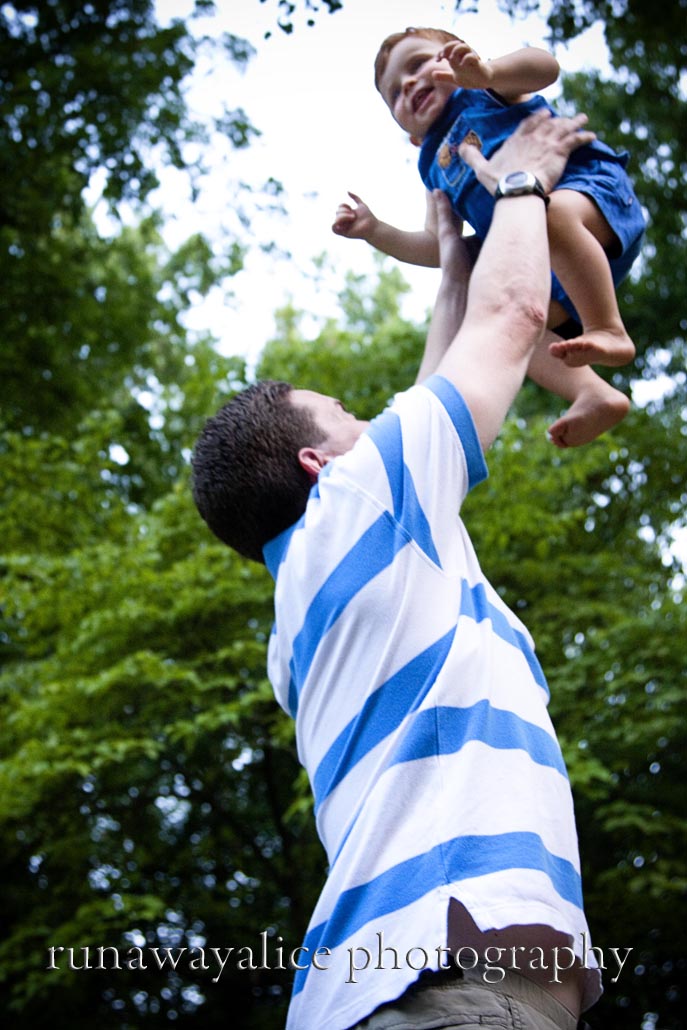
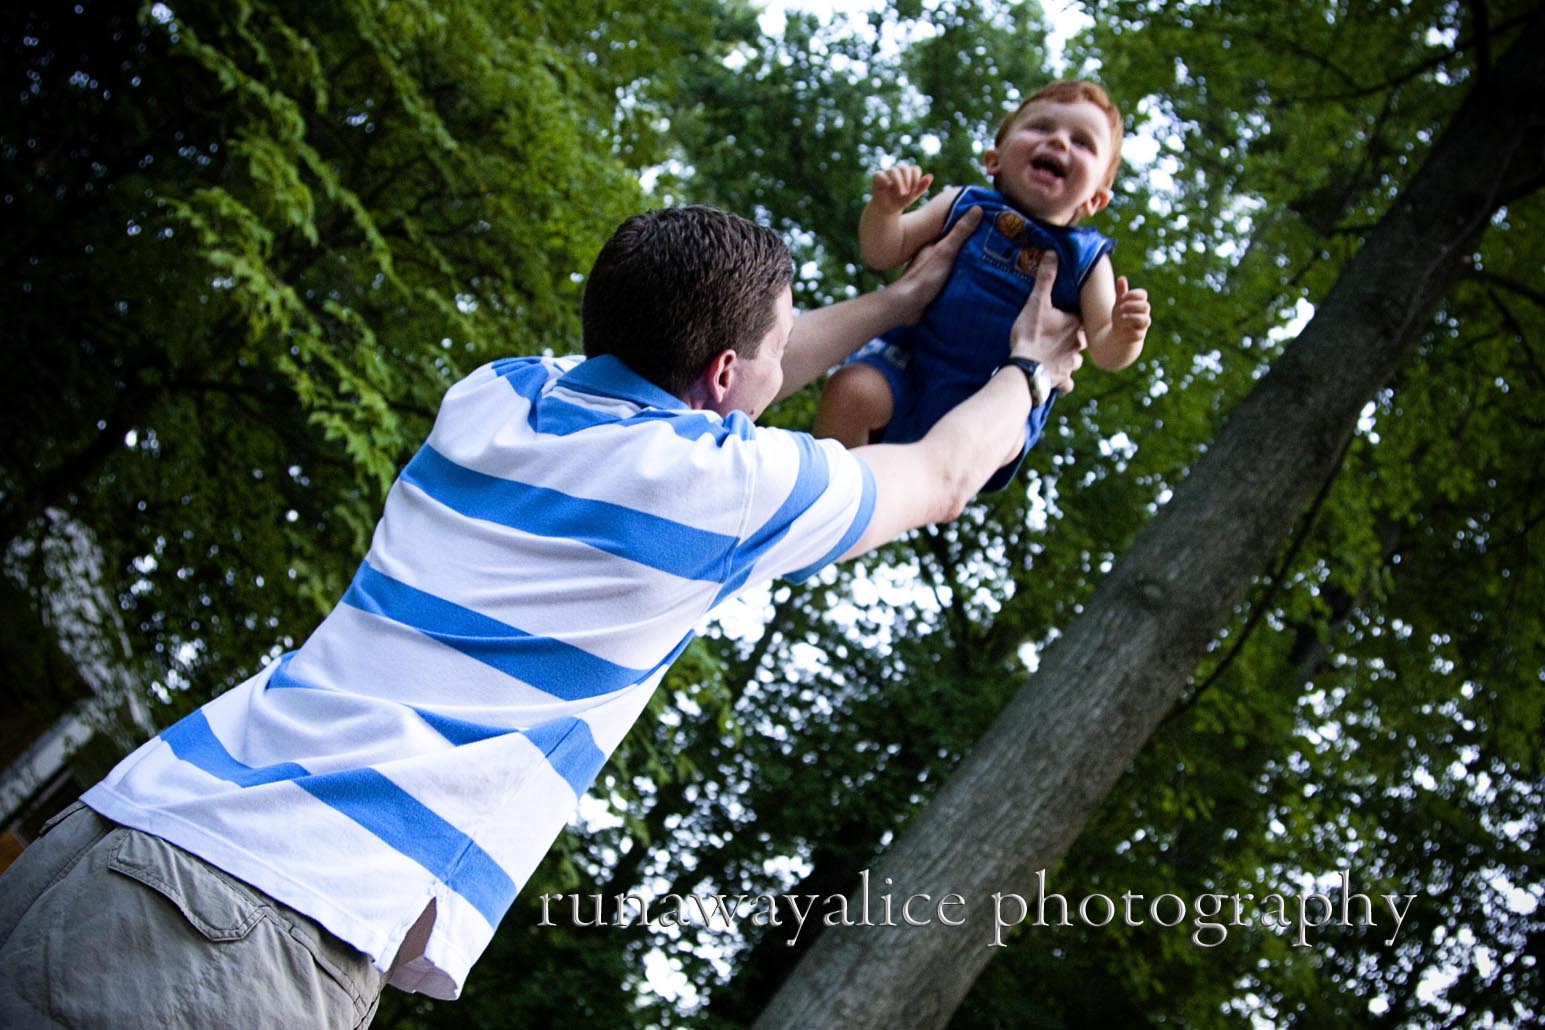
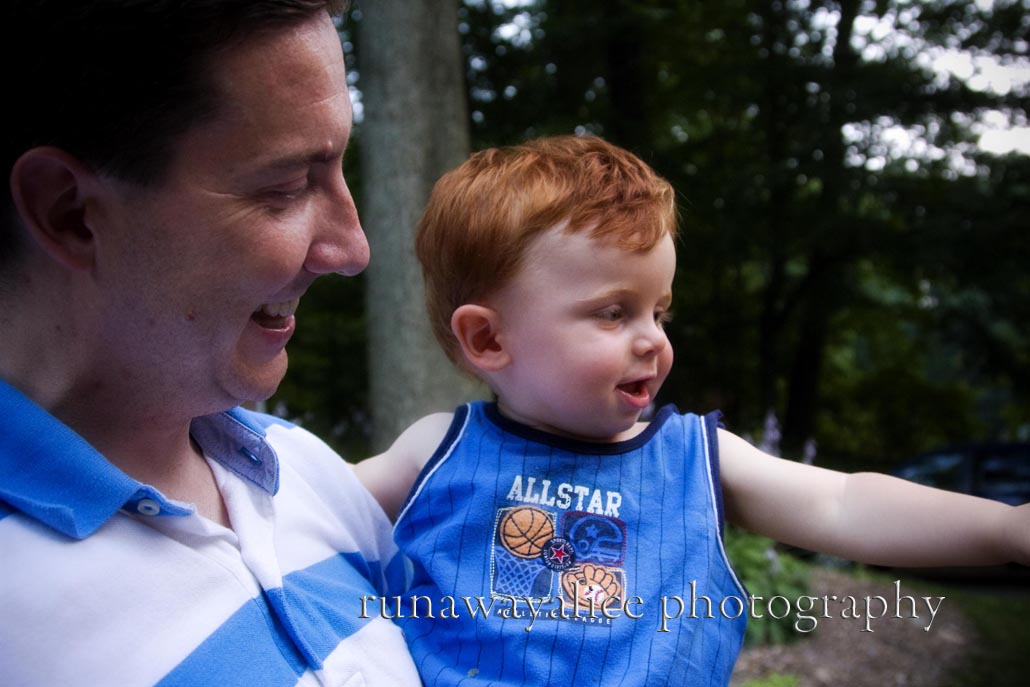
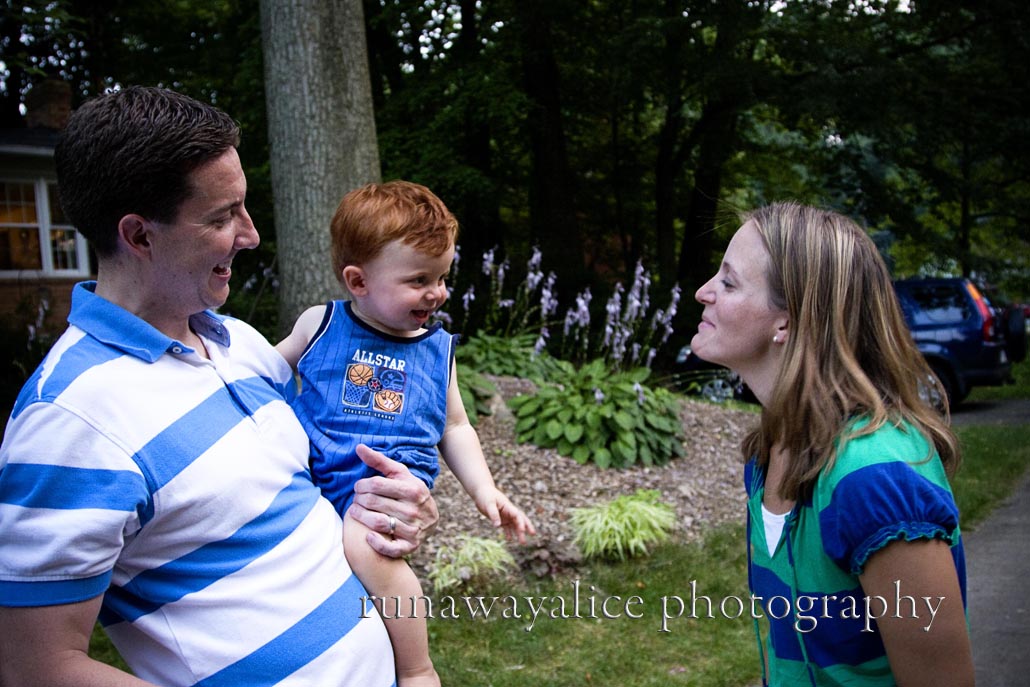
The Enderson Family

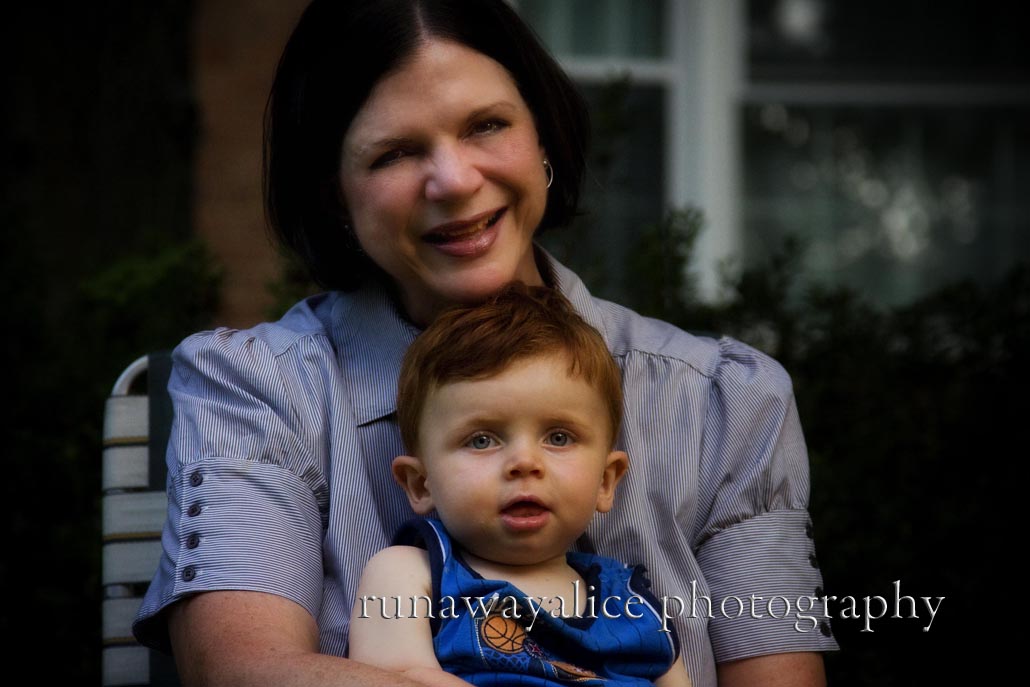
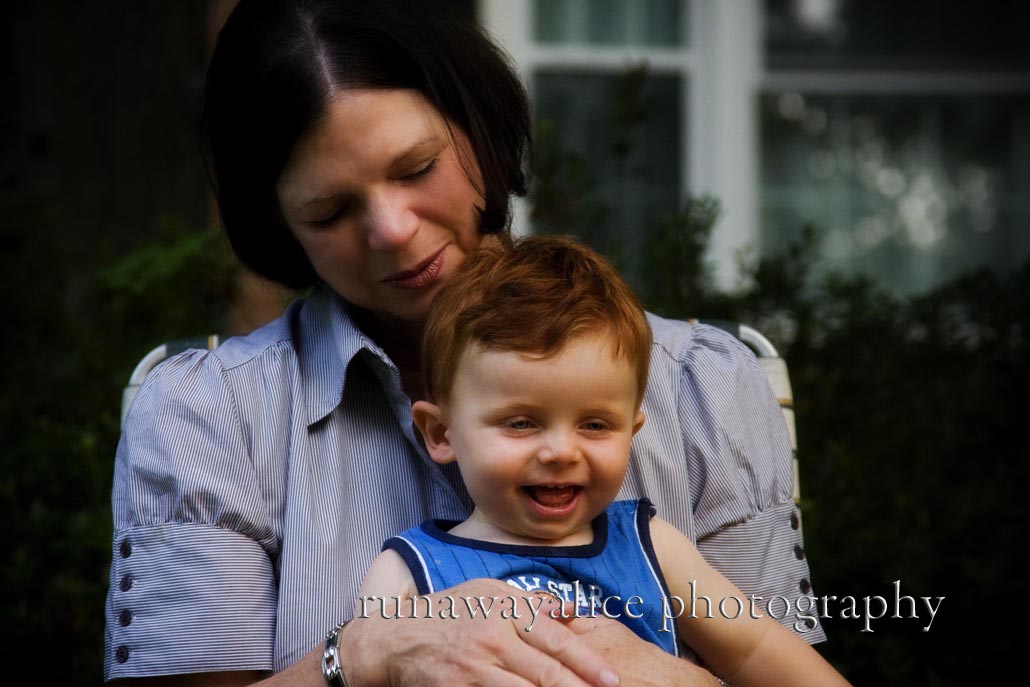
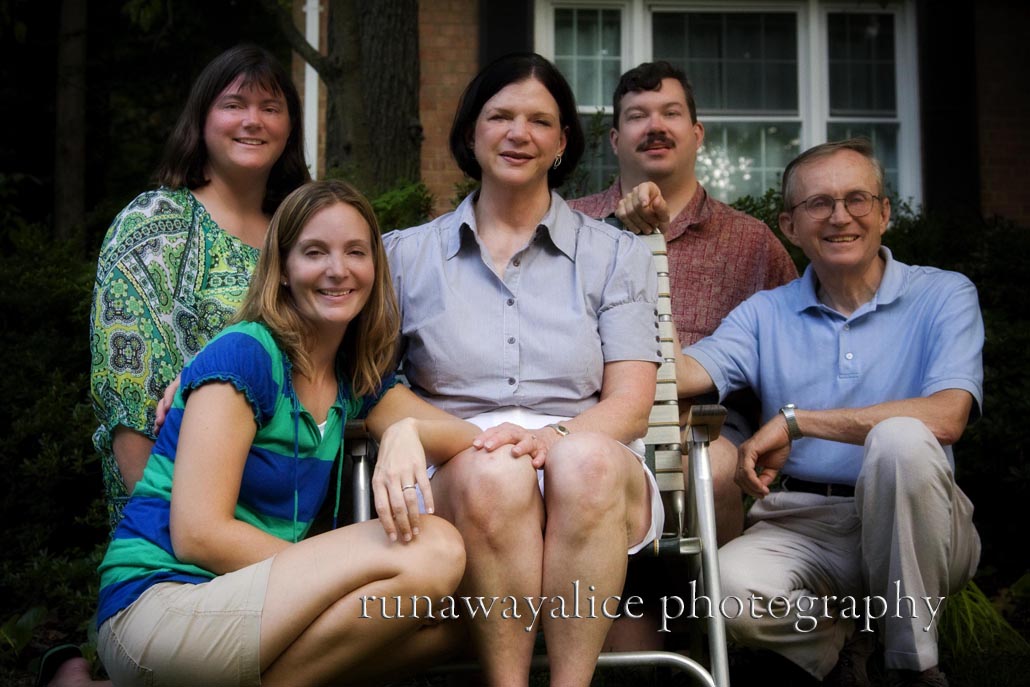
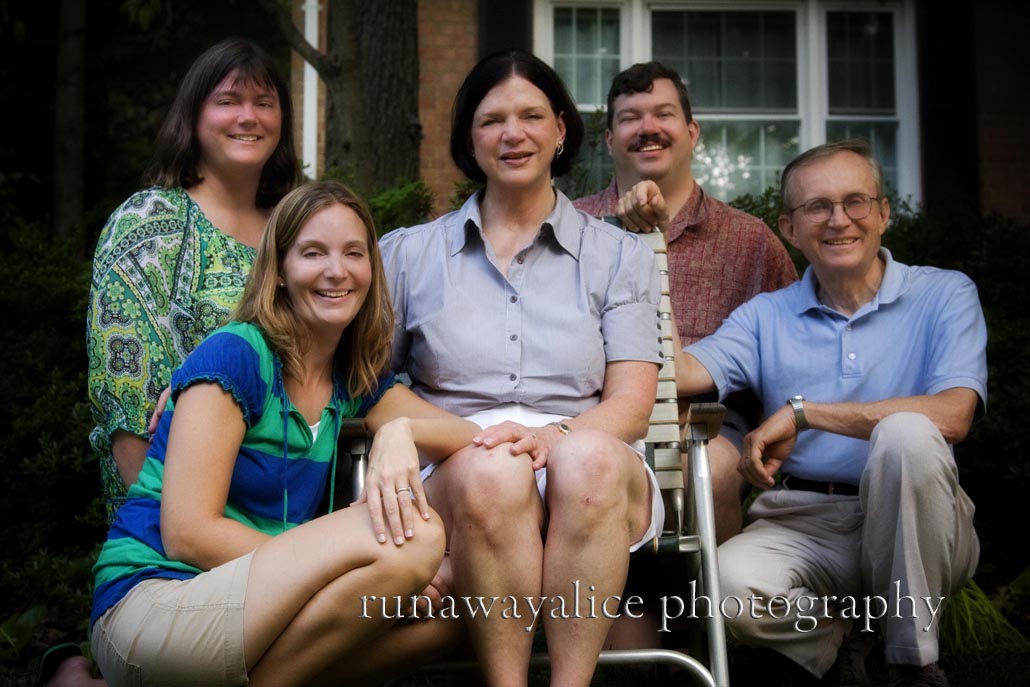
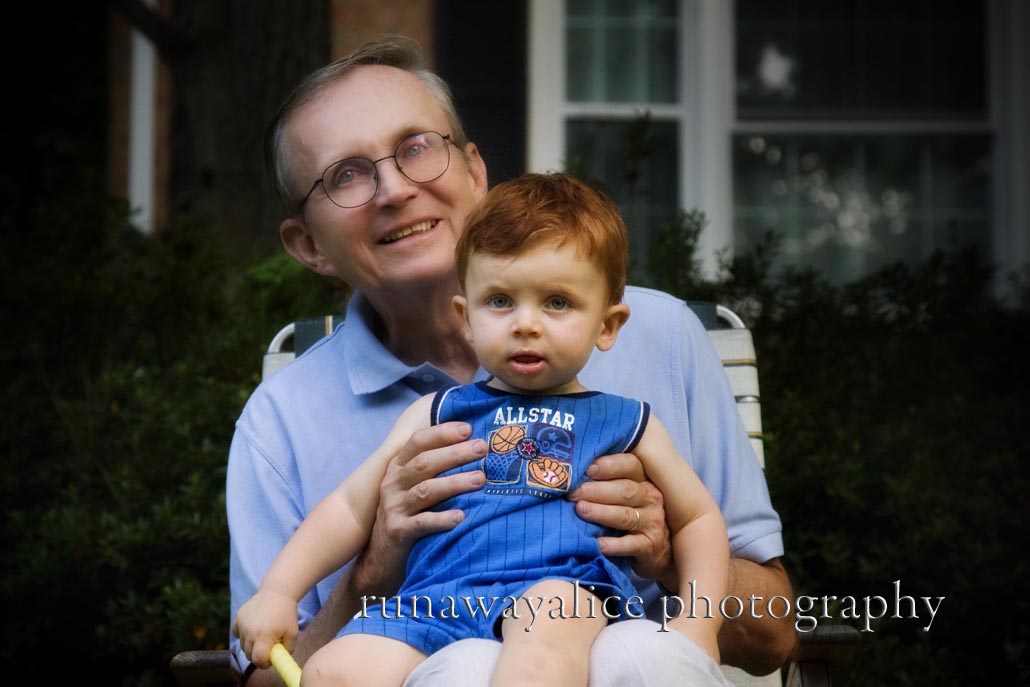
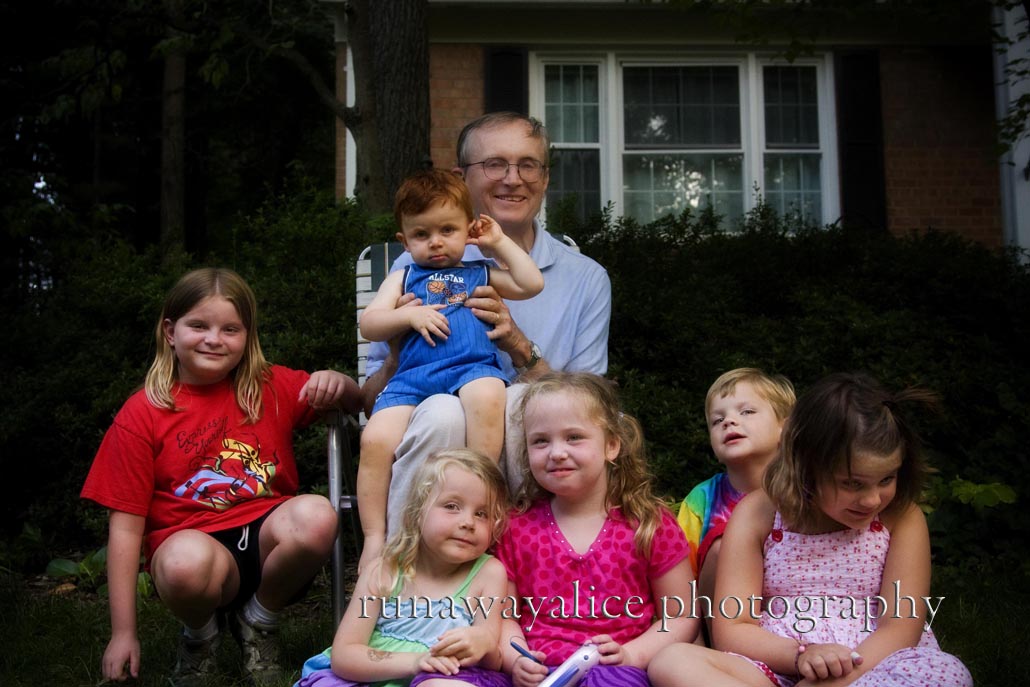
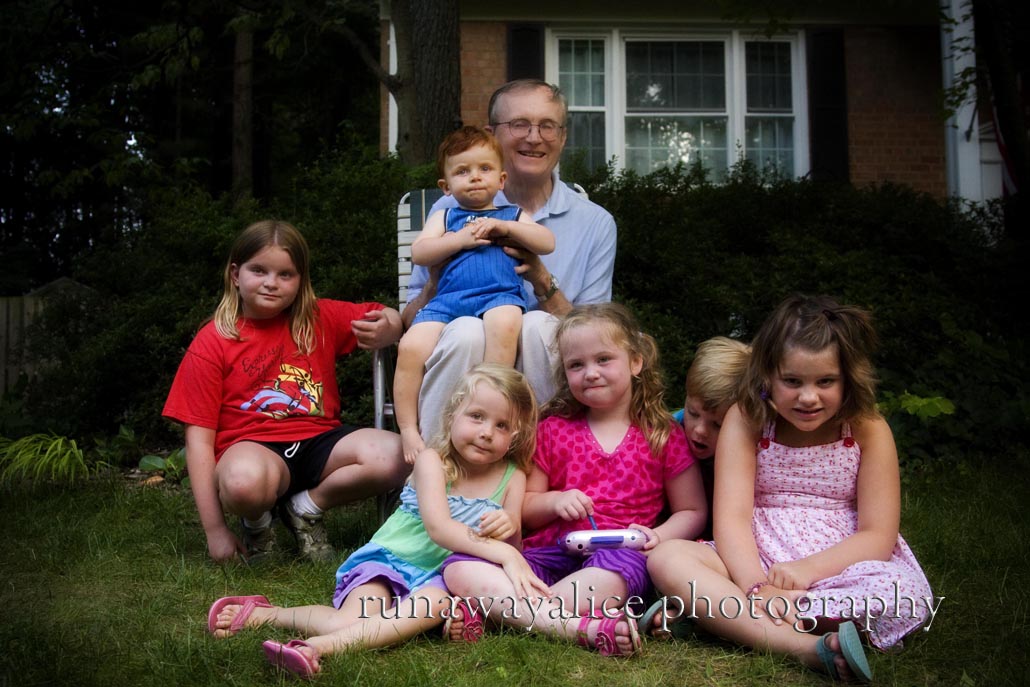
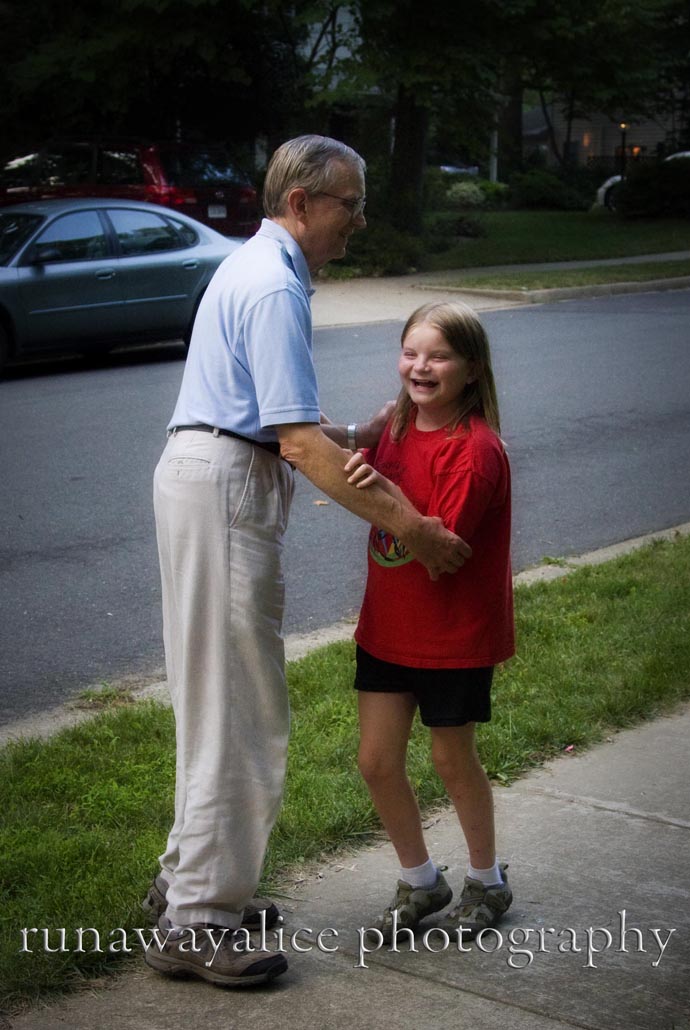
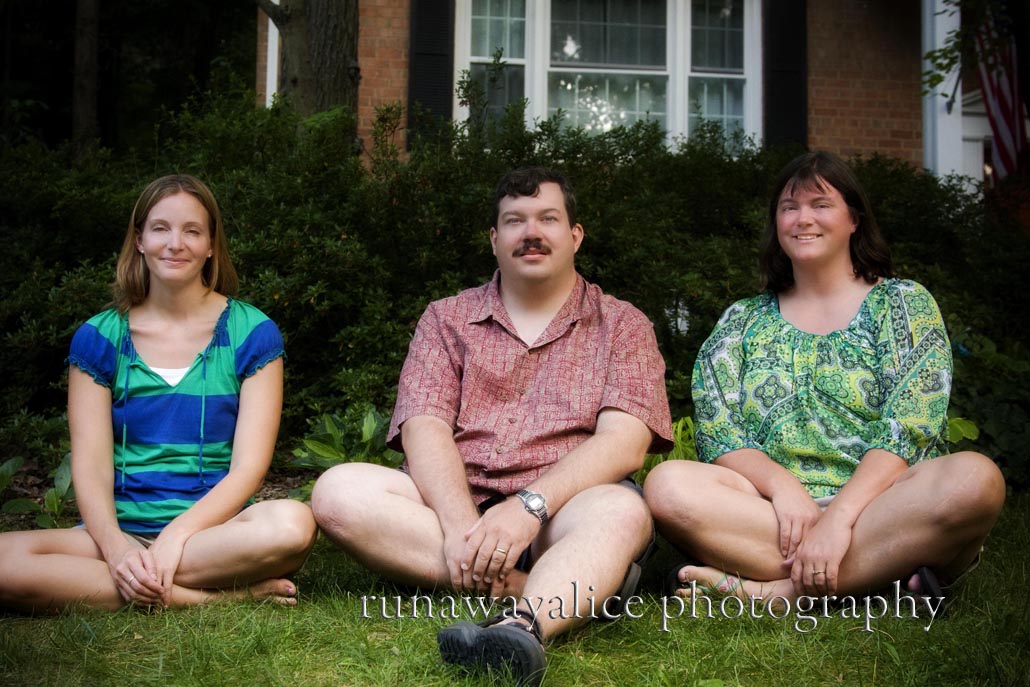
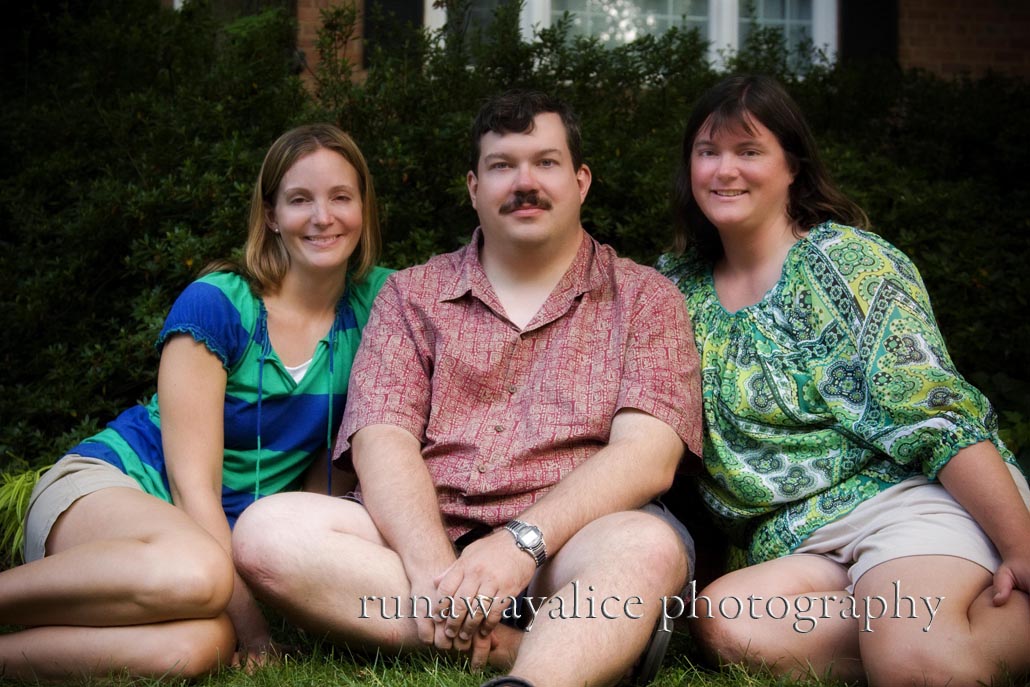
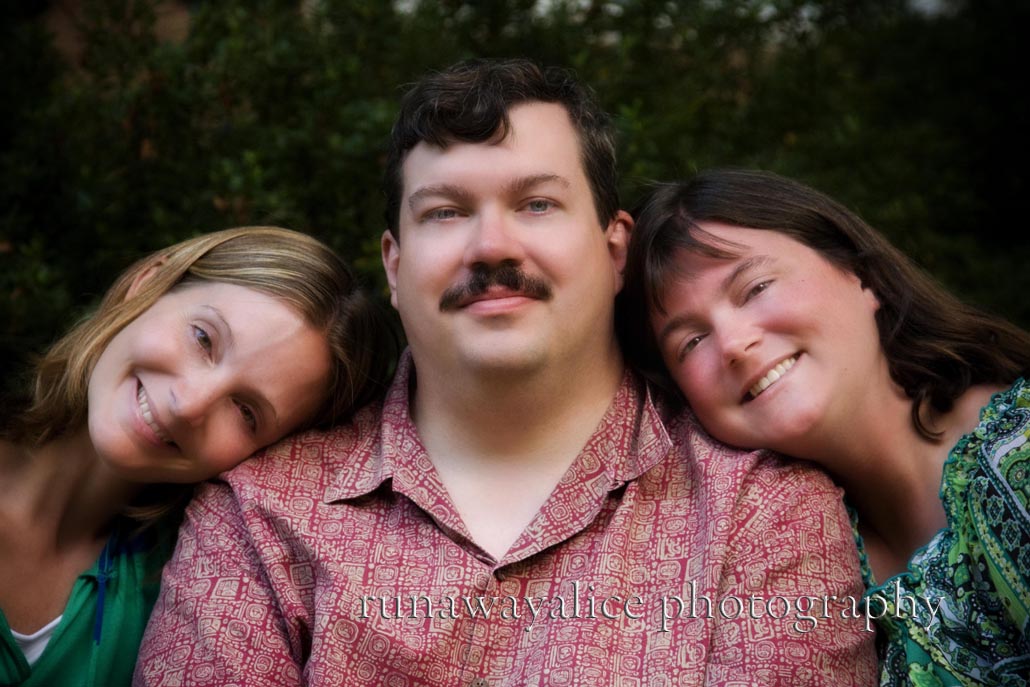
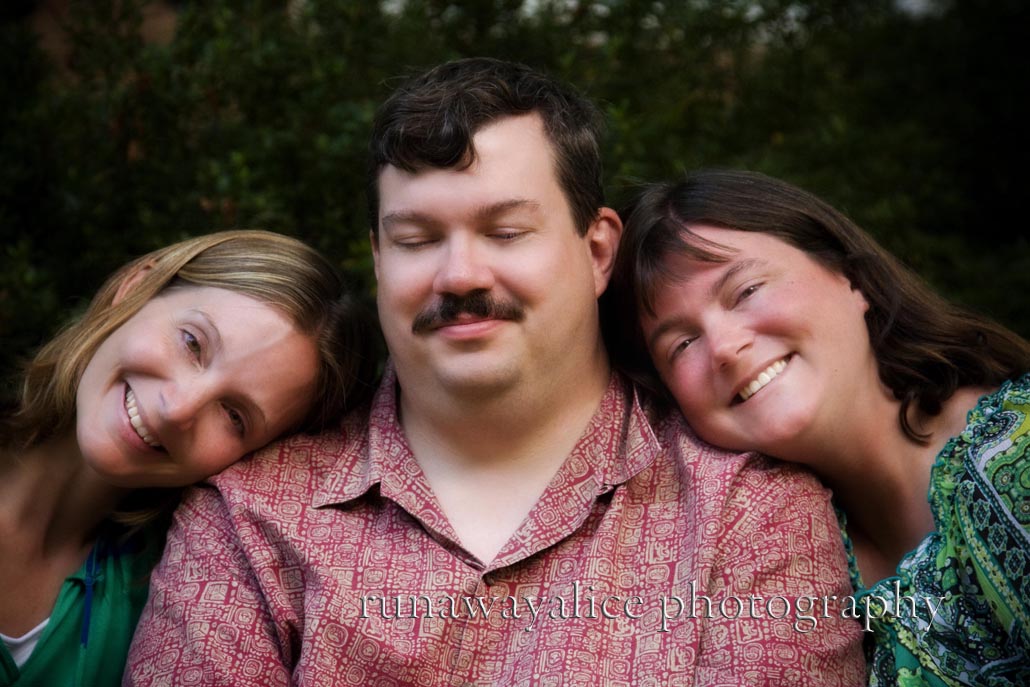
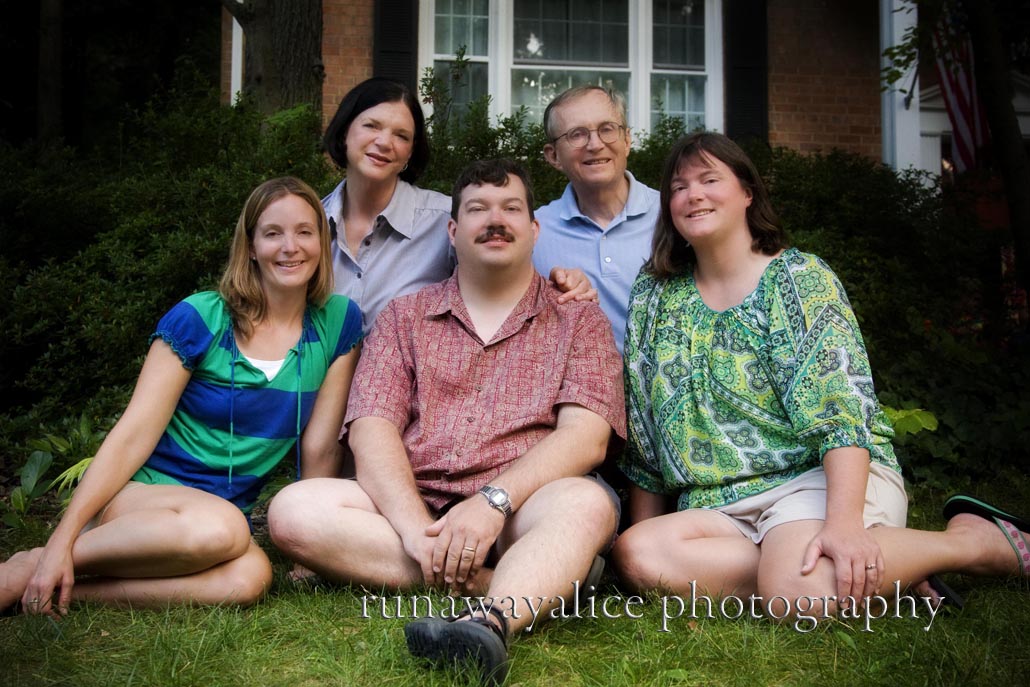
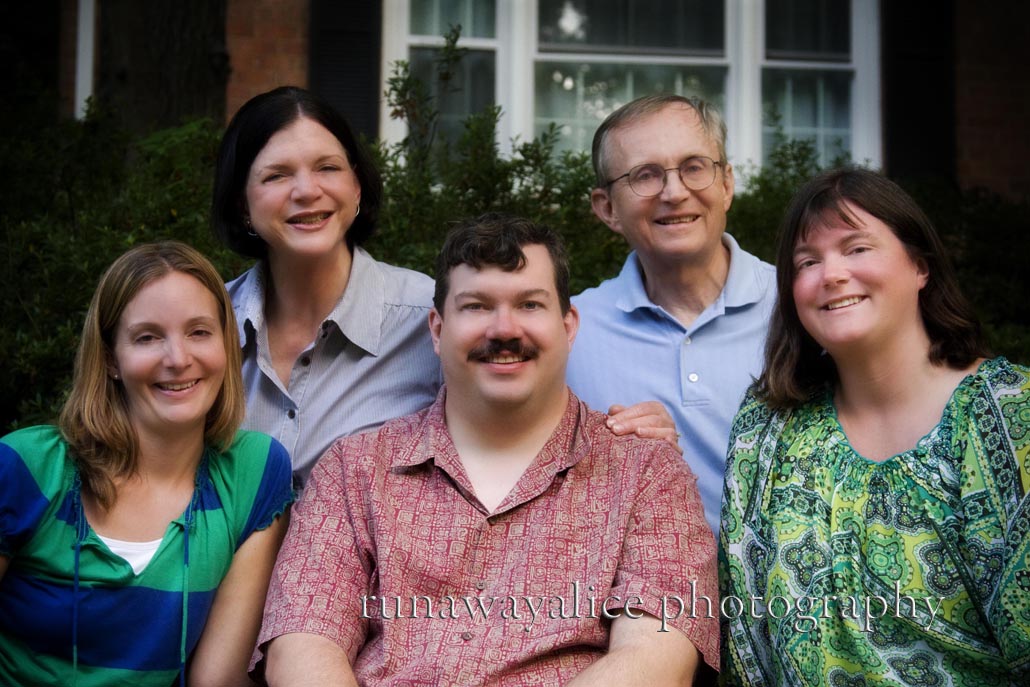
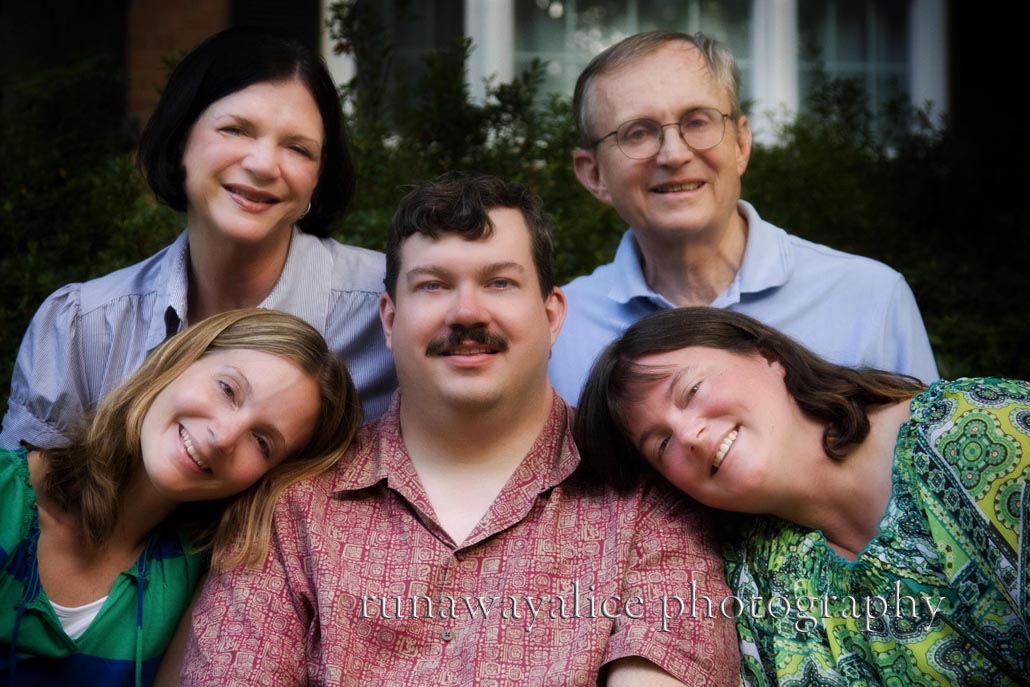
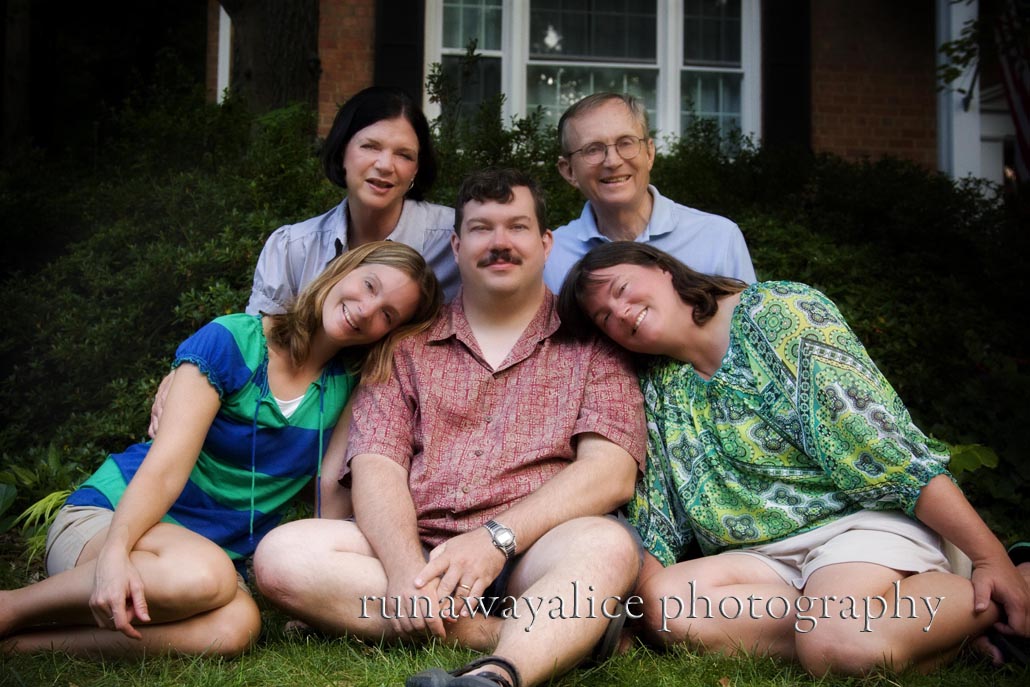
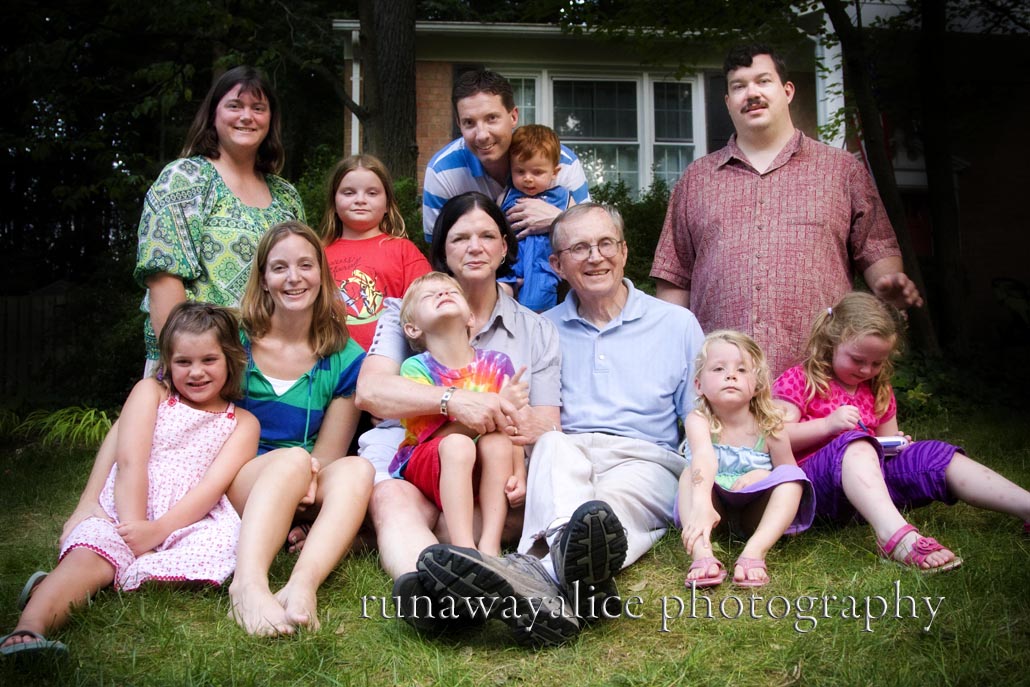
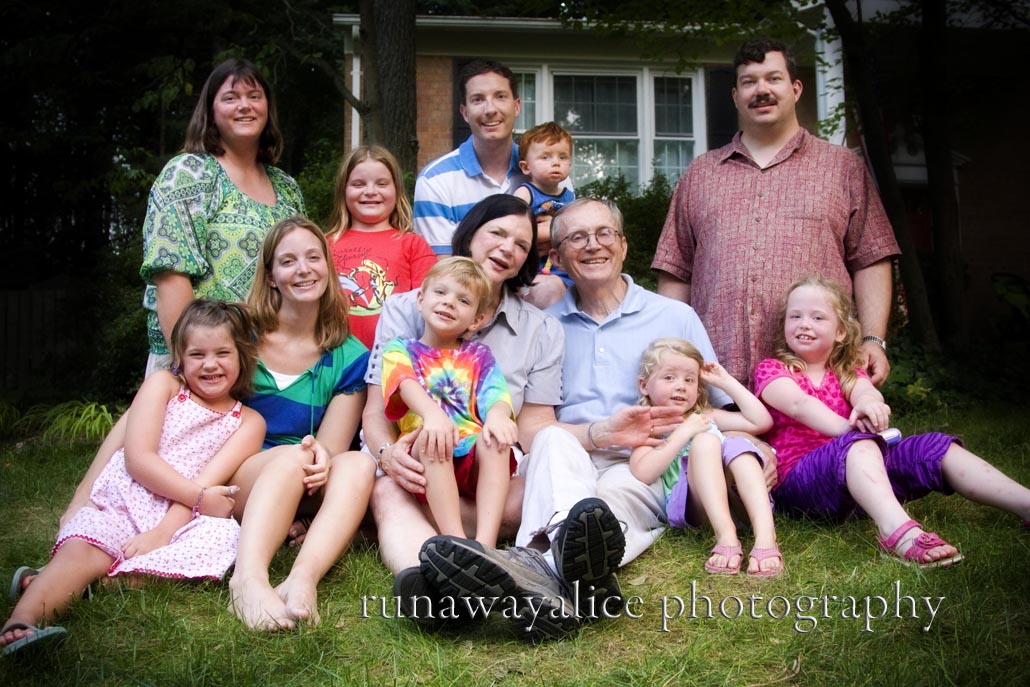
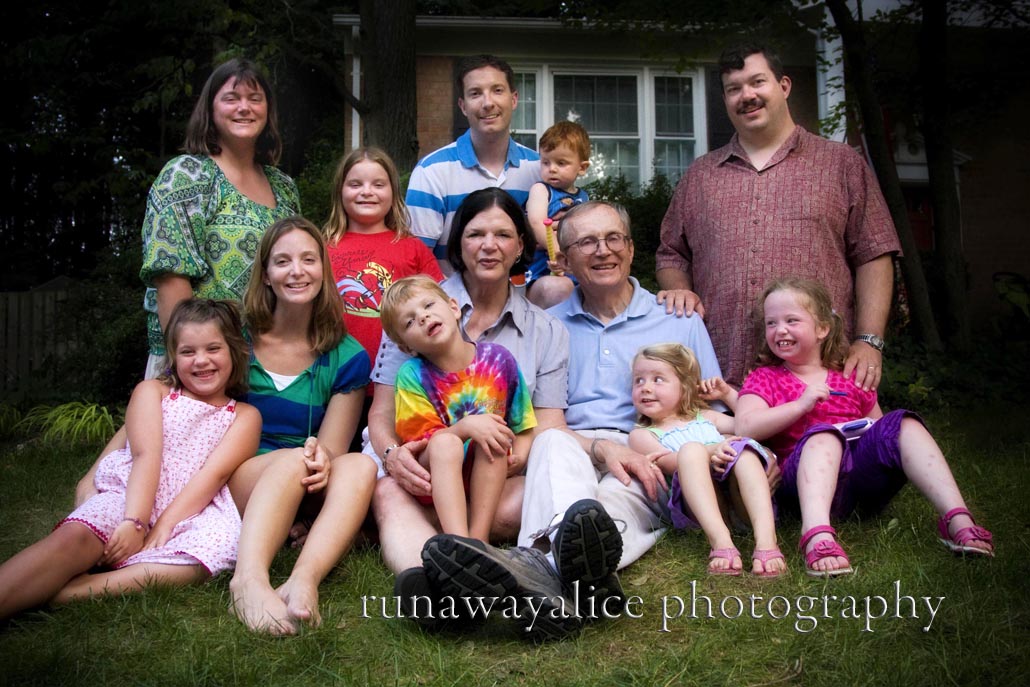
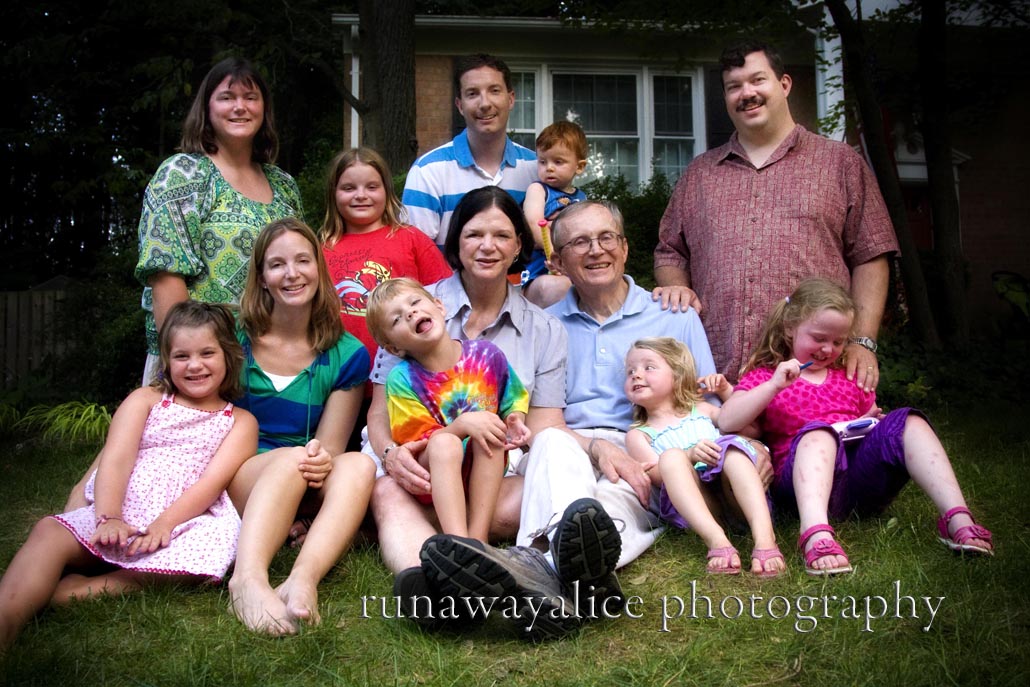
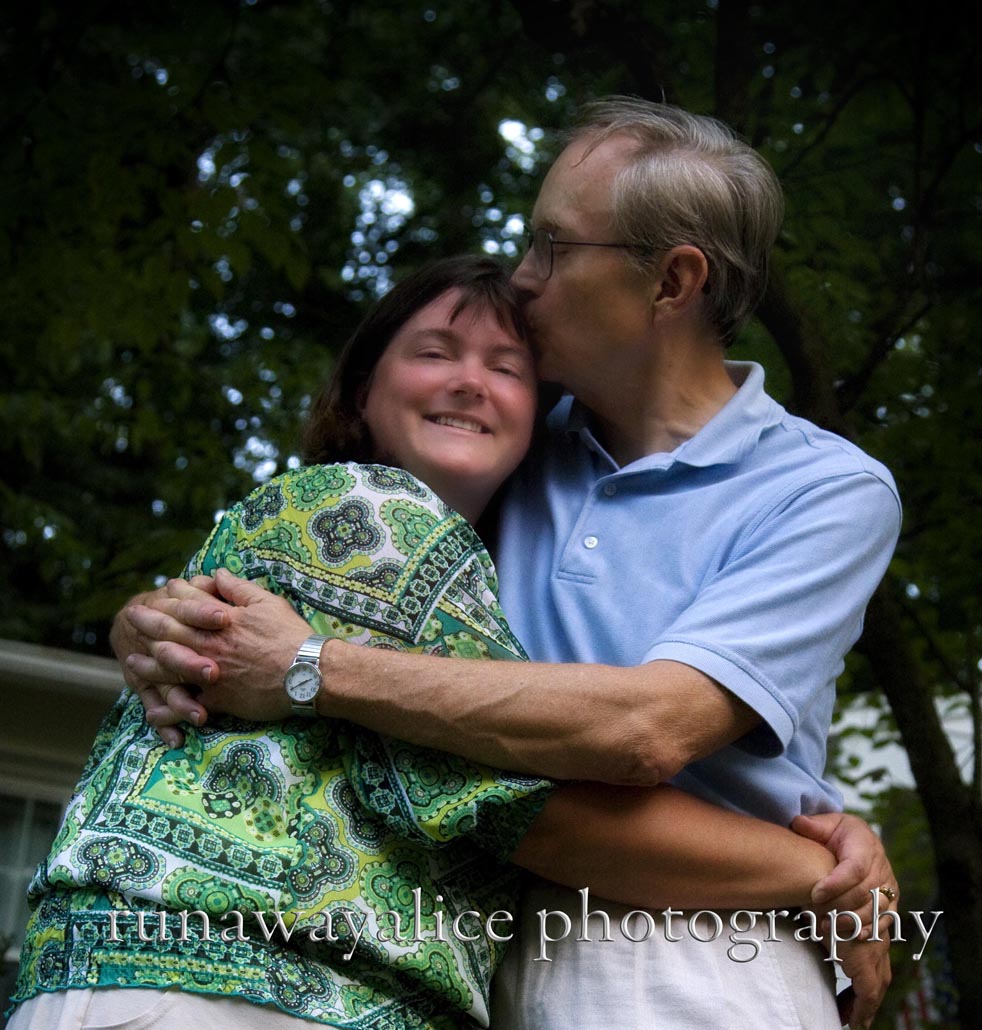
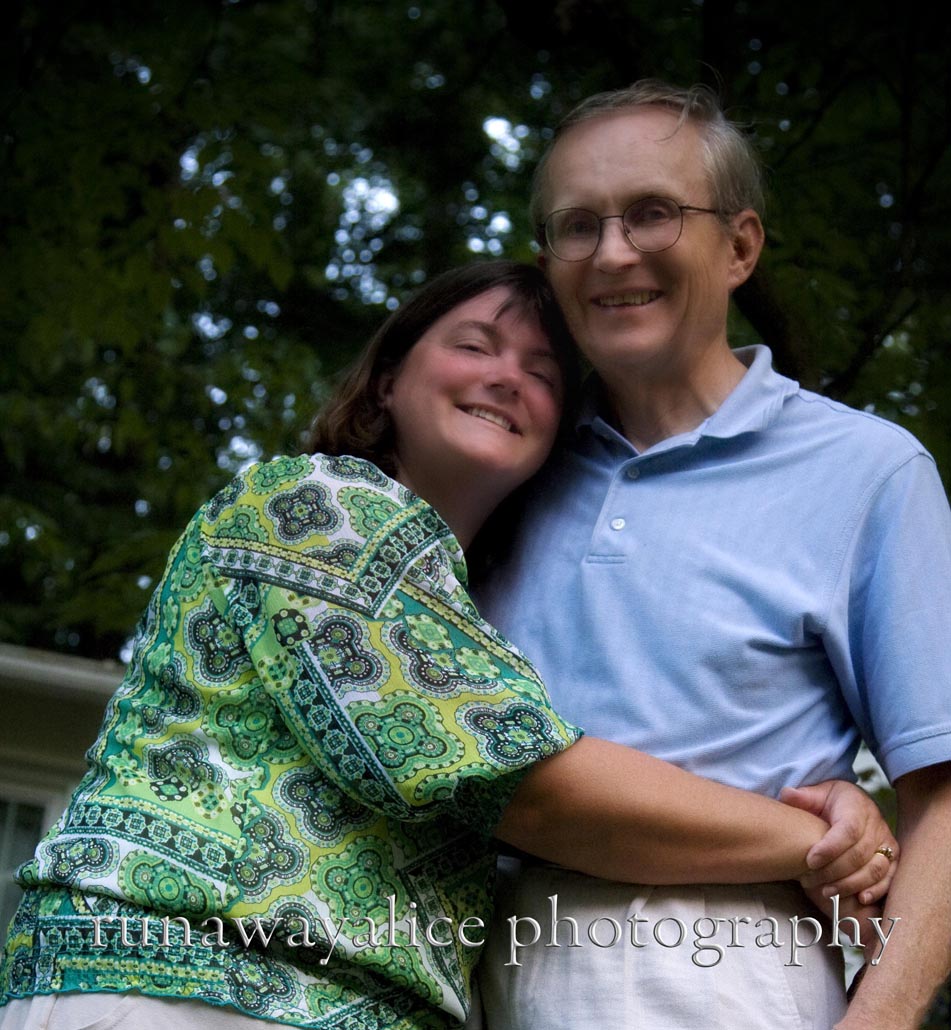
Last night I met up with the Enderson Family at their beautiful home.  They decided to take advantage of the Summer Portrait Special and have some family portraits taken.  They were wonderful, and we had a lot of fun despite the heat!

1 Comment

2 Comments

Beach Bummed

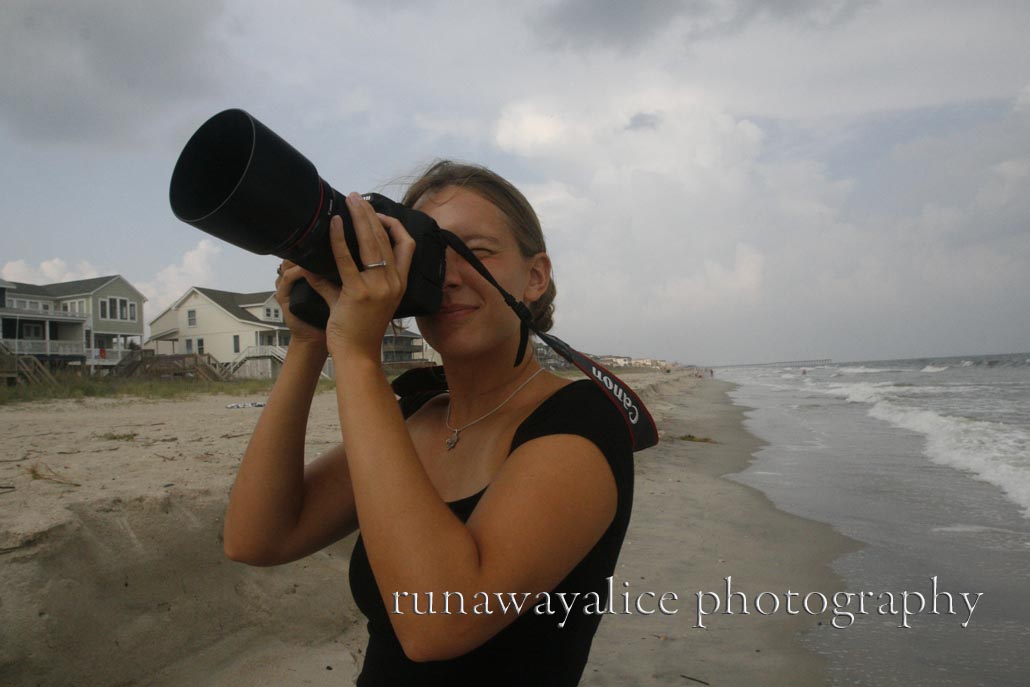
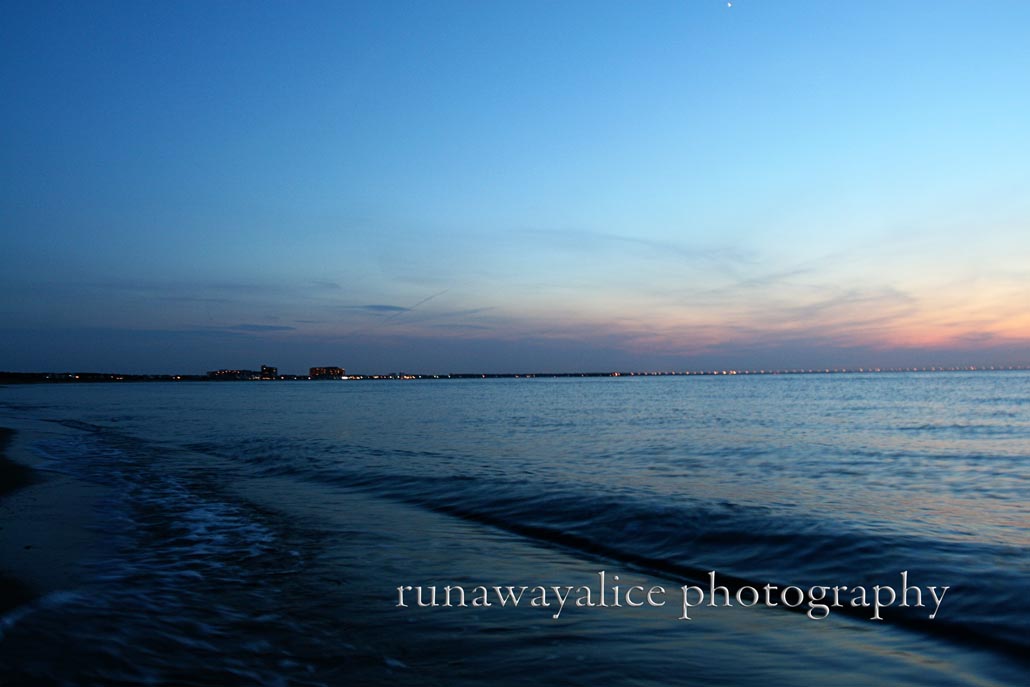
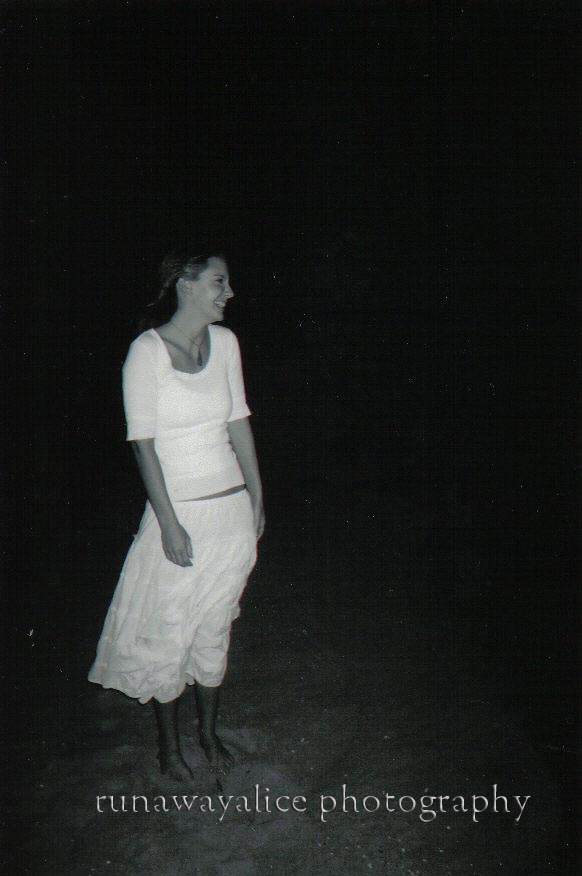
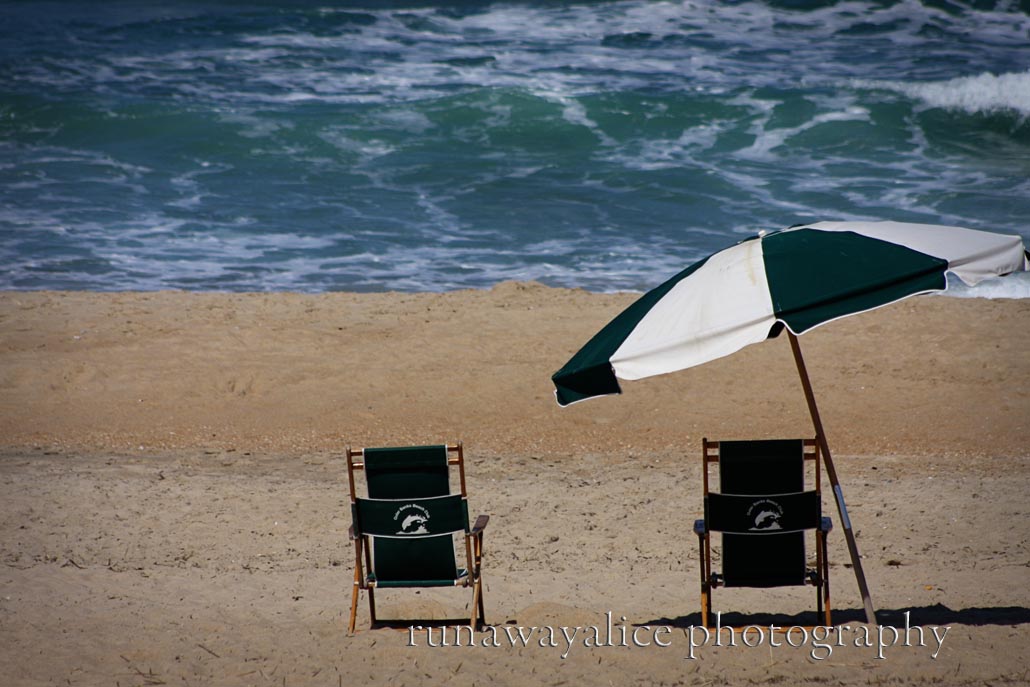
I miss the beach.  This is a fact that I cannot ignore.  For over a year now I have been living in a landlocked state, for the first time in my life.  I grew up near or on the water, and I miss the smell of salt in the air, the heat that is so close it's like a hug, and the soft powdery feel of sand beneath my toes. Unfortunately with the way the summer is looking, I don't think Speed Racer and I will be able to make a beach trip this year.  We have always gone to the beach at least once in the summer, it's a ritual, it's a need, it's a raw animal desire...see? I start to get a little dramatic when I don't get some beach time.

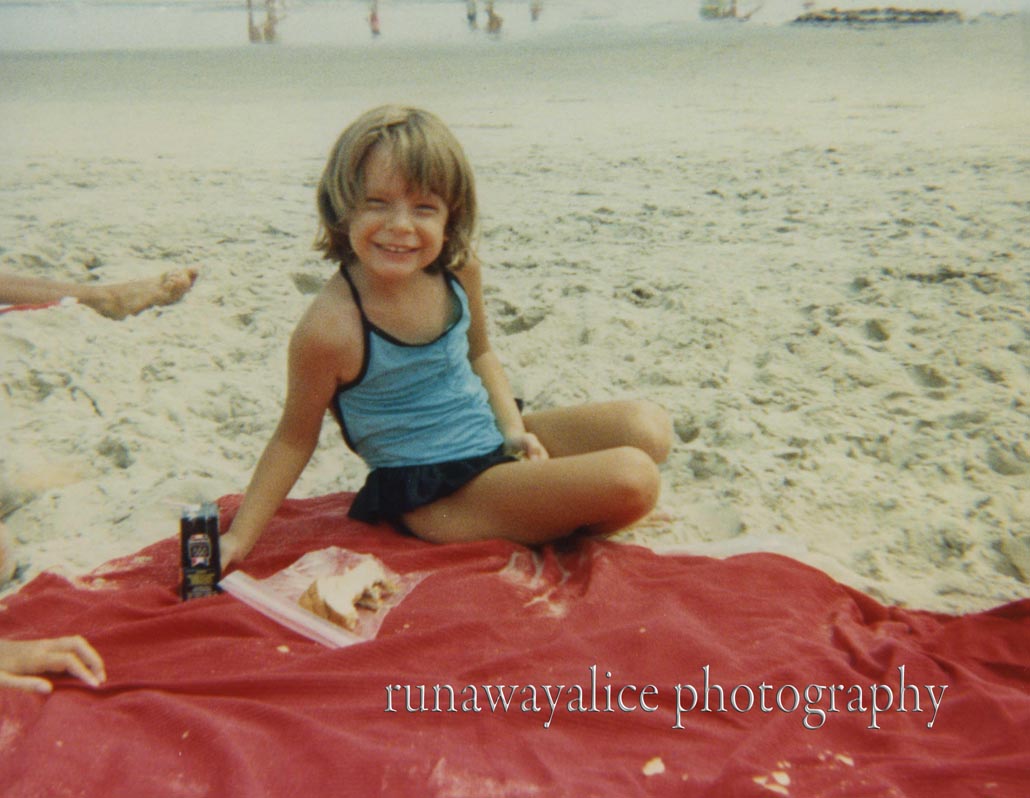
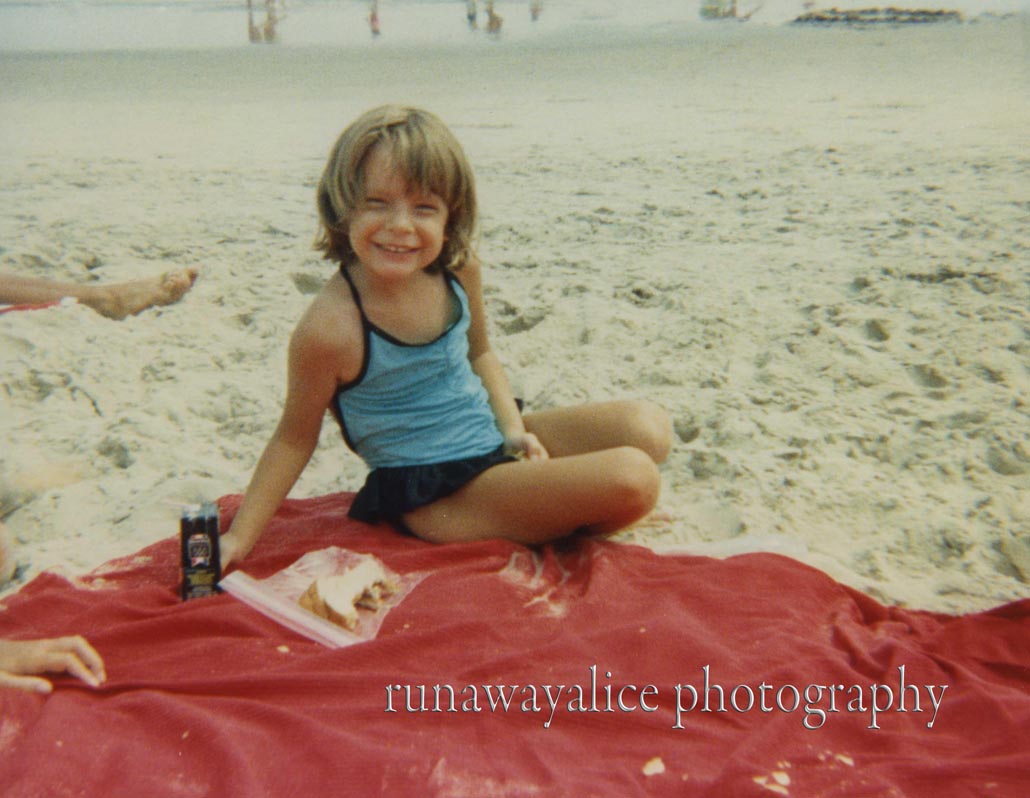
The day the above picture was taken of me, was a day that my parents will never forget.  At that time we only lived about 30 min away from the beach, and on the weekends in the summer, it was a fairly common ritual to hit the sand.  This day in particular the beach was packed.  When I was that age, I never really went farther than the water front without my parents, and after some lounging in the tidal pools I decided it was sand castle makin' time.  One of my favorite parts of sand castle makin' time was collecting beach items to decorate my sand castle with.  My Mom started getting the buckets together and asked me to collect a few shells to put on the castle.

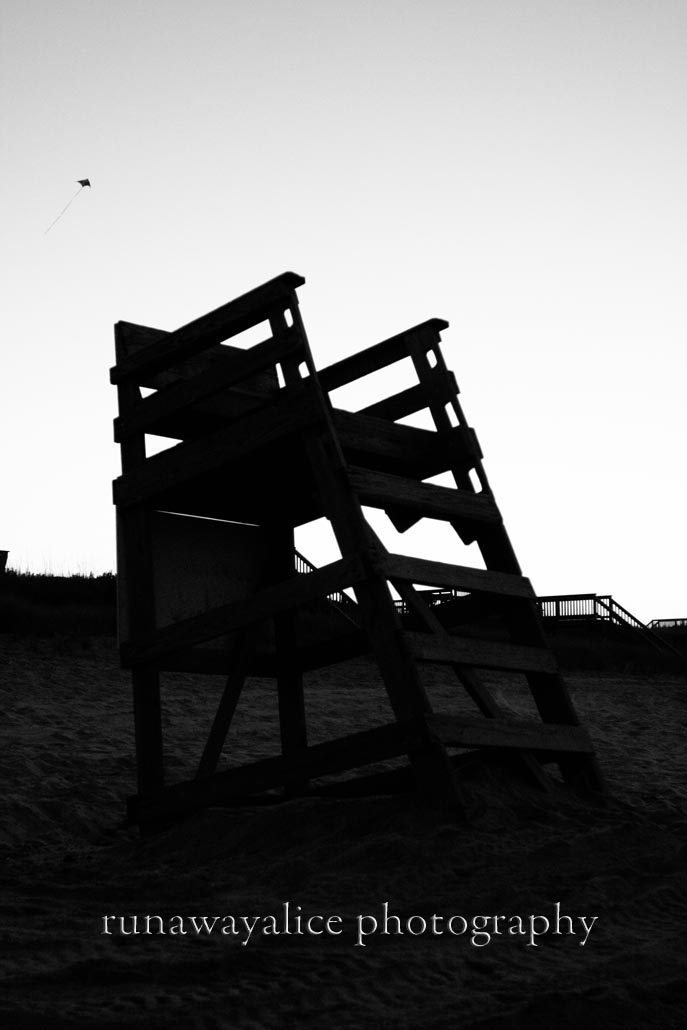
I started collecting and I guess got a little farther away than planned.  But what really did me in was that I lost our blanket in the sea of blankets and passed it on my way back.  I have no idea how long I walked.  But it was long enough that eventually I started to get scared, very scared.  Finally in frustration I just sat where I was and started to cry.  Luckily I was right in front of a lifeguard station.  The lifeguard came down and asked me if I was lost.  Being told so many times to not talk to strangers, it took me  a while to warm up to him.  But he showed me all his official uniform items, and his radio, and said that he was a good stranger and that he was going to help me.  He took me up on the lifeguard stand, gave me some crackers and some water, and radioed down the beach for my parents.

I can't explain the relief I felt when I saw my parents (or now that I'm older, the relief I'm sure they felt when they saw me!).  They took me back to our blanket, where my two brothers explained they thought I had drowned...and may have been a tad happy about it (no annoying little sister, yay!).  All kidding aside, they hugged me and explained how worried they were and how hard they had searched the beach.  It was a great reunion, and that's where that picture was taken.

With such a traumatic experience you would think I would be afraid of the beach or the water, but no.  If anything it strengthened my love for the beach.  For me it is a place to be alone, a place to get lost in the roar of the waves, and a place where the ever changing scenery is all I need.  It is a love that Speed Racer and I have always shared.

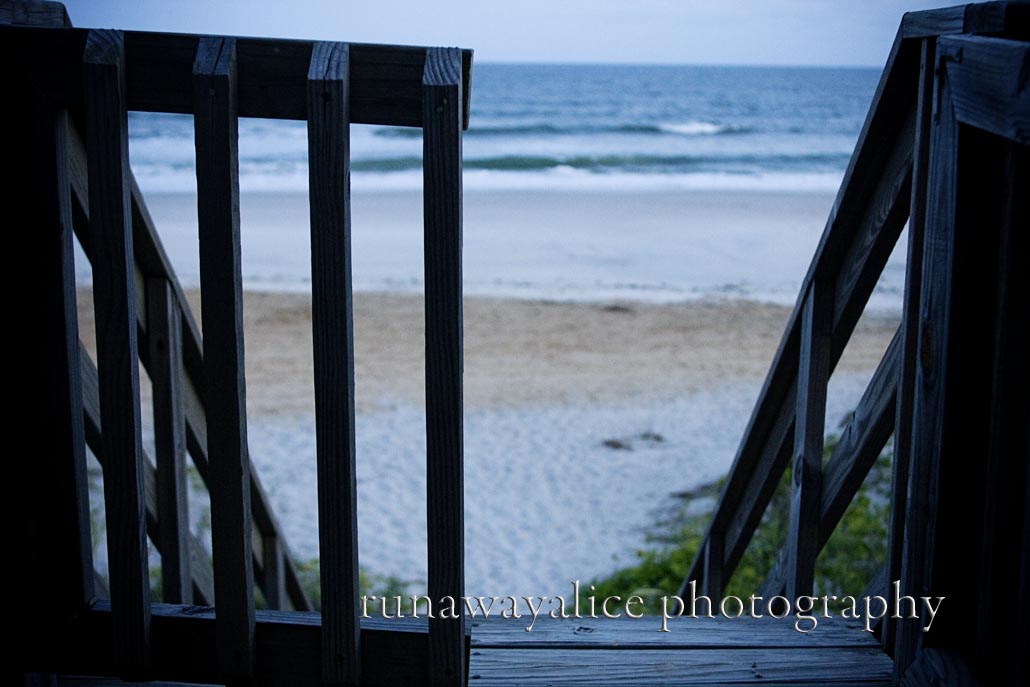
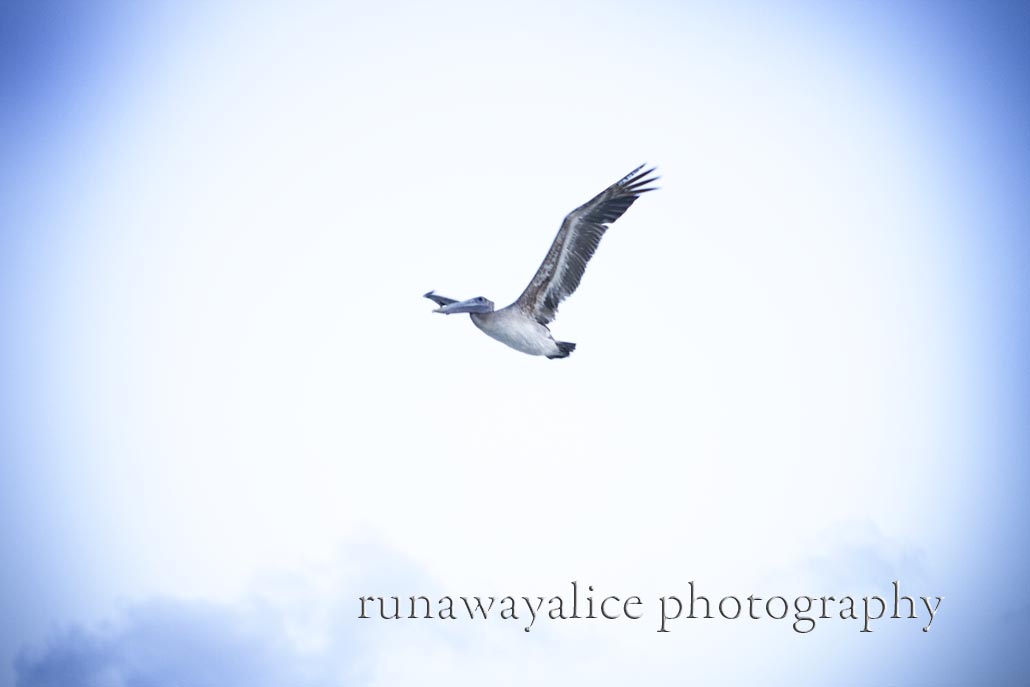
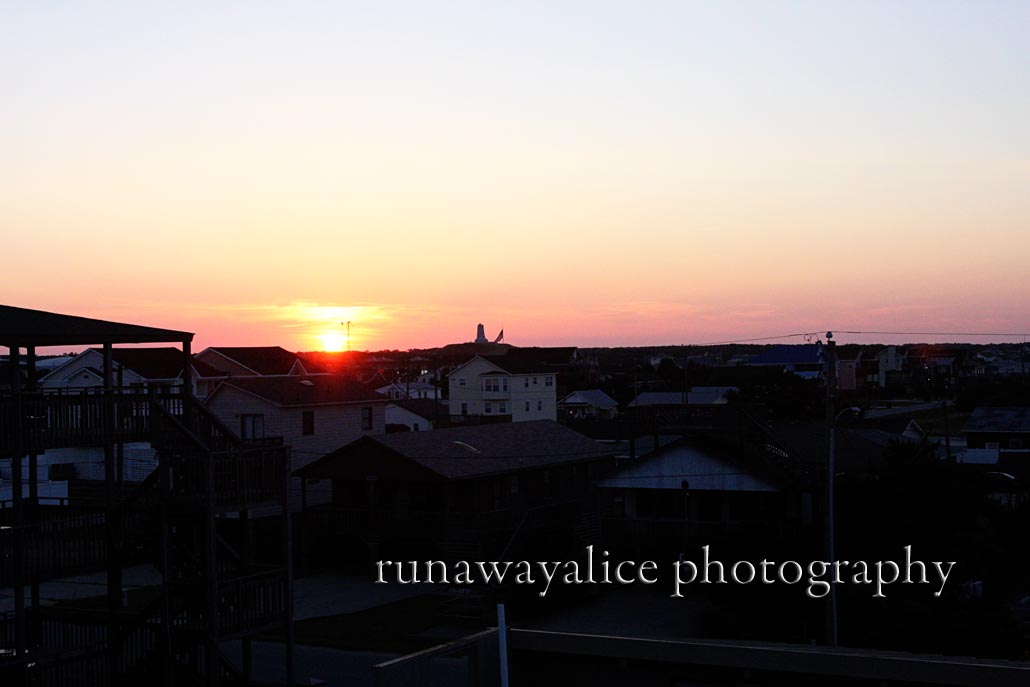
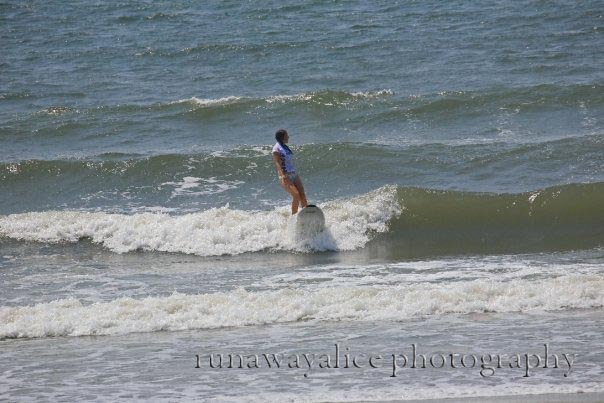
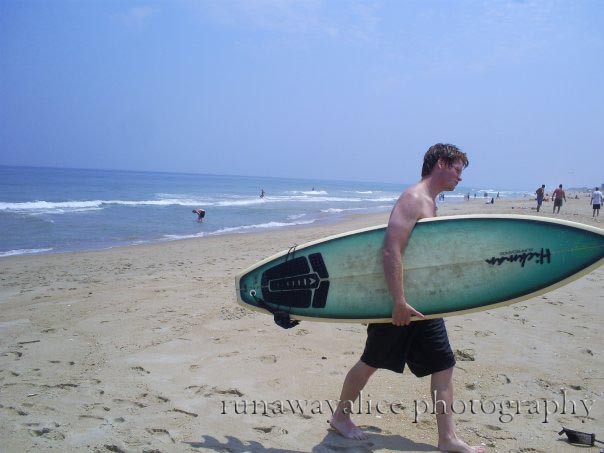
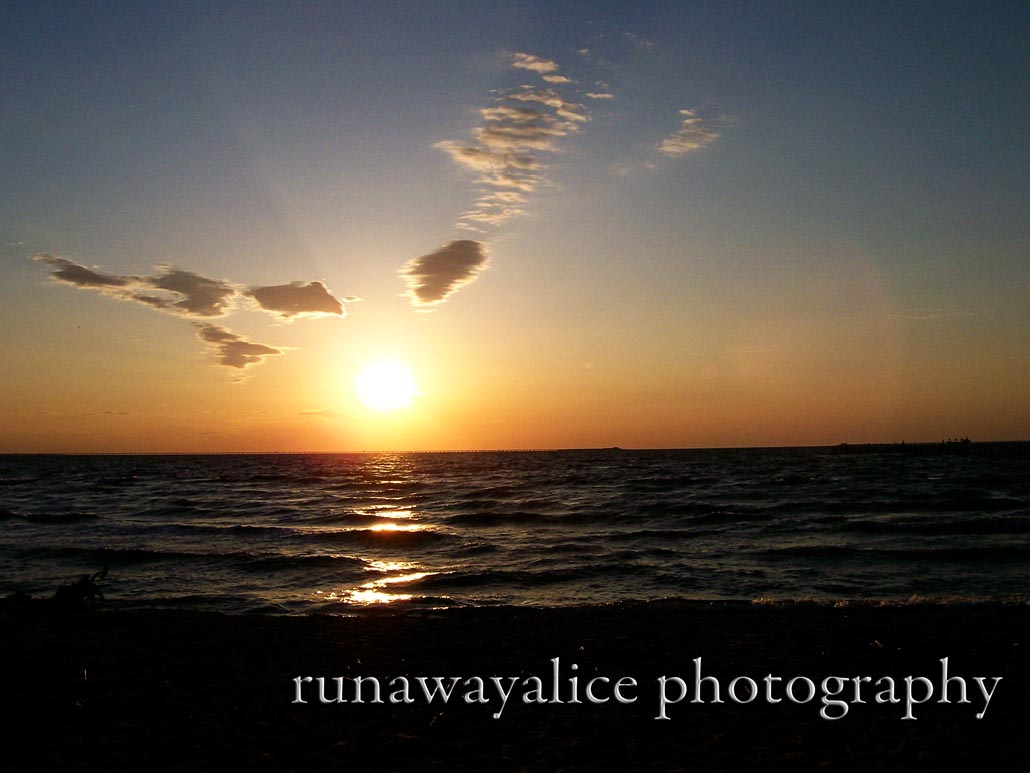
Here are some of my favorite beaches and watering holes.  Some of the pictures are not mine but hopefully the people who took them won't mind sharing.  They are all family and friends.  Hopefully this will give you a taste of the beach, even if like me, you can't get there this year.

2 Comments

3 Comments

Busy Weekend

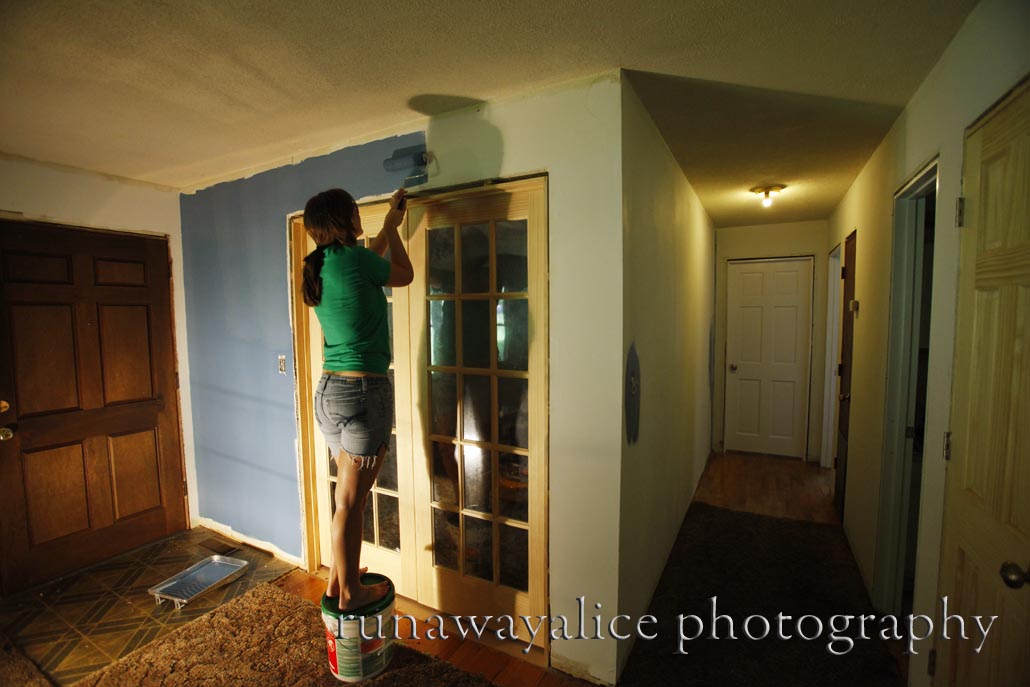
Speed Racer and I had a very busy weekend.  Although there was some down time (like when I took a nap because, let's just face it, there was no way I could stay awake anymore) in between everything going on.  Mostly we worked on our house and yard.  What most people don't realize is that with both of us being primarily freelance, our weekends often get taken up with work, so when we have a free weekend, we have to catch up on maintenance and improvements on the house. 

To catch up on all the updates, improvements, and messes we've made (and haven't posted about since November, eek!) click here.

I was also in a baking mood...and when I get in a baking mood there is no stopping me.  On Thursday night I baked a cherry pie, on Friday I made homemade spaghetti sauce (a recipe I'm going to share with you, hooray for you!), and then Saturday morning I baked two blueberry pies (with made from scratch crust of course) before we started the days work.

Now some of you may think "Wow, that's great that you baked all that stuff, you must be really motivated!" But for those of you who know me, baking is always therapy in some way...a way to stay busy.  Right now I find myself in an interesting employment situation, I am part time employed by another photographer, Rebecca Claire Photography.  I am also trying do some of my own photography on the side, and due to the summer turning out differently than planned and the financial status of just about everything right now, I am also looking for a part time job for some extra cash in my pocket.  Although I would not say I have a lot of down time, between photo shoots, editing, marketing, and filling out applications.  I have had some at home time however,  to realize how big a job budgeting, looking for deals, and cooking from scratch can be.  I am both busy all the time and not employed all the time.  It's a weird situation to be in, and can be discouraging sometimes.  So I guess what I'm trying to say is, my hat's off to you home makers out there!  It's a full time job and I don't even have little munchkins to distract me.  And it's an important job, and a harder job than you think.

On a lighter note:  Here is my recipe for home made spaghetti sauce!  I like to take snippets from other recipes until I can combine something that I like.  This is what I came up with.

What you'll need: 6 med tomatoes peeled and chopped, 2 green onions minced, 1/2 white onion, minced, 3 Tbsp minced parsley (I used dried), 2 tsp red wine vinegar, 1 tbsp. sugar,  or 1/2 tbsp. dried basil, 1/8 tsp. pepper, 2 garlic cloves minced, 1 tsp. oregano, 1 bay leaf, 1 (4 oz.) mushrooms, 1/4c. flour and of course Spaghetti!

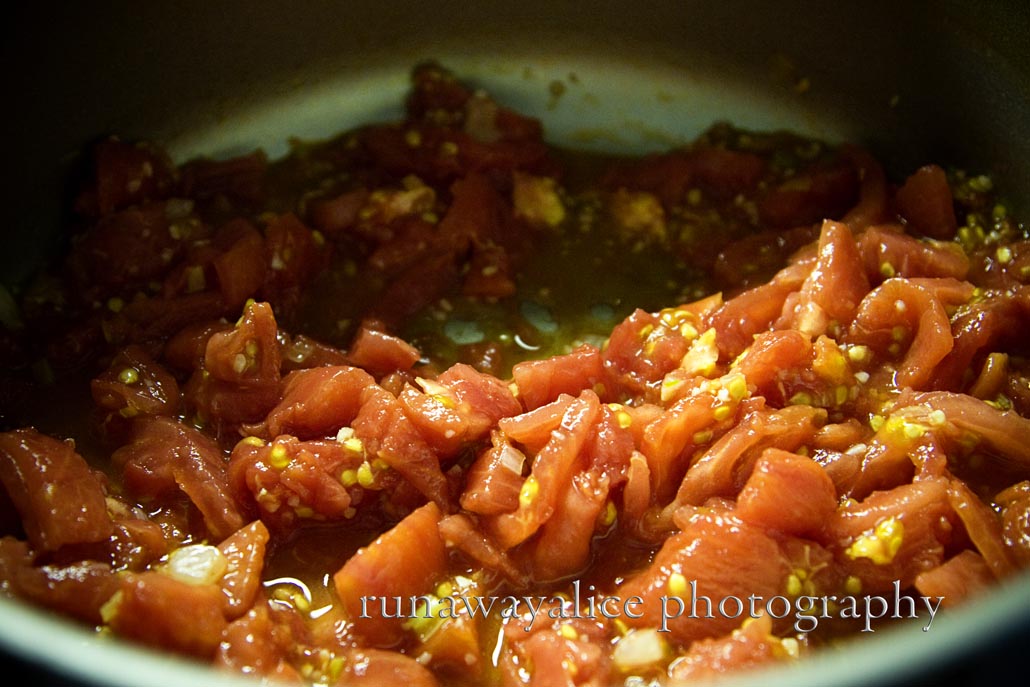
First you will want to peel and chop the tomatoes.  If you haven't done this before, it's a lot easier than it sounds.  Prepare a bowl with ice water and ice cubes in it.  Then boil another pot of water.  While your water is starting to boil core your tomatoes and on the underside score them with an "X".  This just provides an easy place to start to peel the skin.  Once your water is boiling, add your tomatoes.  Leave them in the boiling water for about 20 secs, then move them into the ice water for another 20 secs, repeat one more time with each.  After they have cooled in the ice water you should see the skin start to crinkle, at that point it's very easy to just peel off.

Chop your garlic, green onions, white onion, and tomatoes.  I sauteed the onions and garlic first in some olive oil in a medium sized sauce pan.  Then I turned the heat off, added the tomatoes and the rest of the ingredients except for the flour, mushrooms, and spaghetti.

I let this sit, unheated for about 2 hours to let the flavors mix.  Then about an hour and a half before I wanted to serve, I cut it on high until it began to bubble, then turned it down to low to simmer uncovered for the rest of the time.

I had some trouble with mine thickening up, so I sprinkled in some flour.  You may want to sprinkle some, mix, wait a little while and then add some more until you get yours to your desired thickness.  This is definitely a personal thing.  Some people like theirs runny, some people like their sauce thick.  About a half hour before dinner time, I added the mushrooms and of course got started on the spaghetti noodles.

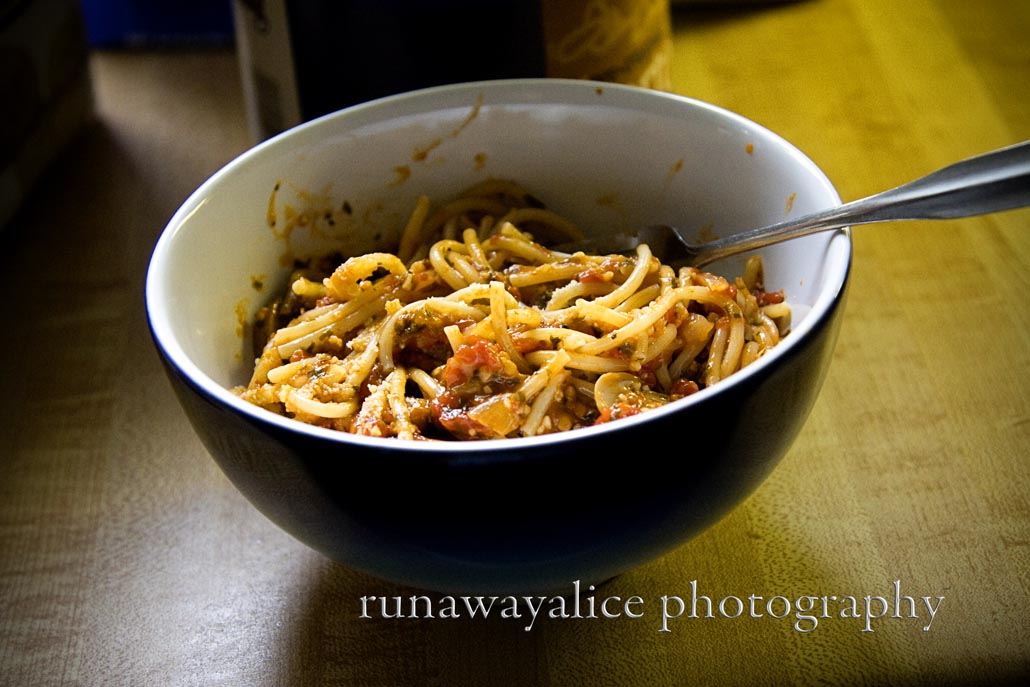
Then, presto!  You've got yourself some spaghetti with fresh spaghetti sauce.  This made just enough for Speed Racer and I so you may want to double the recipe if you've got a bigger family.  It turned out pretty fabulous if I do say so myself, but the real cause for that was the fantastic tomatoes that our neighbors provided us with.  They were soooo tangy!  So make sure you choose your tomatoes wisely, my friends.

Now I'm off for another week of photos, editing, applications, house work, house maintenance, cooking, and who knows what else.  Happy Monday.

3 Comments

Comment

Camera Basics: Depth of Field

On our last camera basics post we talked about camera settings and Aperture Priority, Shutter Priority, and Manual.  We lightly touched on what aperture is and depth of field, as well as shutter speed.  Today we're going to talk about how aperture affects your depth of field and how depth of field affects your pictures. Depth of field is literally, the "field" in your photograph that is sharp or in focus.  Your aperture is what determines your depth of field.  Smaller aperture number 2.8 means the larger the opening in the camera is (I know it's confusing it's backwards!), the higher the number like 22 the smaller the hole and the more that is going to be in focus.  Let's use some pictures to illustrate, that always helps me figure it out a little better, and after all this is a photography site!

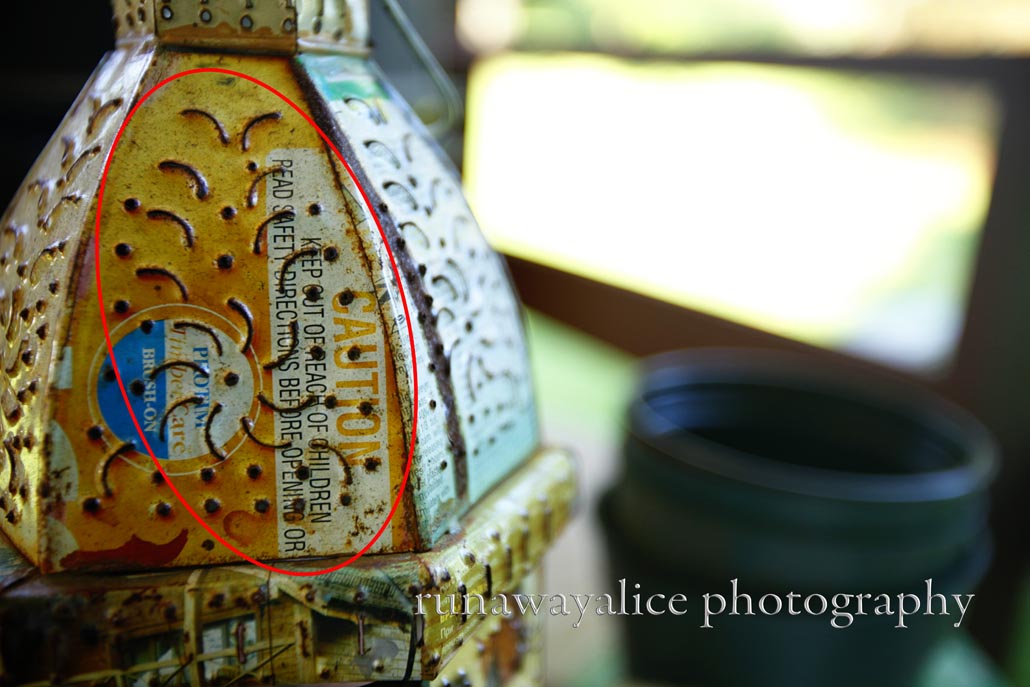
For example if your aperture is set at 2.8 (wide open) you are going to have a shorter depth of field, meaning the things closer to you will be in focus and the background is going to be soft and out of focus.  Here is a prime example of that.  The red circle highlights the area that is in focus while the background is out of focus.

Here is another example.  In this photograph my aperture is set at 5.0, shifting the depth of field more towards the middle.  Now I am highlighting the corner of the lantern (yes it's a funky lantern, oh the things we use for examples).  This allows the closest part of the object to go out of focus, while also keeping the background out of focus.

Again, as we continue up the aperture numbers, this is at about an 8.0.

And all the way up.  Now, even though aperture controls your depth of field, the point on which you decide to focus on is obviously also going to change what is in focus and what is out.  For example if I were to zoom out in this photograph but keep my aperture at 12-22, then everything would be in focus, not just the back ground.  But I am choosing to focus on the background.  But I am also able to do that because of my aperture being set at the higher setting.  Confused yet?

Sometimes it helps if you take your camera lens off of automatic focus, set it to manual and then set your aperture.  See when you move the focus what is in focus and what can't be in focus at that setting.  That will give you a little better idea of what I mean.

Most of the time I prefer a short depth of field, meaning I keep my camera at 2.8 a lot.  I think it just adds an intimate feeling to the photographs.  But even in this picture I should have paid attention a little bit more and got his little antennae in focus as well.  Focus and depth of field help you tell the viewer what is important to you.

Like pretty flowers...

And tomatoes...

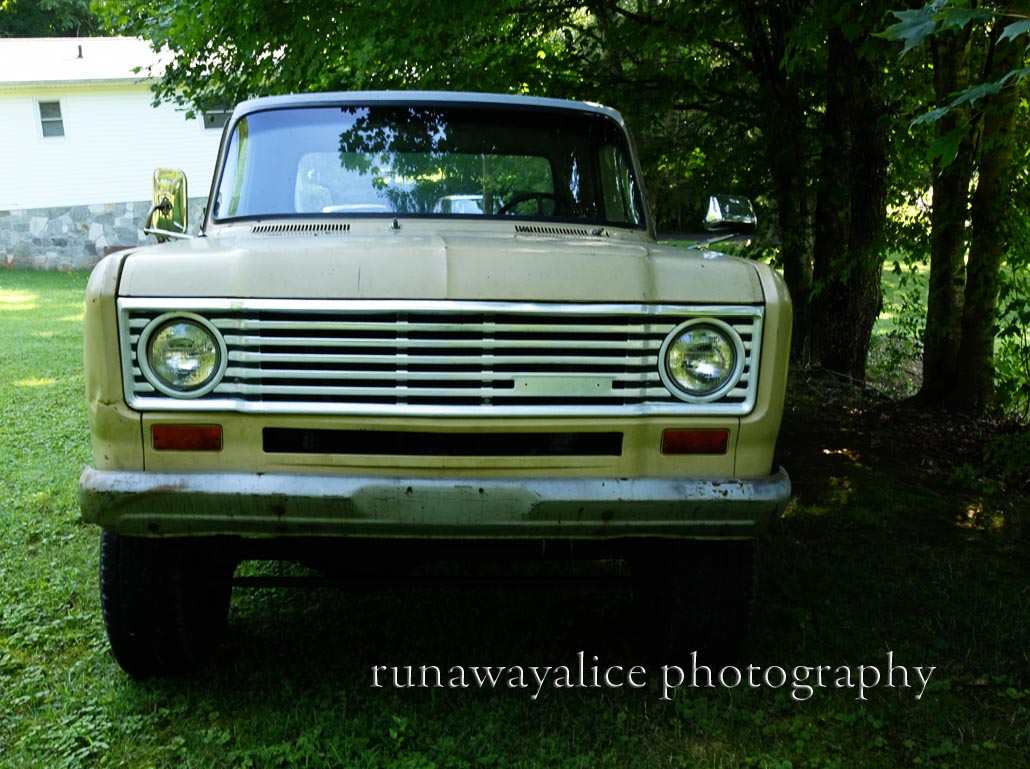
Here is another example of changing the depth of field within the letters on the truck...

A little bit farther out on the focus...

More over all in focus.

Although I prefer the shorter depth of field, there are times when having everything in focus is nice.   Like for large sweeping landscapes, or group shots, or big honkin' trucks.  If you take a landscape picture for example at a shorter depth of field (but you want it all in focus) it may look all in focus at the time, but then you'll get it home, put it in photoshop and go, "why is that mountain back there fuzzy?" Same with group shots, it will look wonderful but then you'll exclaim when poor ol' Uncle Bob is all fuzzy.

The only last thing to remember is that as you're changing your aperture, remember that you have to adjust your other elements like shutter and ISO to compensate for your lighting.  So, if you're in Aperture Priority (AV) your shutter will adjust for you.  But remember to change your ISO if you're going from inside to out, or sun to shade.  If you're in Manual, remember to keep your eye on that light meter in your viewfinder and change your shutter speed when you adjust your aperture.  Now go out there and have some fun with depth of field!!

Comment

1 Comment

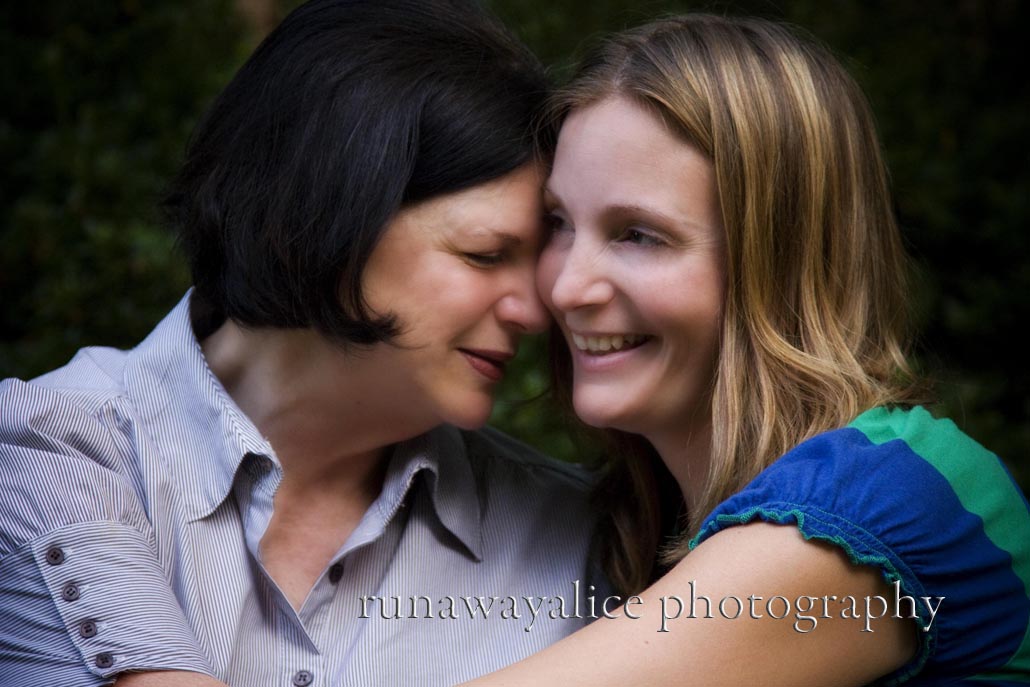
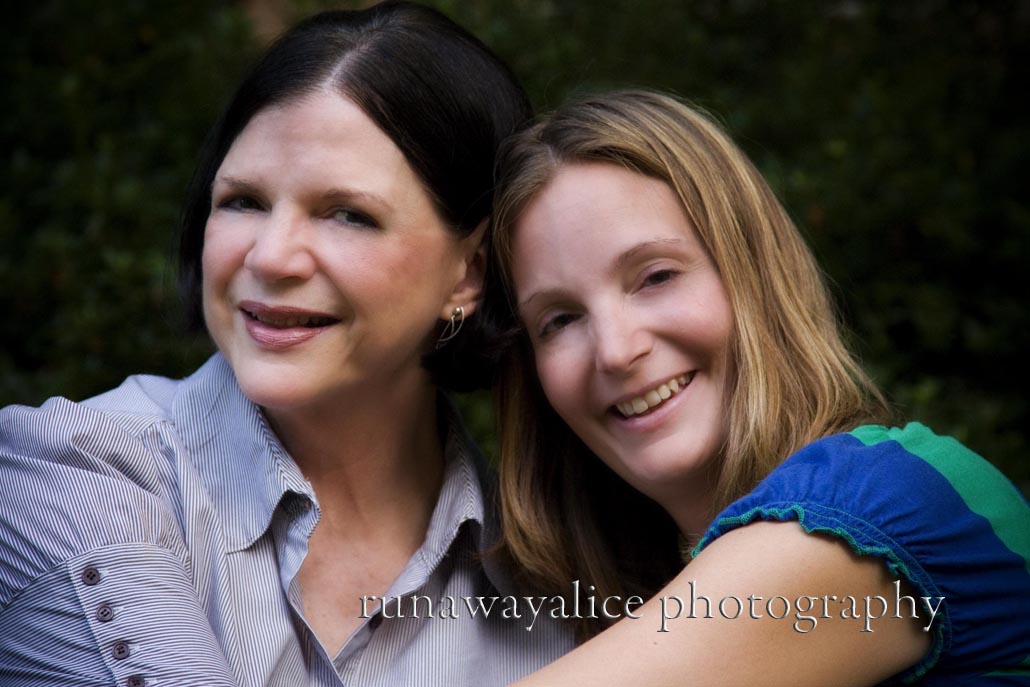
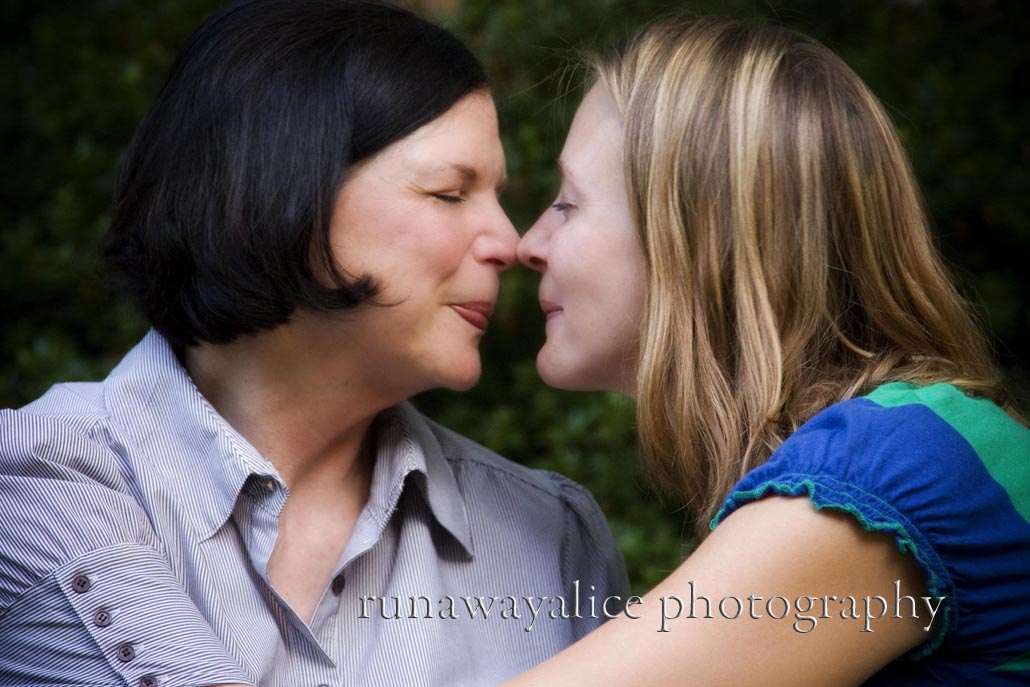
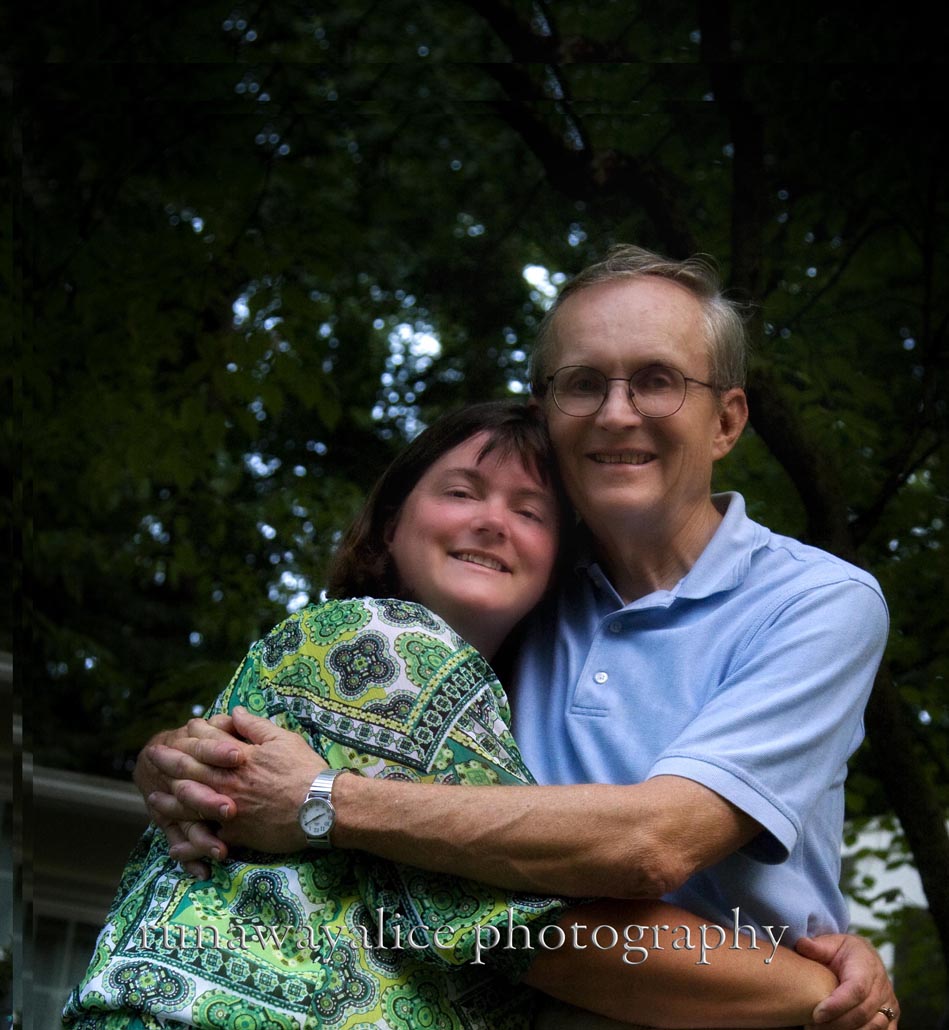
Anniversary Party

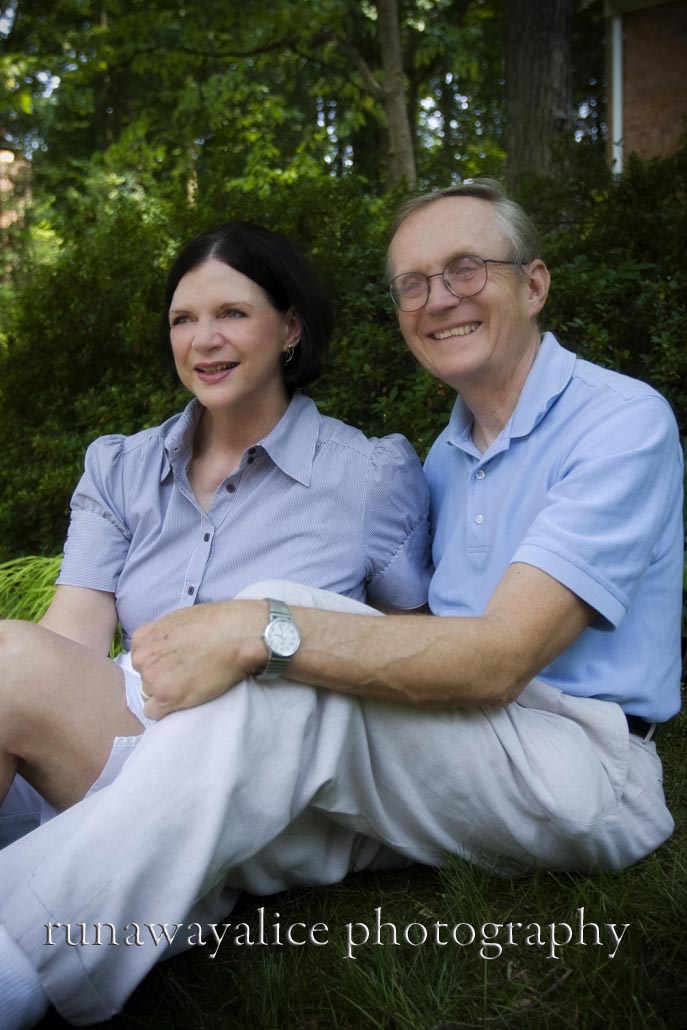
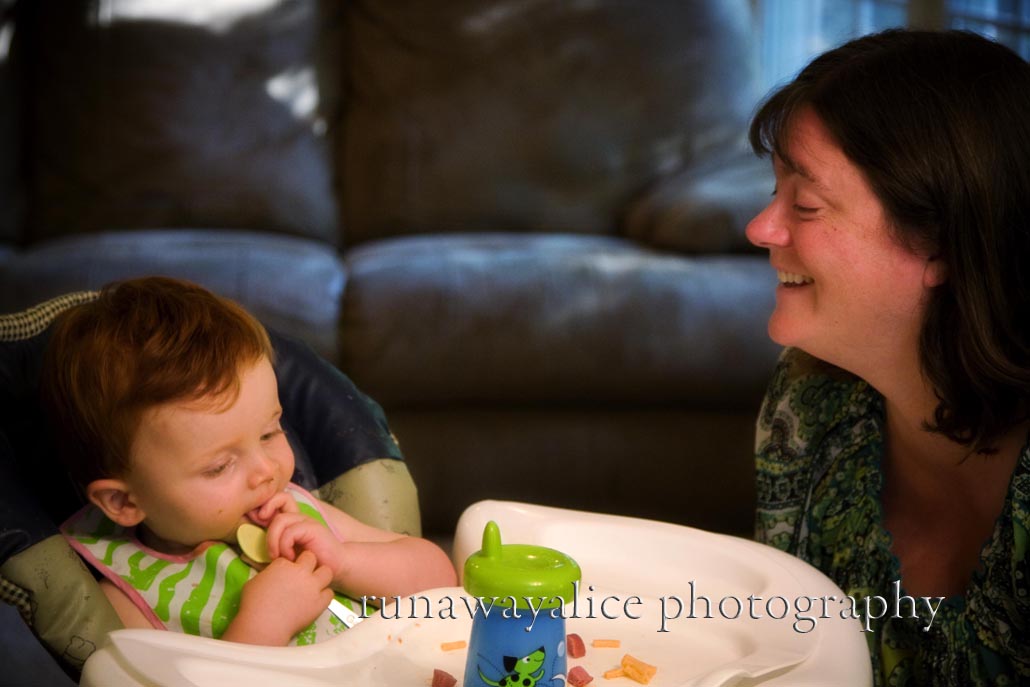
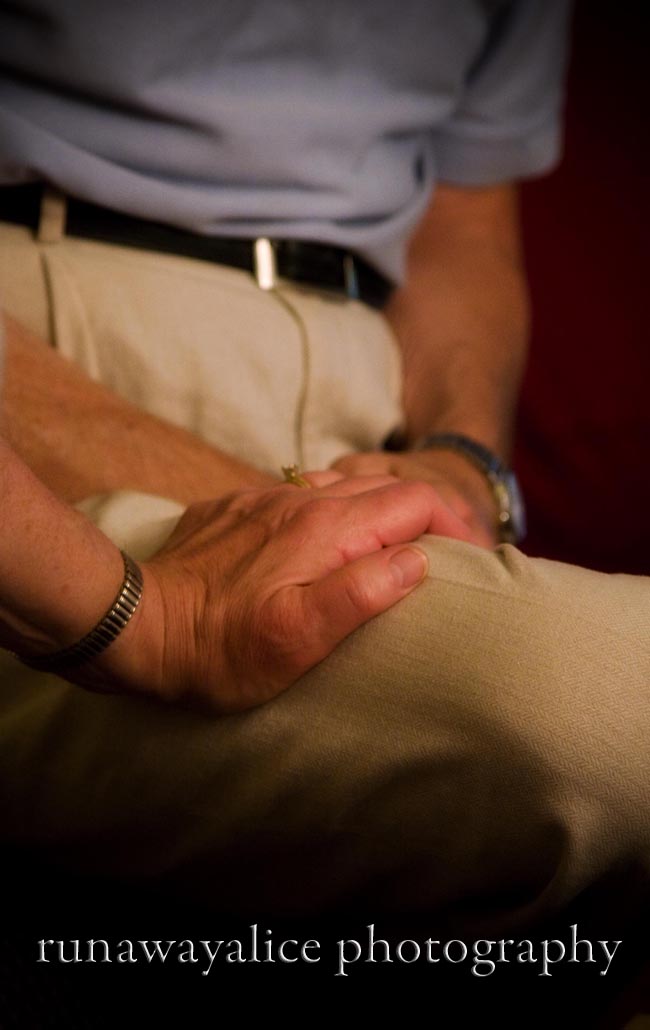
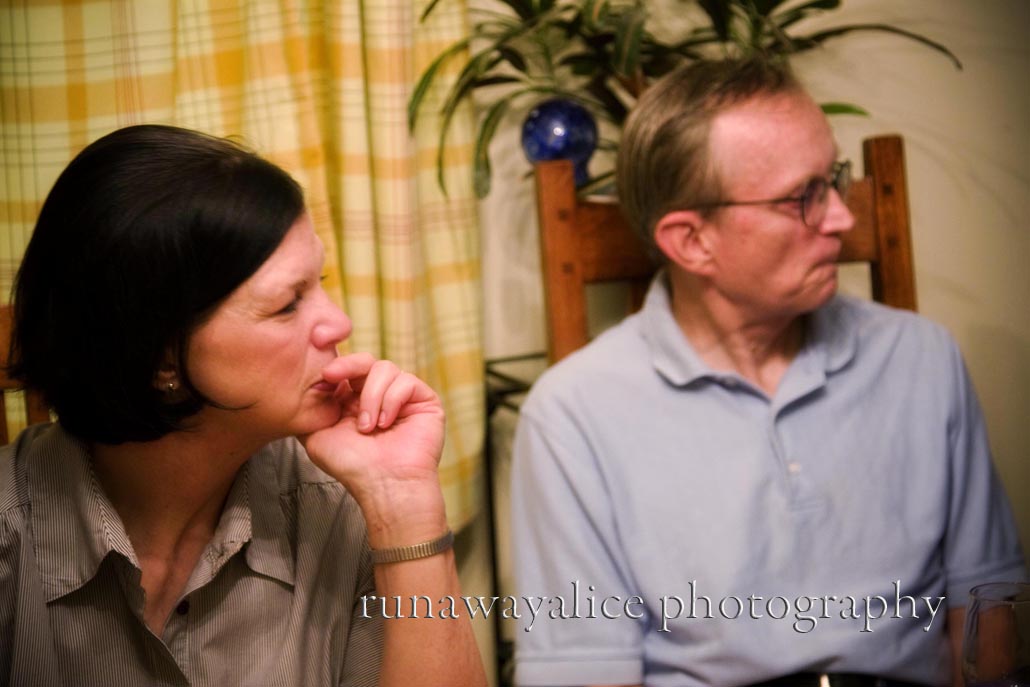
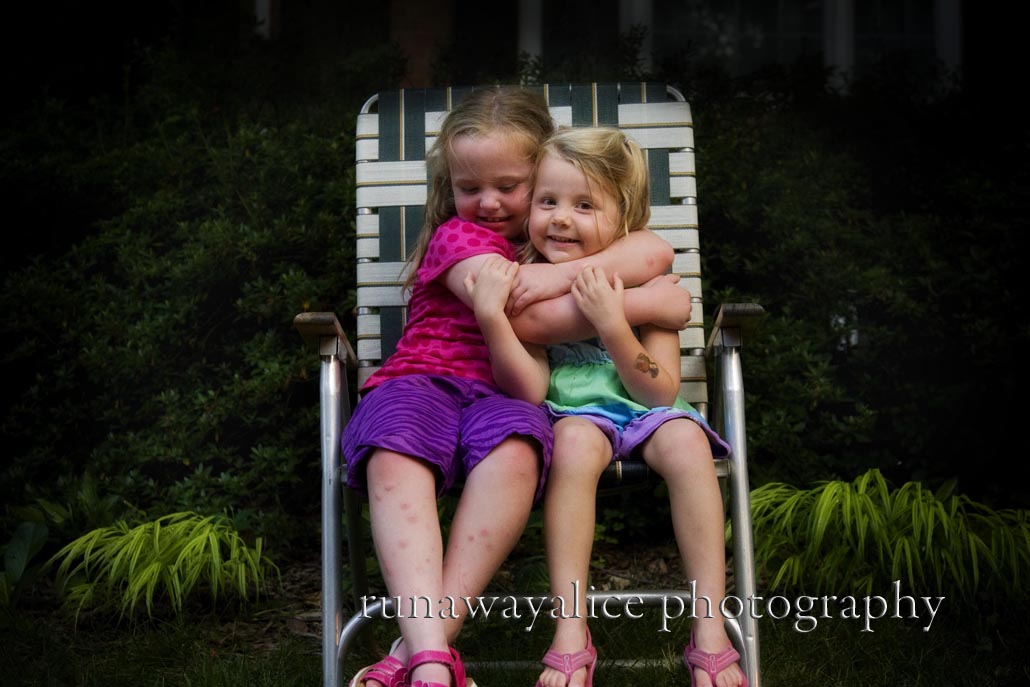
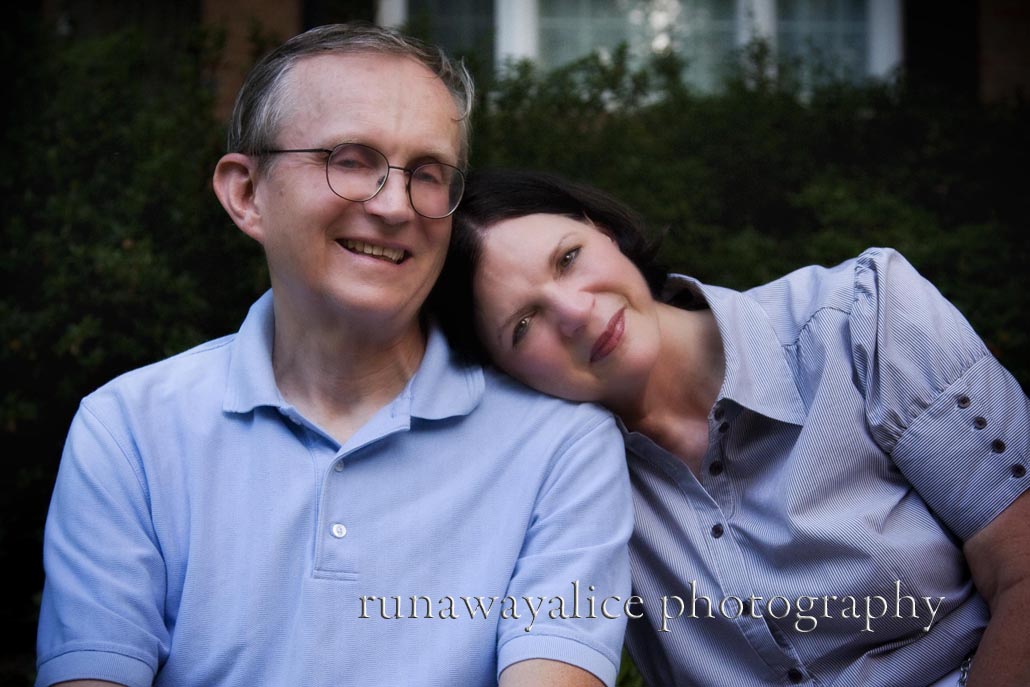
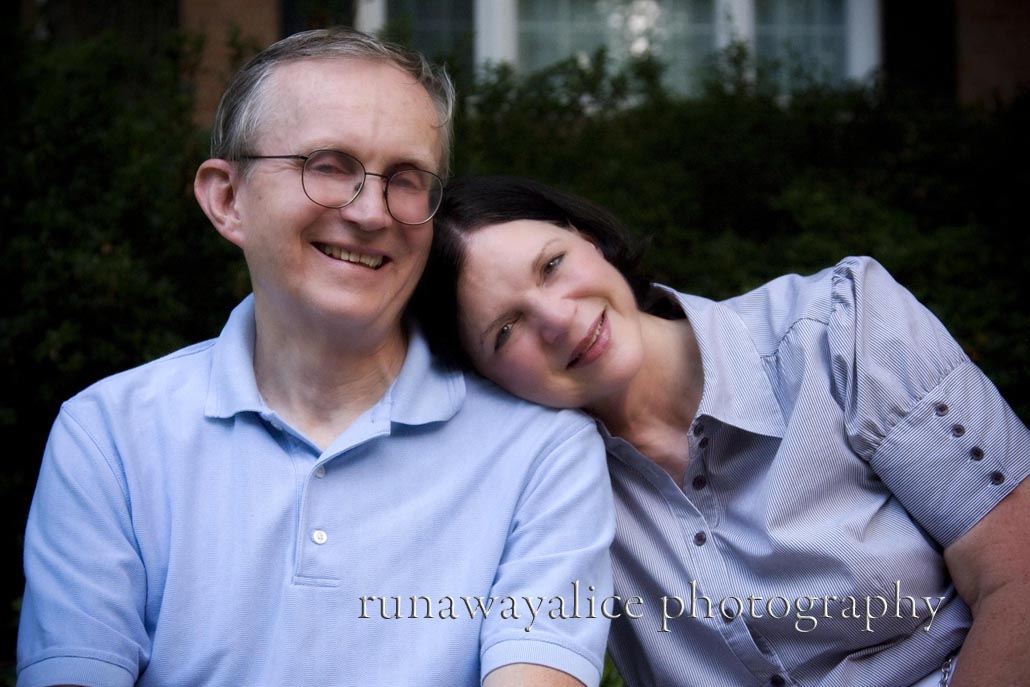
Last Tuesday before I got the Plague, I was invited to take pictures of my Aunt and Uncle's Anniversary Party.  It was a great time and we had several opportunities to take some much needed family pictures. 

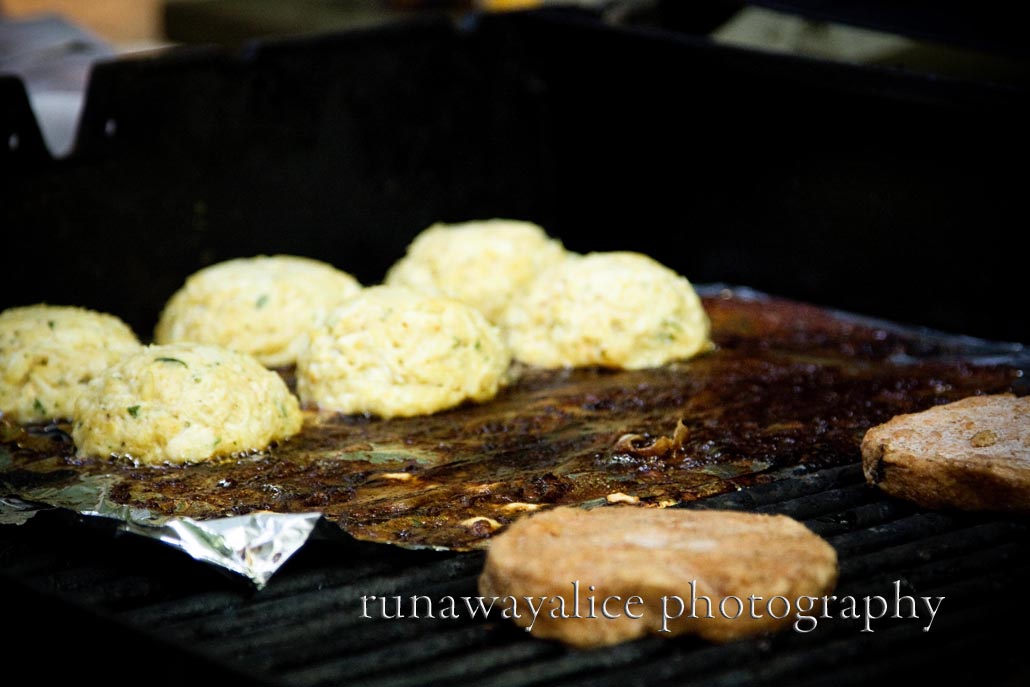
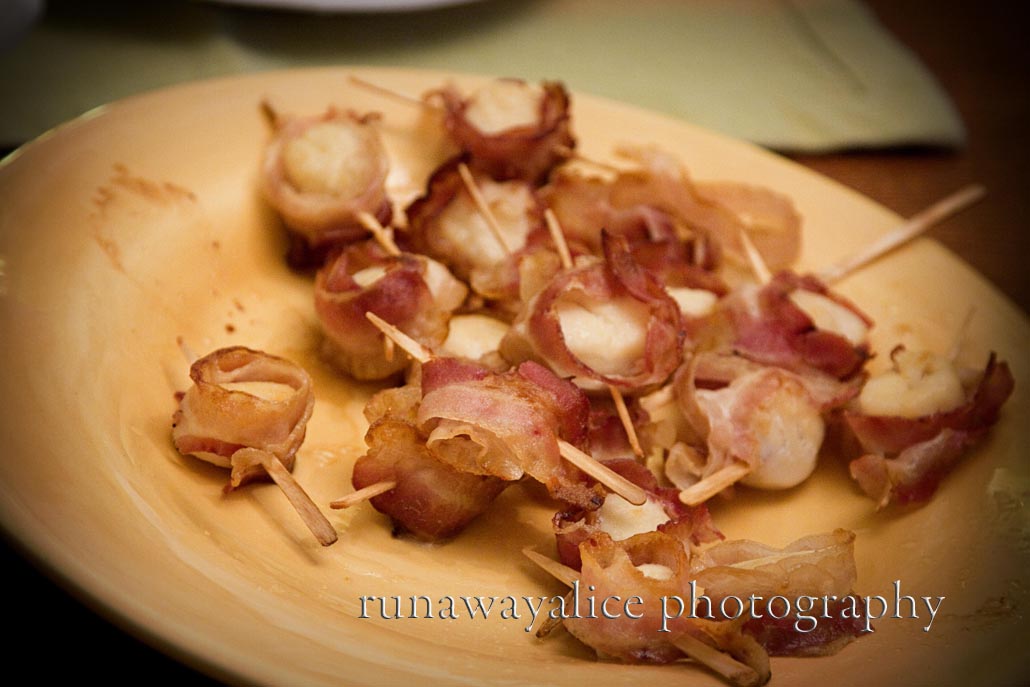
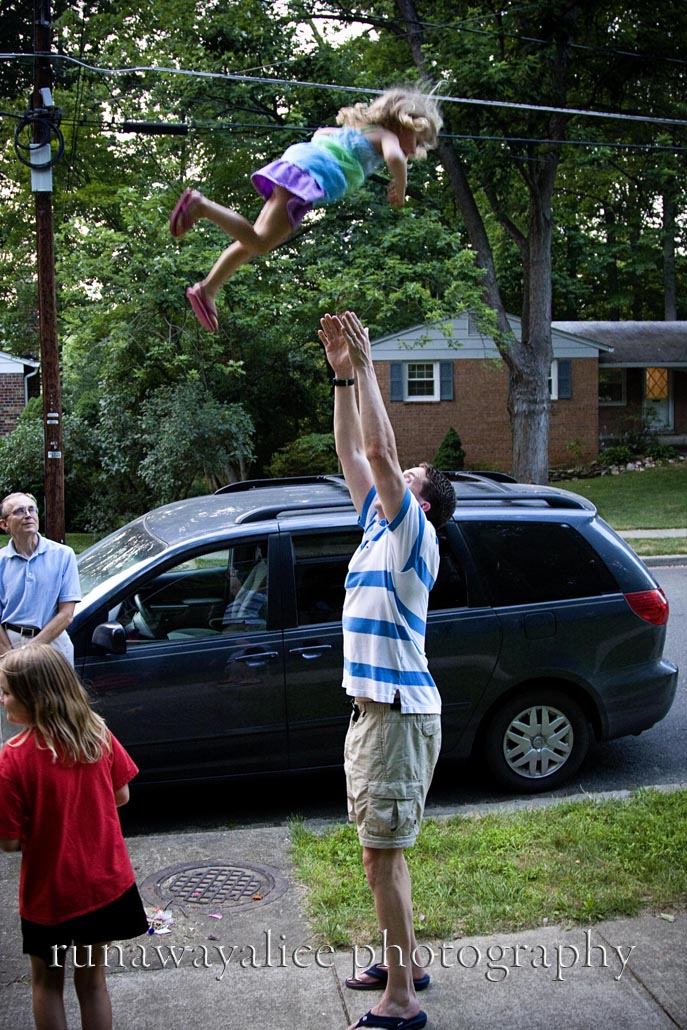
It was one of those classic summer parties, there was seafood, laughter, kids, kisses, hugs, big kids eating baby food (do not try that at home), lightening bugs, prayers, Eskimo kisses, and lots of Red Light Green Light.  But most importantly we were able to celebrate what a wonderful couple my Aunt and Uncle are, and the great example they have set for all of us.

Thank you both for letting me take photos of you (thanks to your sneaky daughter) and more importantly thank you for being a wonderful Aunt and Uncle to me.  Aunt Carol thank you for encouraging my love of art and photography, for being willing to make mud pies with me at the cabin, for nursing me when I inevitably would fall down your basement stairs, and for being my name's sake.  Uncle Walt, thank you for teaching me how to fish and your patience when I caught fish and you didn't, thank you for teaching me your love of nature and letting me quietly enjoy it with you, and thank you for always sharing your stories with me and being willing to listen to mine in return.  I love you both and I hope you enjoy the photos!

1 Comment

1 Comment

Hard Knox

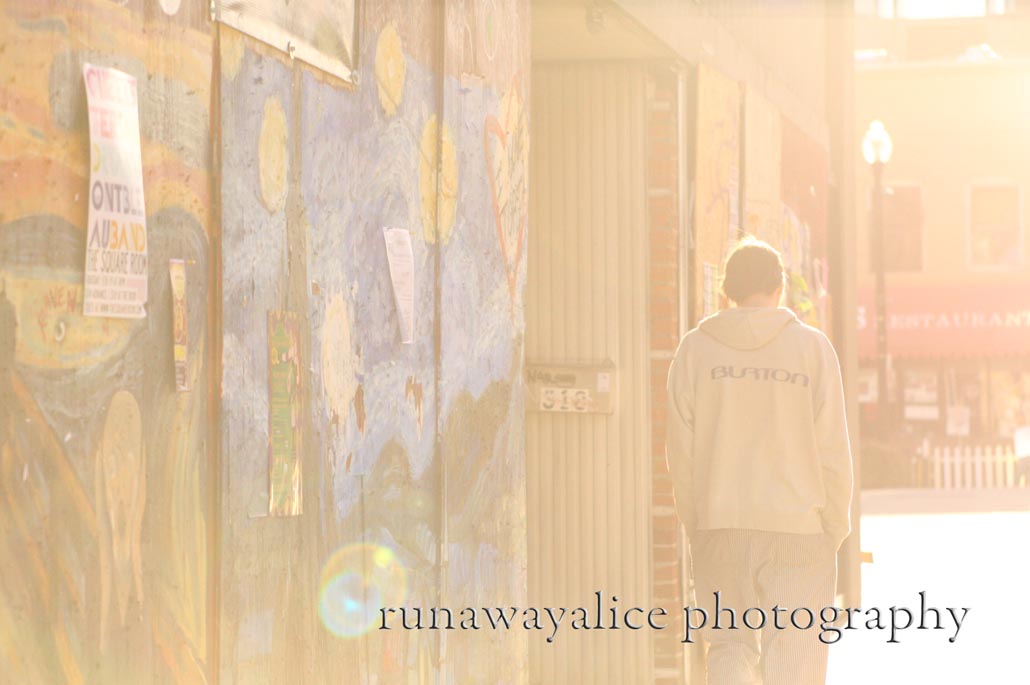
So I realized today that after all this time of posting about places I like and the rural area around my house, that I haven't posted any downtown Knoxville pictures! 

I really do love downtown.  It has the feel of a small town main street but with a lot more to do.  So without further ado, here are some of my favorite downtown pics.

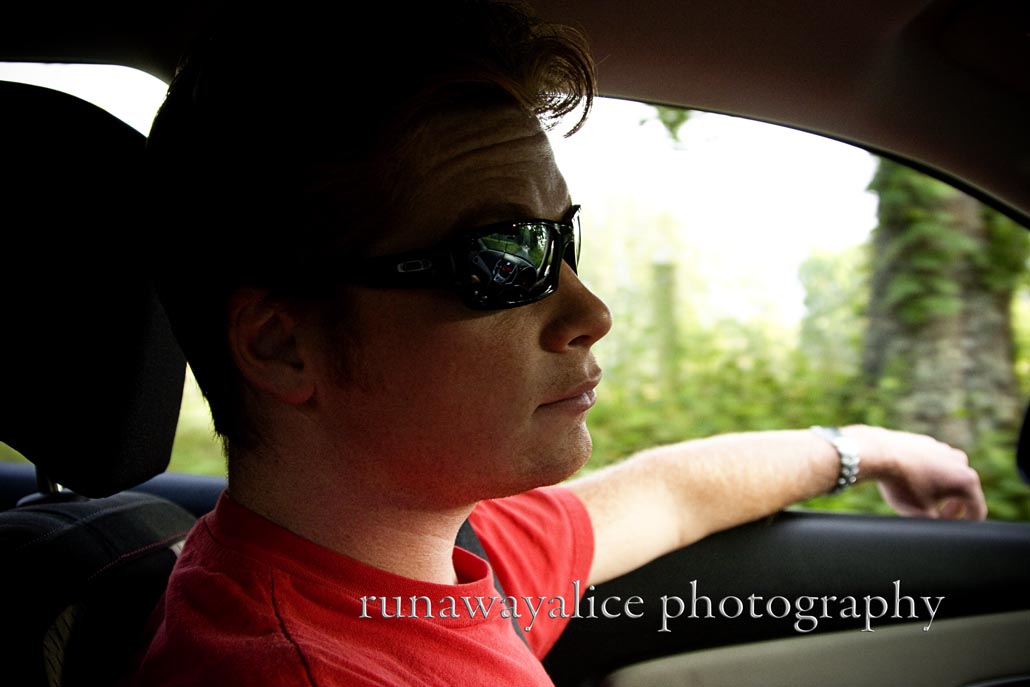
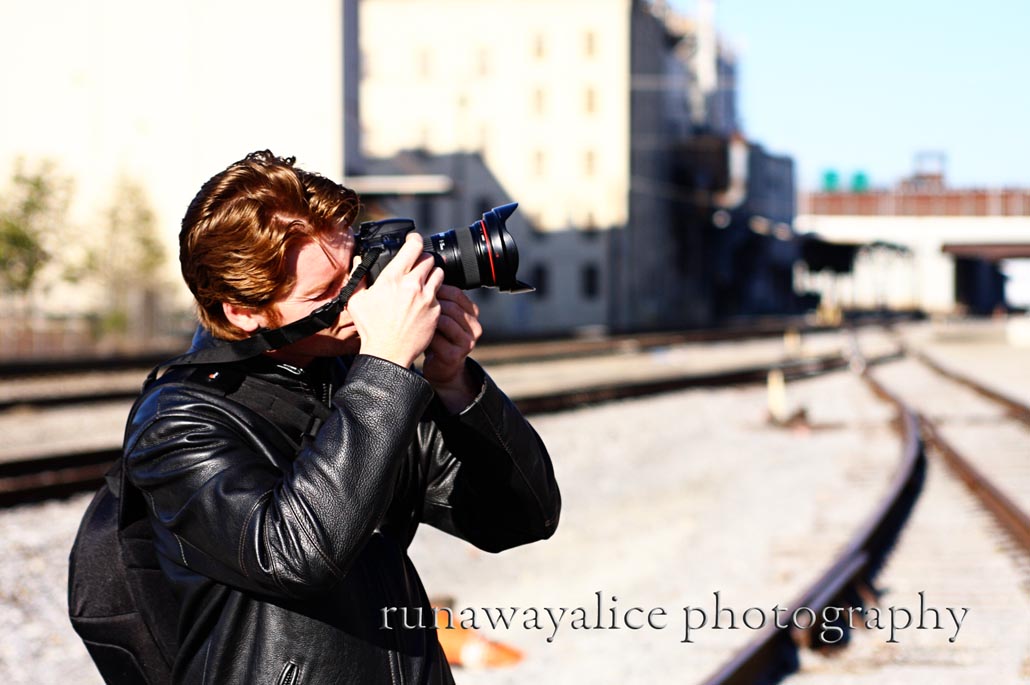
It's funny, Speed Racer always seems to sneak into my pictures.  Weird huh?

1 Comment