Lately I've heard a lot of people talk about how they want a new camera and many of them want to graduate to bigger cameras. As Mrs. Miami put it, "I want a big girl camera." So, if you are thinking about entering the world of Digital SLRs (which stands for single-lens reflex, F to the Y-I) here is a post for you. I'm going to try and explain some basics to help you get started and realize what you're looking at. We're gonna start really basic, and go slowly, so don't be scared. I'll hold your hand. And as a side note, if I don't explain it well enough or you've got questions, feel free to comment and I will try to explain it better. Let's get started!
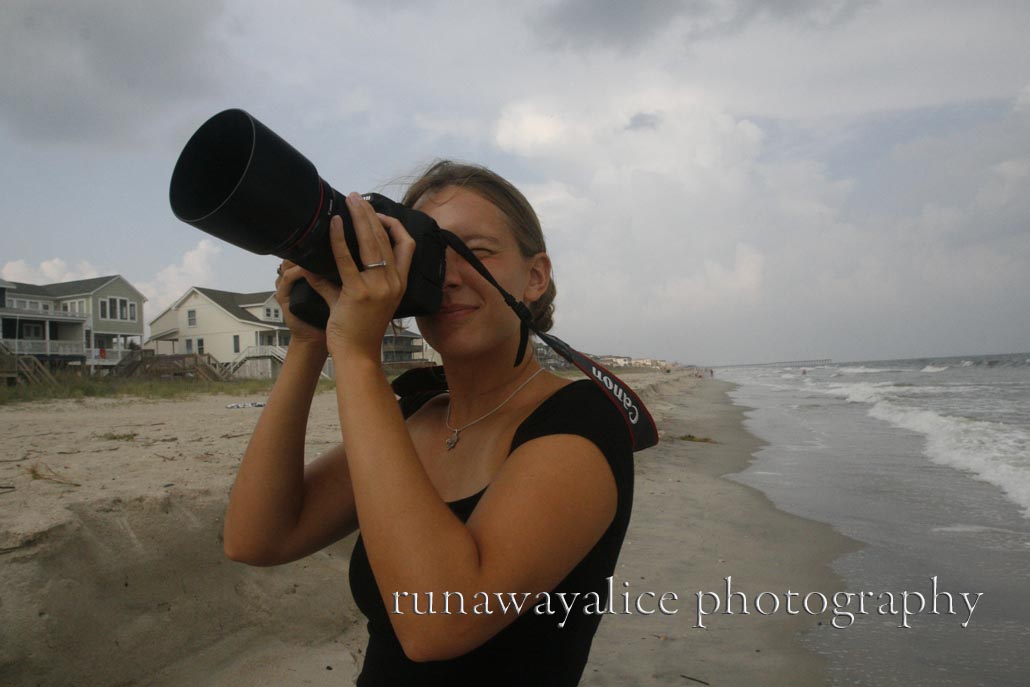
 First, we're gonna want to turn it on. Now I am using a Canon 40D for all these photos, so depending on what camera you are using some of the buttons may be in different spots, but you should be able to figure it out.
 This is your review button so you can see any images you've taken...that way when we start comparing you can be like, "Hm, this one is much darker than this one...I wonder why that is?" Push it once to review, and once to turn it off.
 And the all mighty delete button. Make sure you don't trash anything you might want.
 Big-ol-selection wheel. Use this to scroll back and forth between pictures on your view screen, as well as select options like, "Well yes I would like to delete this photo."
So those are the first operating basics. My main focus today is going to be on Aperture Priority Mode, Shutter Priority Mode, Manual Mode, and ISO. We're going to review what they mean and how to use them. In the next post we will go into how to apply them and what your pictures will look like using each. Today's just the mechanical aspect of it.
 So here are your three modes I just mentioned. To be honest, these are what I use for the majority of the time. We have a no Automatic fly zone here.
 AV= Aperture Priority. Your aperture is the actual size hole in your camera that is letting light in as well as determining your depth of field. Depth of field is another way to say focus, or specifically what parts of your pictures are in focus. So we've all seen pictures where something really close up is in focus but the background is out of focus or vice versa, those are changes in the depth of field. When you scroll back and forth in Aperture Priority you are going to notice the numbers go from 2.8 (depending on what lens you are using) to 22, these are called F-Stops. At 2.8 the hole in your camera is wide open, letting the most light possible in, this is perfect for low light situations as well as close up focus. At 22 the hole is as small as possible, letting the least amount of light in and also making more of your picture in focus.
 That is how you tell what aperture capability the lens you are using can do. So this can go to F4.0, which is just ok, the lens I'm using to take the photo with can go to 2.8, which is why I was using that one.
 So once you have set your camera to AV, your screen will look something like this. The top box is your F-Stop. So right now I am as wide open as that lens will let me go. The bottom number is my ISO Setting. ISO is the digital version of film speed. Back in the good ol' film days, you would pick your film depending on what you were shooting. 100-400 speed film was used mostly for outdoor settings where there was plenty of light and then 400-3200 was when you would transition into indoor and low light settings. So basically lower speed film like 100 was less sensitive so it required more light, while higher speed films like 3200 were more sensitive to light so required less light to expose them. The ISO setting on your digital camera is replicating this. I was shooting inside so my ISO is set at 1600, to compensate for it being darker.
 You can change your ISO setting by pushing your ISO button, and then using your smaller scroll wheel, which is located next to your trigger, to change the setting.
 When you are in Aperture Priority, you are still in a semi-automatic mode. Meaning that while you are controlling your light and focus by determining how open your aperture is, your camera is automatically adjusting your shutter speed to match it. That way your photos will come out with an even amount of light.
 TV=Shutter Priority. The shutter is the device in your camera that opens and closes when you take a picture. When you switch to TV, you are selecting to control how fast or slow the shutter opens, while your camera automatically chooses an aperture that will balance the light for you. Occasionally you will run into a circumstance where you have a high shutter speed and your camera cannot get a low enough aperture to compensate for the lack of light. At this point, inside the viewfinder, you will see a blinking light and the camera will not let you take a photo. And you will be forced to bring your shutter speed down.
 This is what it looks like when you are in Shutter Priority. The lower the numbers the slower your shutter is going to open and close. When your shutter is at a slower speed, you are more likely to get motion blur in low light situations. Which isn't always a bad thing. When your shutter is at a higher speed, you are able to stop whatever motion is happening and freeze it. So, lots of famous sports pictures where the athlete is frozen in action are taken at high shutter speeds.
A lot of times I will use Aperture priority for nature or portraits, while I will use Shutter Priority for sports, or kids playing.
 Aperture Priority
 Shutter Priority
However, I'm old school. Most of the time, I would say 99% of the time at this point, I shoot in Manual.

Manual=full control. So basically it's up to me in any given situation to change my ISO, my Aperture, and my Shutter speed to match the light that I want in the photo. When I first started shooting with a digital camera, I got frustrated...alot. I was so use to setting everything myself and then checking my light meter to make sure I had the light where I wanted it. But in Aperture Priority or Shutter Priority the camera is matching the speed etc, so that you will get the optimal balanced light. So your light meter always looks like this:
 Right smack dab in the middle. And I'm going to admit something that's kinda embarrassing, for awhile I didn't realize that this was my light meter. EEk! My light meter was very different on my old film Pentax. But this light meter is also in your viewfinder at the bottom.
 So this is what it looks like in Manual Mode. You have control of all these buttons, and your light meter will change, which is super handy. So you can always use your light meter to gauge what's going on. I will warn you however, beware of white things, shiny things, mirrors, and windows...it's gonna freak your poor ol' light meter out! So just experiment and try to gauge how to get the light the way you would like it.
 And the last little tidbit in this marathon of a post, is how to set your Diopter. Your Diopter adjusts the focus in your viewfinder to the strength of your eyes. This might not seem like a big deal, but I have had times when I have picked up someone's camera to use and taken a photo and it looks out of focus. I can't figure out why it would be out of focus, and it's because their Diopter is different from mine. So this is easy to do, just hold the camera up to your eye, relax, and scroll the Diopter up and down until it looks as sharp as it can be.
So that is our start on getting to know your camera. The best thing to do is play with the settings, see what you get, don't be afraid to push buttons, and just see what setting is the most comfortable for you. On the next camera post we will work on applying these settings to actual photographs.

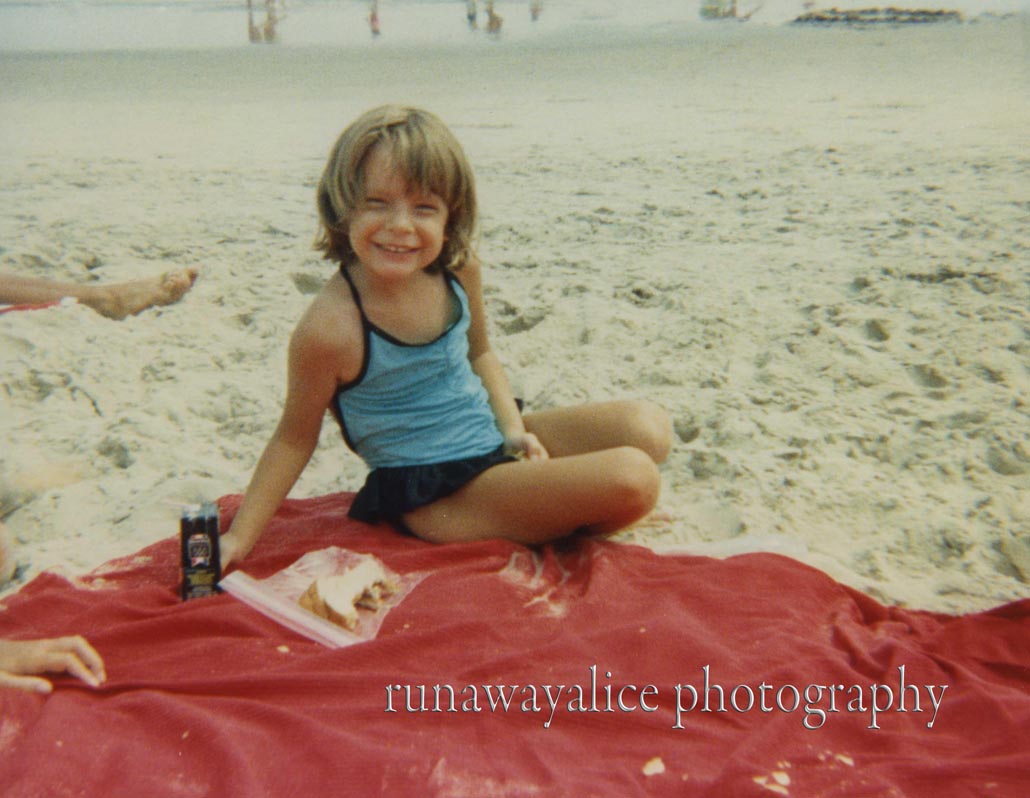
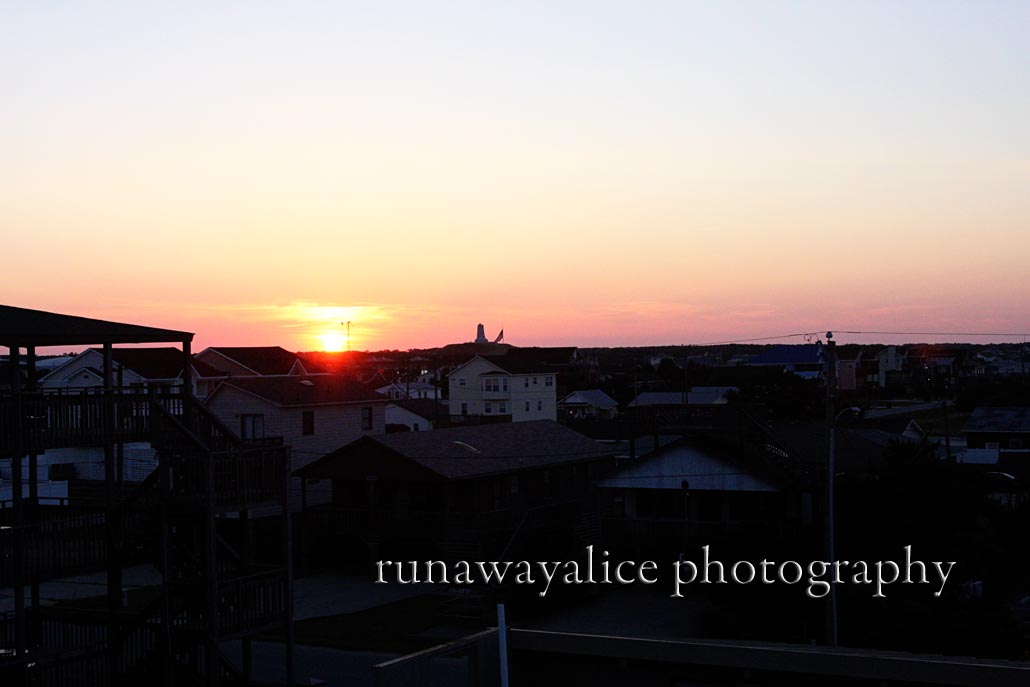
 I have to admit I was not in the best of moods when I woke up this morning. I did not want to wake up. I did not want to run. I did not want it to be blazing hot. I did not want to do anything productive. Lucky for me, Speed Racer has motivation, and I have guilt. As soon as he's out of bed I know I have to get up or forever feel like a bum. I rolled, literally rolled out of bed, my old runners feet creaked and popped as I shuffled down the hall on the hardwood floors. I pulled on my running clothes and poured some cereal. Hunched over my frosted mini wheats, my eyes finally peeled open.
I still really wasn't awake on my way out the door. It was hot, the humidity engulfed me to the point it was hard and thick to breathe. My glumness transferred to the weather. Everything looked brown, everything was crusty and dead. (This is how lovely I am in the morning.) As I walked towards the road, this caught my eye.
I have to admit I was not in the best of moods when I woke up this morning. I did not want to wake up. I did not want to run. I did not want it to be blazing hot. I did not want to do anything productive. Lucky for me, Speed Racer has motivation, and I have guilt. As soon as he's out of bed I know I have to get up or forever feel like a bum. I rolled, literally rolled out of bed, my old runners feet creaked and popped as I shuffled down the hall on the hardwood floors. I pulled on my running clothes and poured some cereal. Hunched over my frosted mini wheats, my eyes finally peeled open.
I still really wasn't awake on my way out the door. It was hot, the humidity engulfed me to the point it was hard and thick to breathe. My glumness transferred to the weather. Everything looked brown, everything was crusty and dead. (This is how lovely I am in the morning.) As I walked towards the road, this caught my eye. A beautiful lily was just opening up, still covered in morning dew. I smiled. Flowers always make me smile, especially stubborn flowers that just try to carry on no matter how hot it is. This lily was there going, "I'm a flower and I'm going to bloom, dagummit." I started to run and as I ran it was like little flowers opened up to me everywhere. Blue, white, red, and yellow just peeped out from all the dead foliage.
 As I ran I was reminded of how last Lent, I decided instead of giving something up and being sad about how I couldn't have chocolate, to dedicate a time each morning to come up with five different things I was thankful for. It worked amazingly well, I felt so grateful for all that I had been given, and it got me out of the habit of just saying, "I'm thankful for my husband, my family, my friends, my home, and my kitties."
 I really enjoy trying to figure out the little things I'm grateful for. The small changes in life that make it surprising and lift my spirits. So in the hopes that this lifts your day as well as mine, I encourage you to write down ten unique things you are thankful for today. Here is my list:


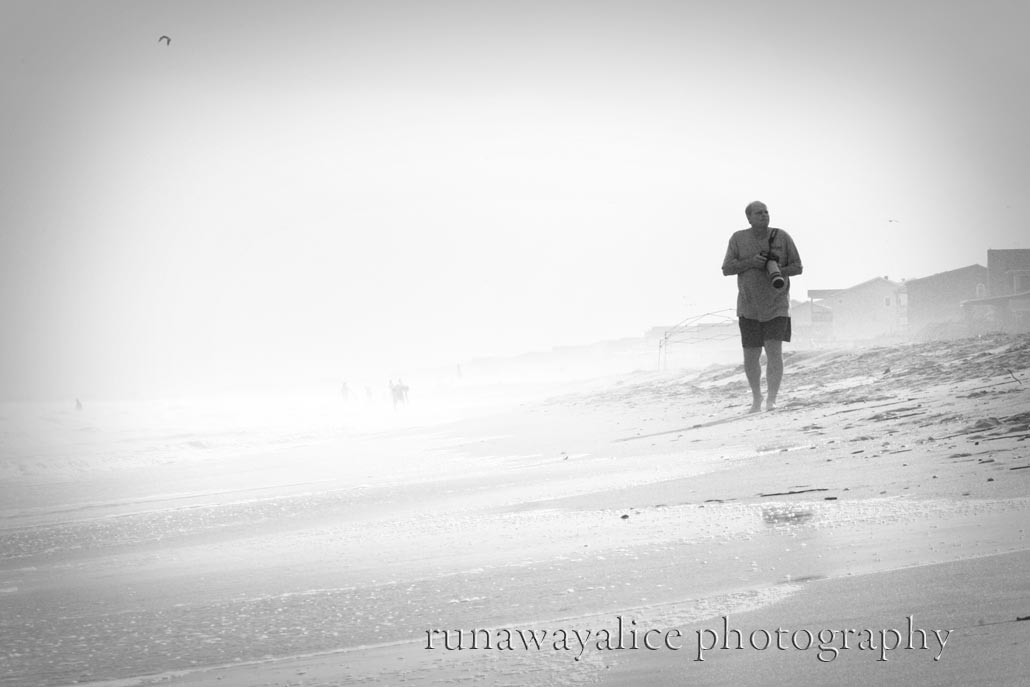
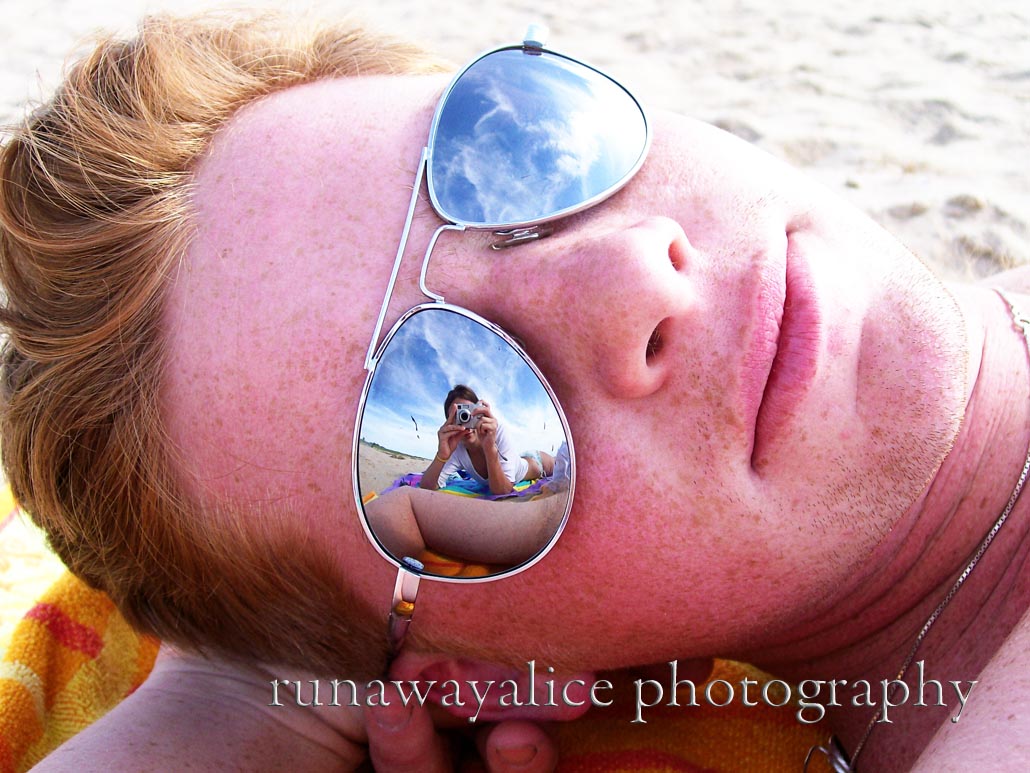
 Oh! And #11. I am thankful for my camera so that I can share pictures and my random thoughts with you! Happy Wednesday everyone!