Are you having trouble with your pictures coming out too blue? Too orange? Too purple? Okay, so let's hope not purple. Odds are you're not setting your white balance correctly. But don't worry, we're going to get that all straightened out, and you'll have beautiful, regular colored pictures in no time.
There is a lot of scientific, intense information on White Balance (WB), and I'm sure if you google it you can get really in depth. However, we're just focusing on the basics and easy terms here. Essentially, there are many different types, shades, and temperatures of light, and our eyes are very good at perceiving them, but our cameras are not. White Balance is the process of removing unrealistic colors from your photos, so that the objects that appear "white" or even in color to your eye, also appear so in your photographs. As always, it's easier to explain with examples.
 We are going to be focusing on this section of your display screen, so ignore all the other settings for right now. If you need to, put the rest of your settings on Automatic, just this once, so you can focus on what we're talking about. You can access your different White Balance settings by pushing the WB above your top display screen, and then using your large wheel to move in between the settings. So here we have it set on AWB, that's Automatic White Balance, and is probably what most of you have had it set on until now. AWB is good, but it is just the camera making an estimated guess at what the best white balance would be for what's going on in the photograph. You're going to run into trouble with it if you have multiple light sources, or low light.
 Here is an example of AWB. Pretty good on average. It's a little too cool at times for my taste.
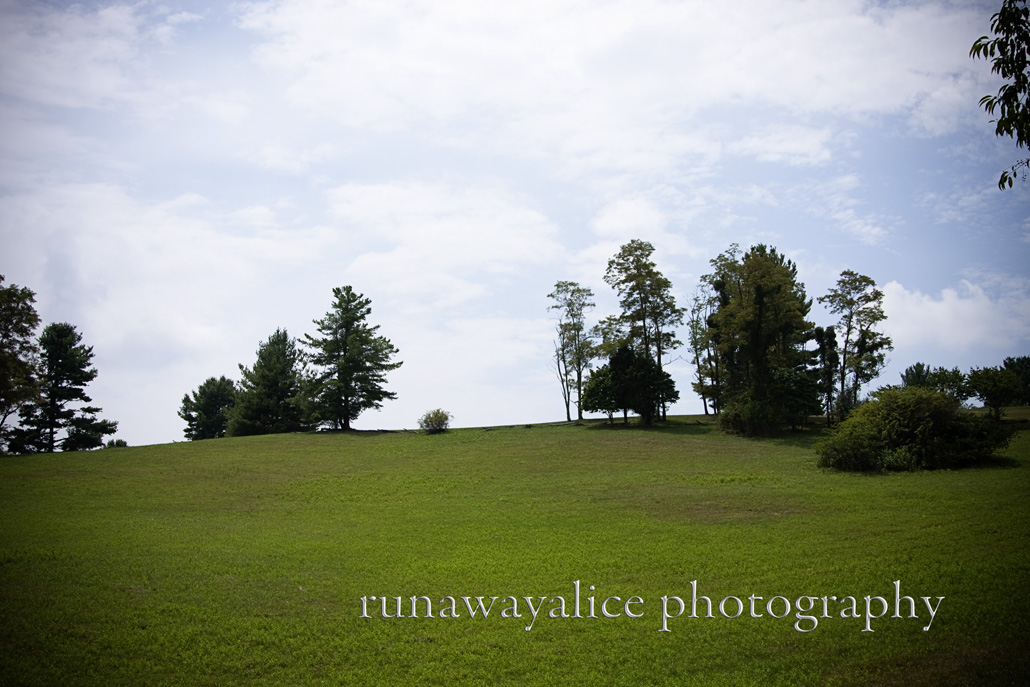
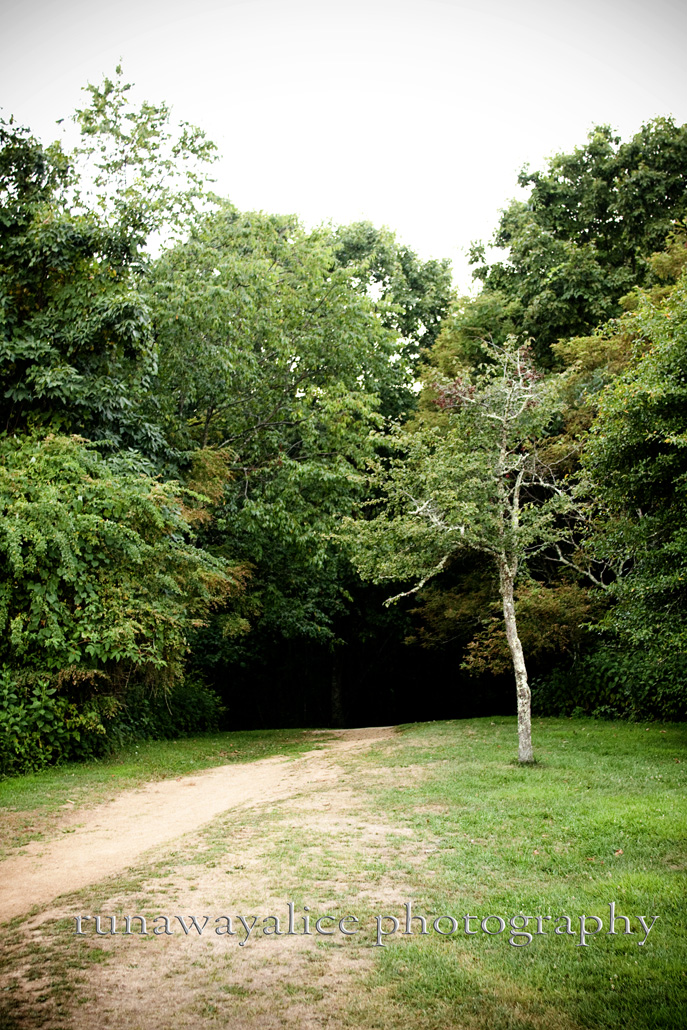
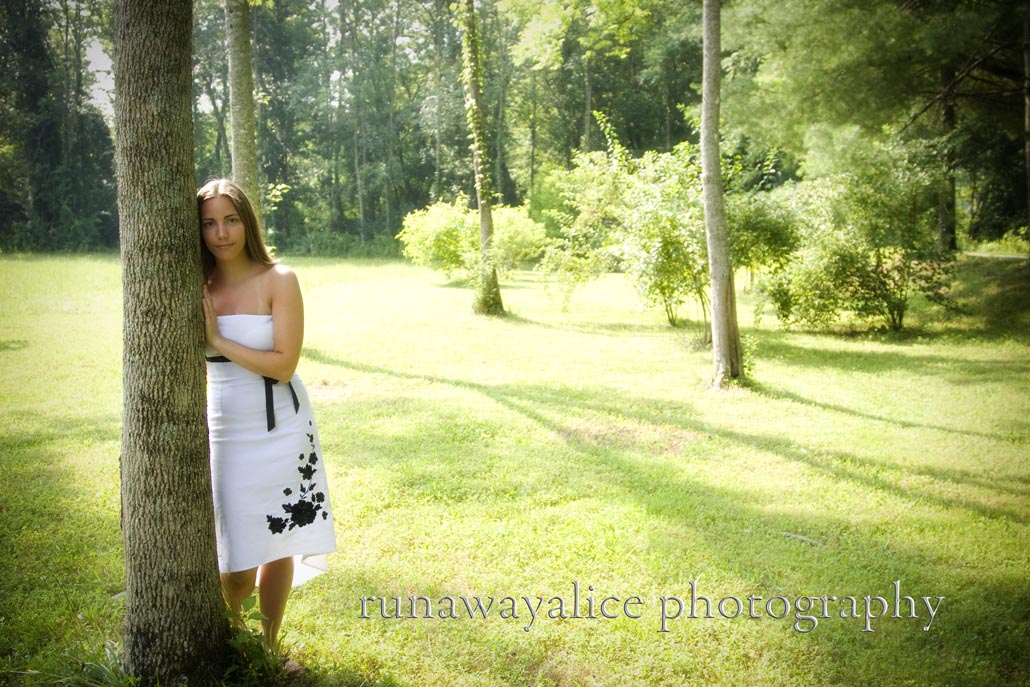
 Next up is your sunlight setting. It's that happy little sun icon. Obviously you want to use this when it's sunny outside, or you're near a window where you are getting primarily sun coming in.
 I think this looks a little better than the AWB setting. It's a little more vibrant.
 The icon of a house casting shade, is your shade setting.
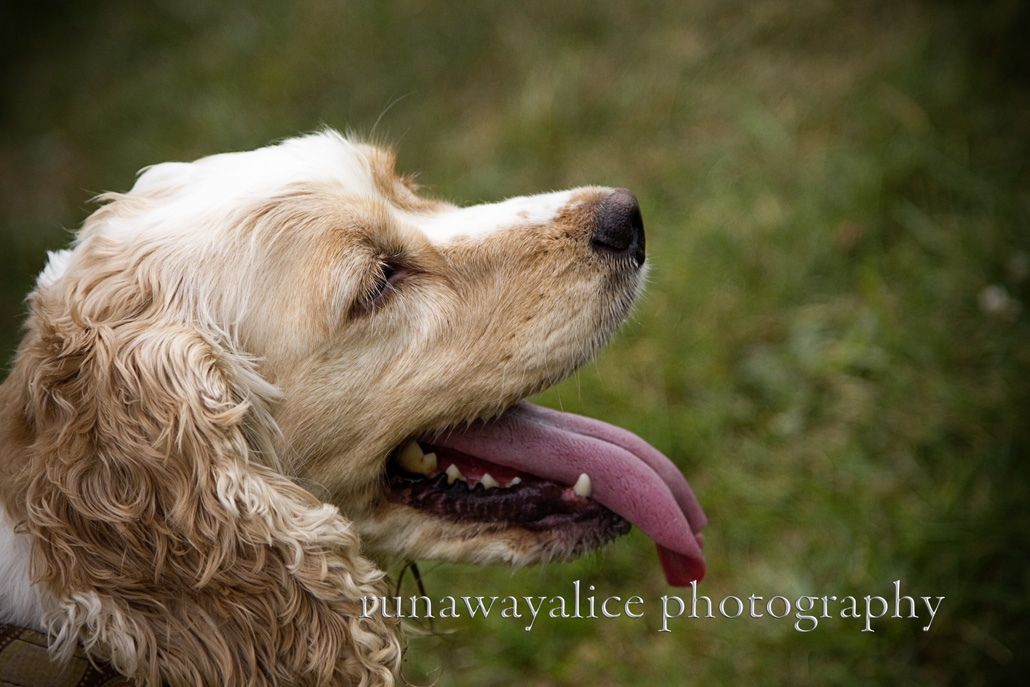
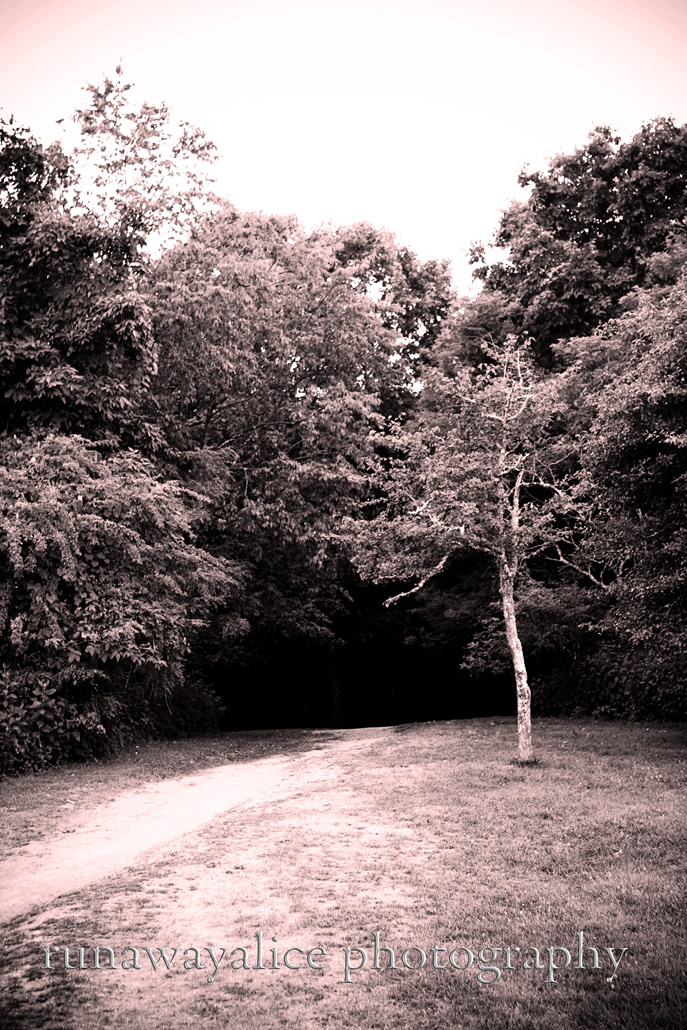
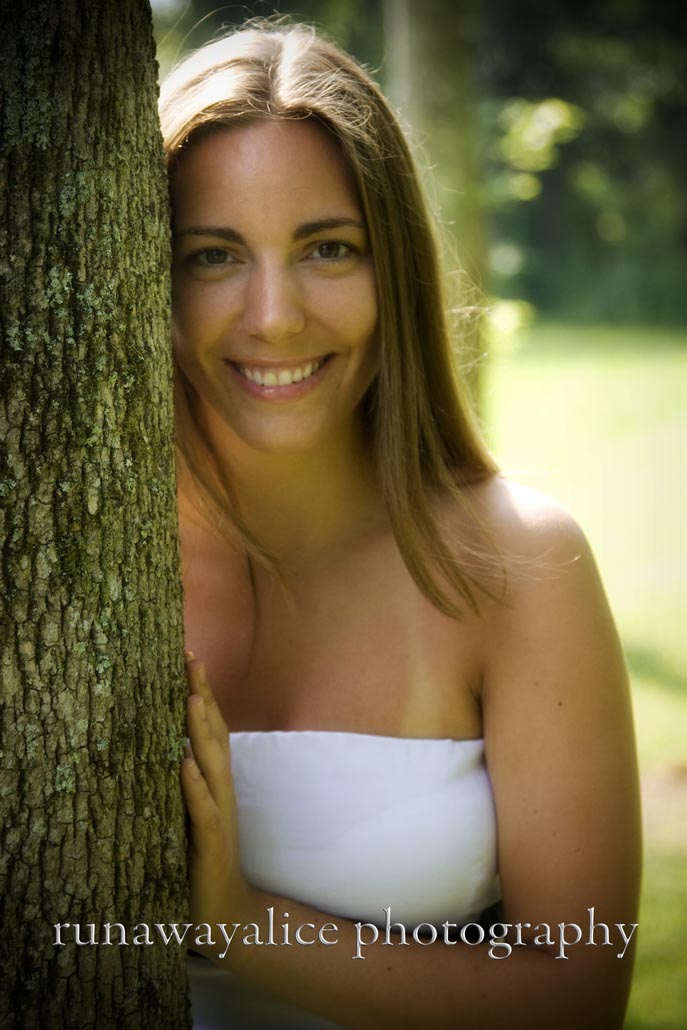
 Obviously, you would want to use your shade setting actually in the shade and not in the middle of your back yard like I am. But I primarily want to show you the difference in the tones. Your shade setting is going to add back in some of the golden you would lose, if you were just on a sunlight or AWB setting because it is compensating for some of the lack of direct light.
 The cloud of doom!! Cloudy setting folks.
 Still adding in some golden tones, but not as intense as the shade setting.
 Light bulb! That one is pretty self explanatory. You want to use this indoors when you have Tungsten light.
 Again, this is just an example of how it would look on the wrong light source, it would look just normal if I was inside.
 That icon is suppose to look like a fluorescent bulb. You know the old ones in your elementary classrooms that would sometimes go out and half the class would be left in darkness? Yeah, those. It's confusing to us young folks who now have fluorescent bulbs that look like regular light bulbs. But if you take a picture outside with your camera on fluorescent, it will look like this:
 Not pretty.
 Flash! That's right, you would need to use this setting when you have your flash on.
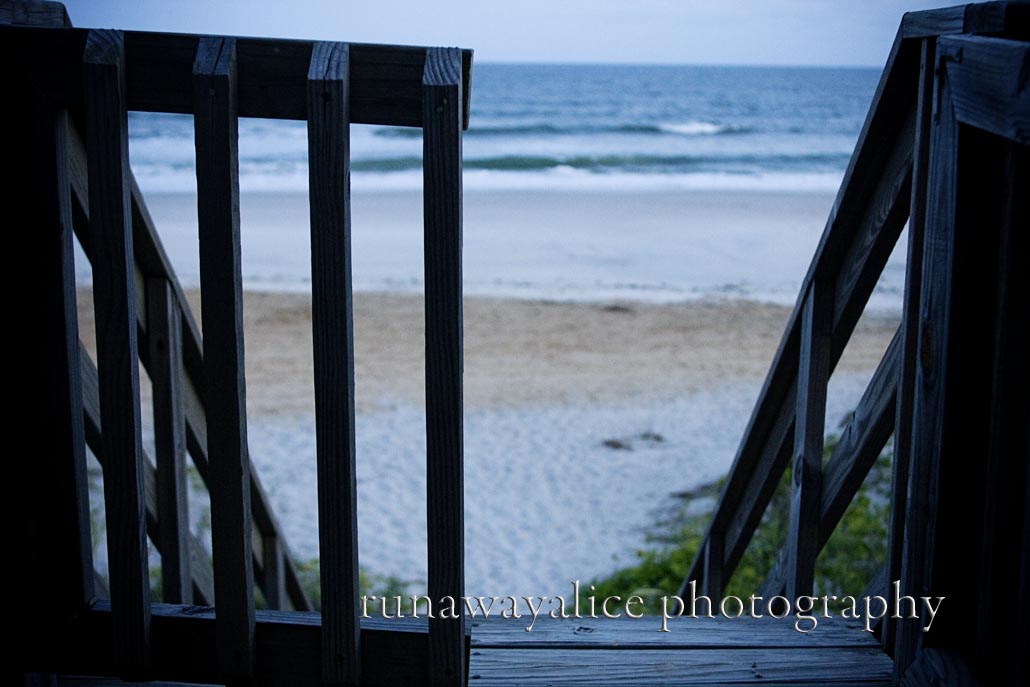
 When you don't it looks kinda blue.
 This little guy is suppose to look like a gray card, I think. Anywho, this is your custom white balance setting. If you have a gray card you can custom set how you would like the white balance to be.
 Mine is not custom set at this time, so it just kinda looks normal.
 K is for Kelvin. Kelvin is literally what is used to measure the temperature of a light source. Kind of confusing, but think of a burning fire. Lower levels of heat are orange and yellow and red, at higher levels it is blue and white. Thus the different "temperatures" of light. This setting allows you to set the color temperature over a broad range.
 Now we're going to look at examples of using white balance correctly and incorrectly:
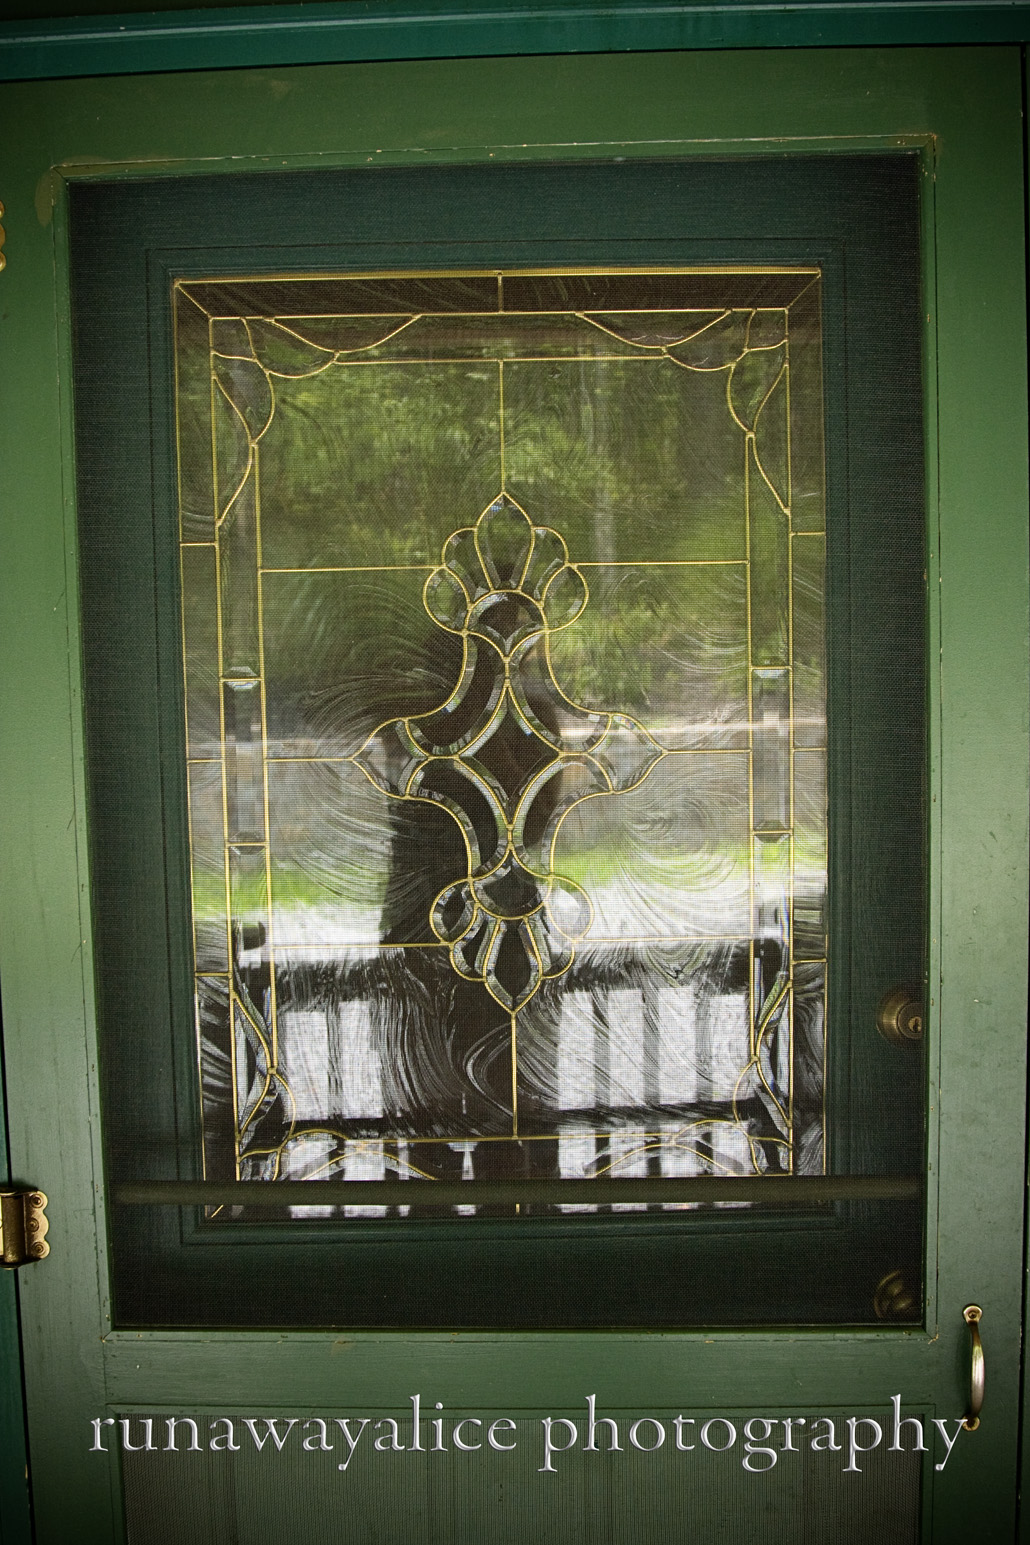
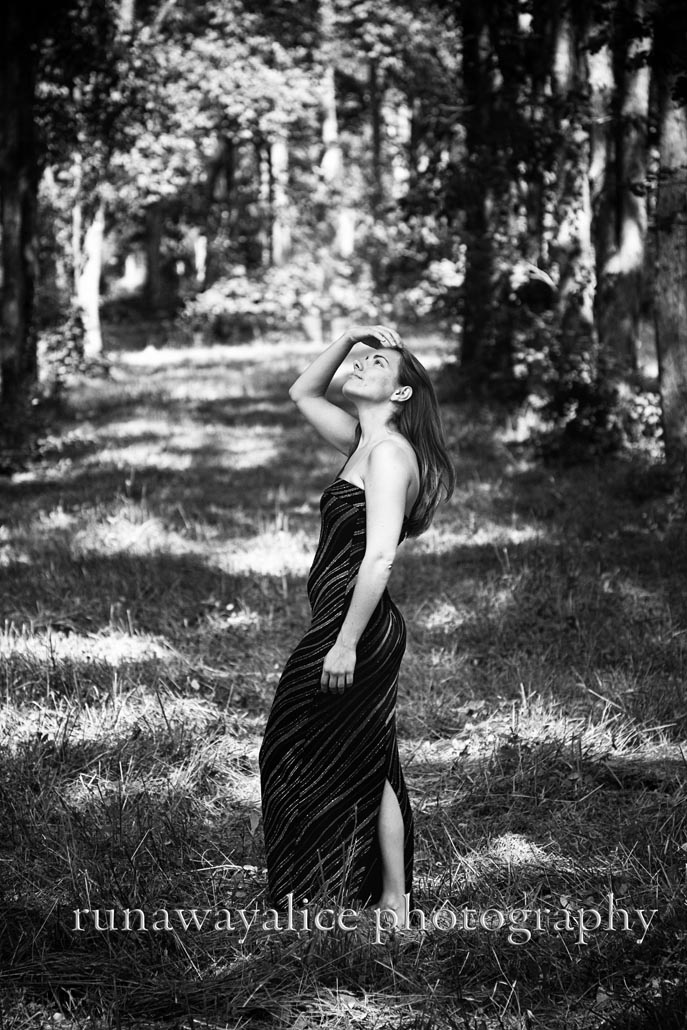
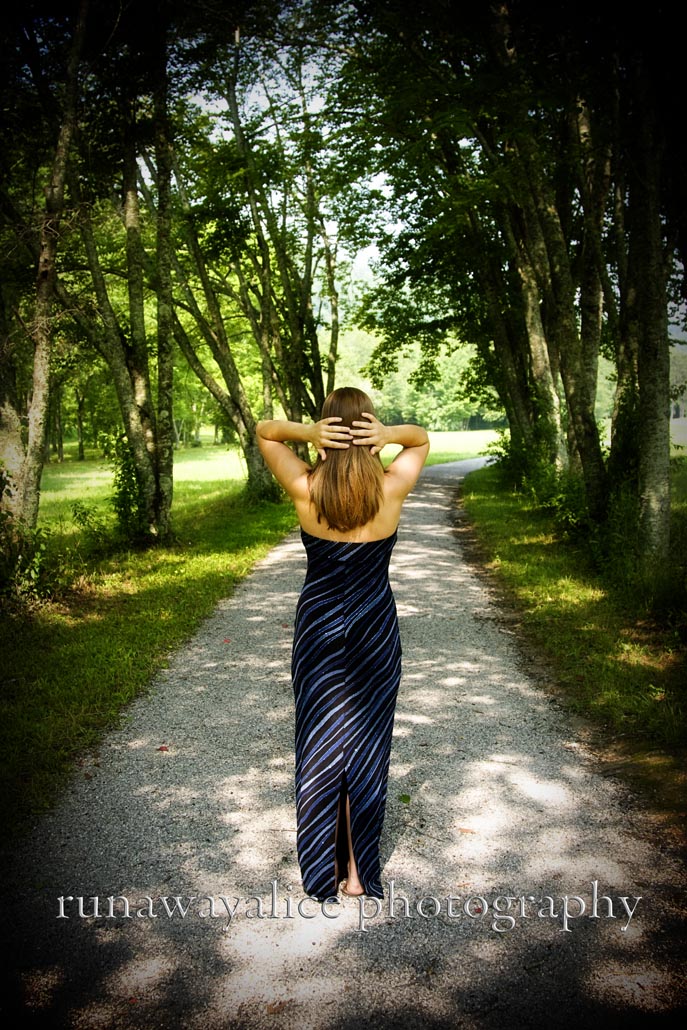
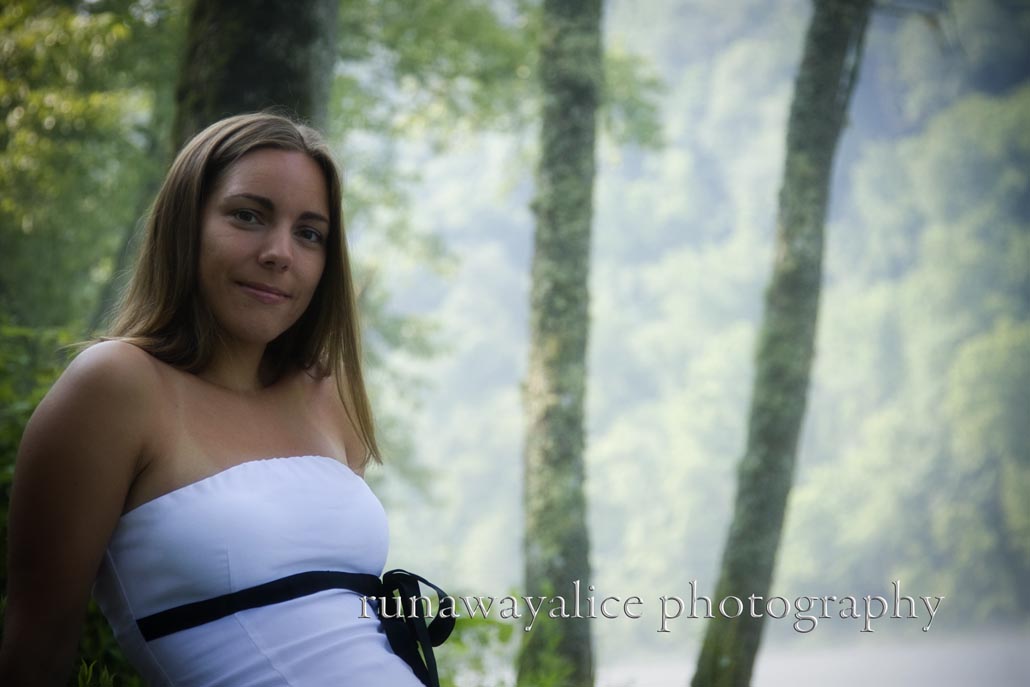
 So here, I am in the shade shooting on my sunlight or daylight setting and it's a little blue.
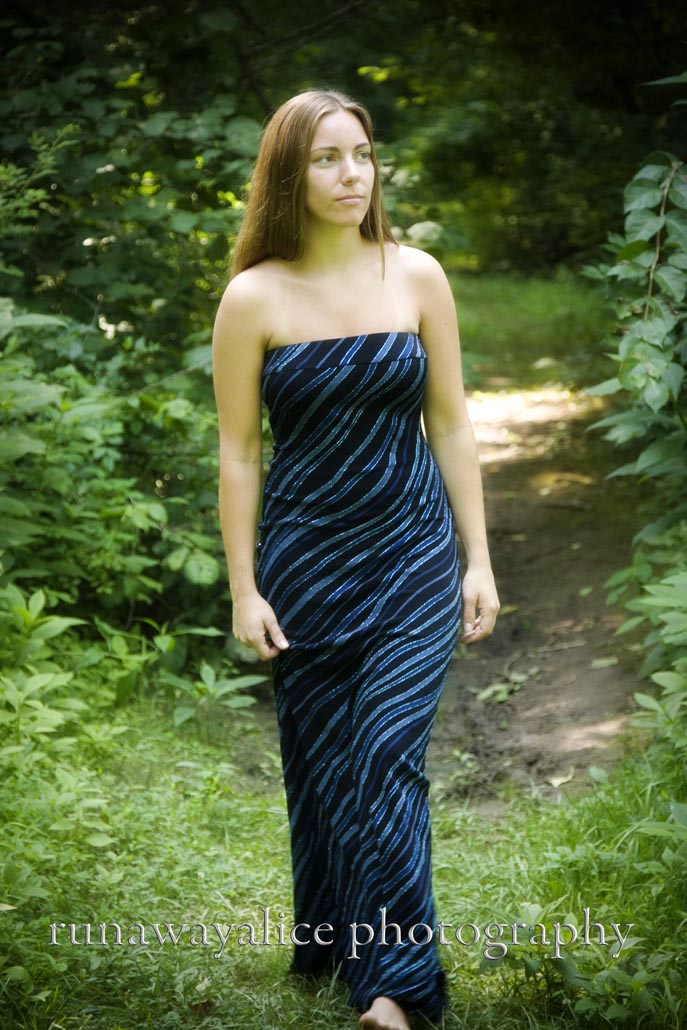
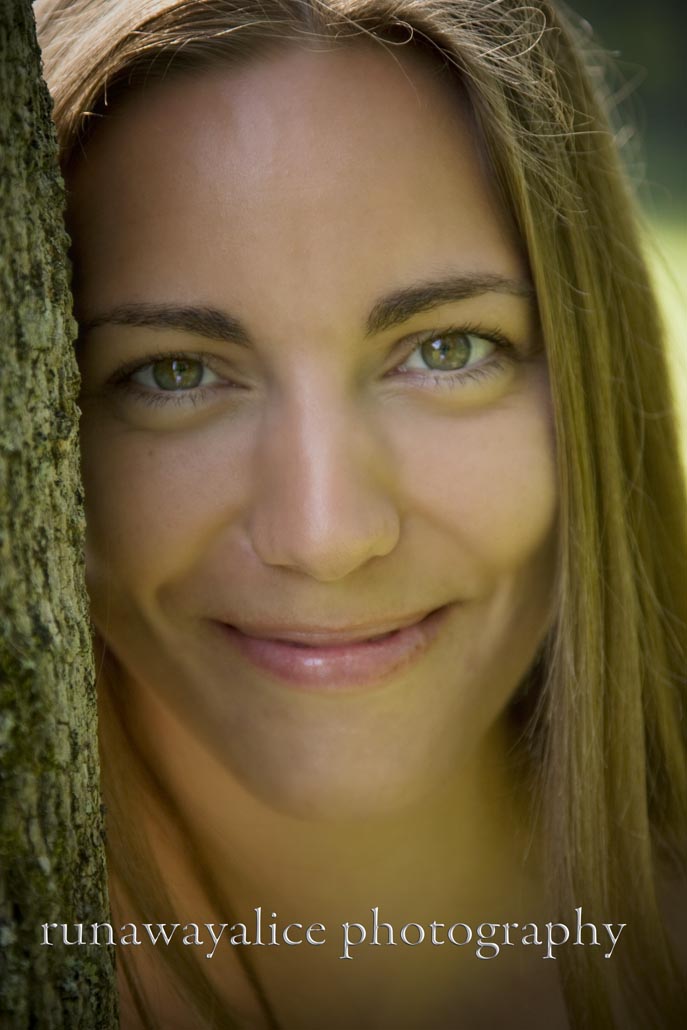
 Correctly, with the shade setting on. Brings back some of the golden colors.
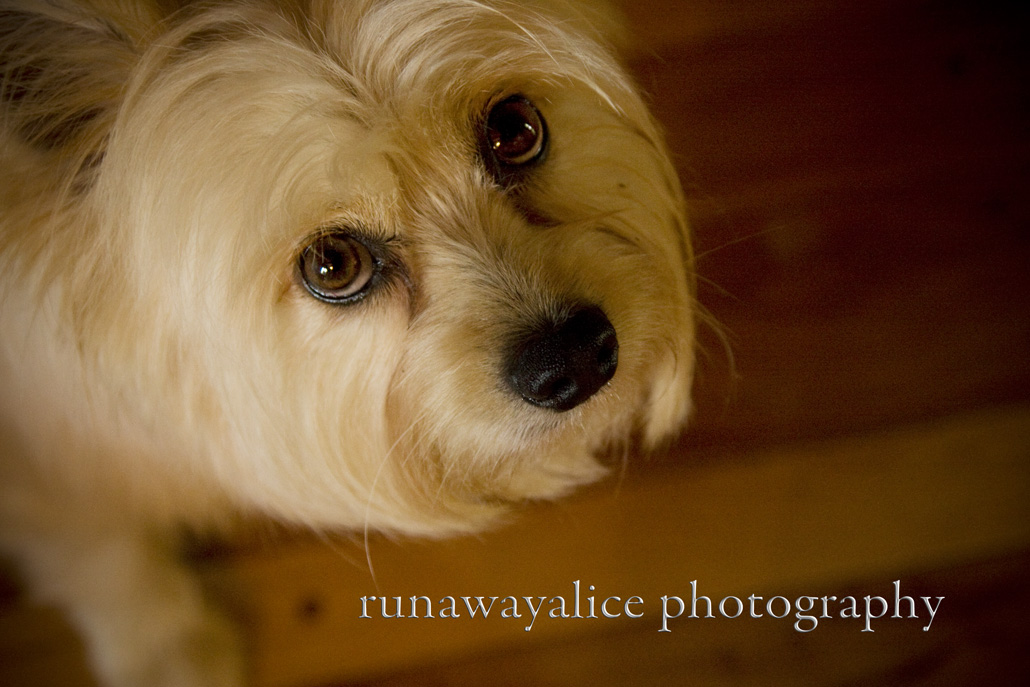
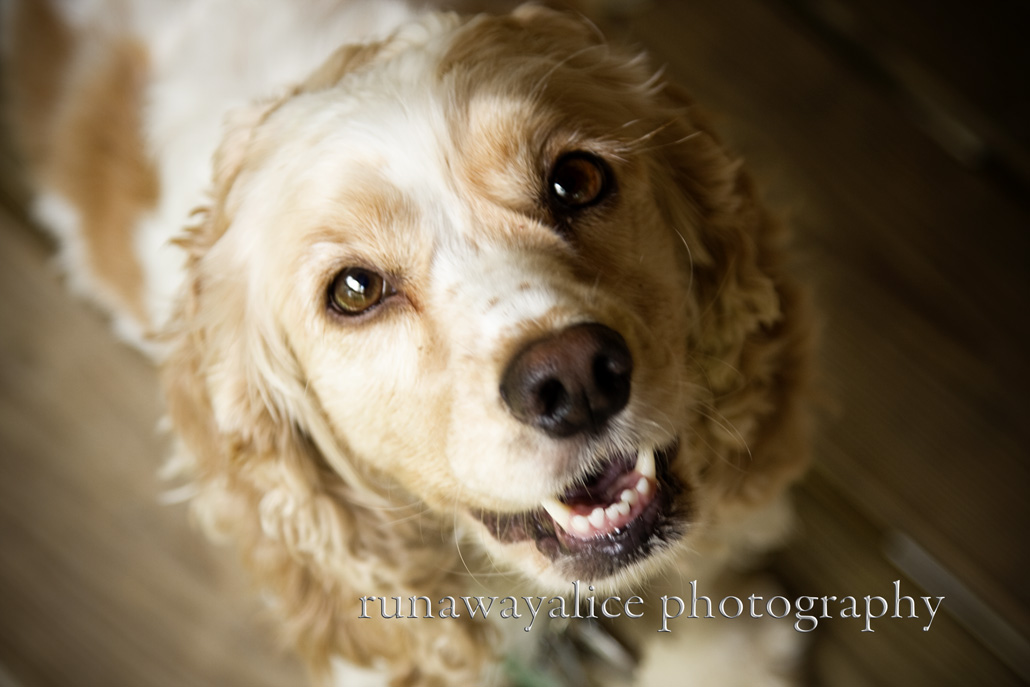
 Disturbing photo of Ms. Brisco. She wasn't too happy about being woken up to have her picture taken. But this is on the Tungsten (light bulb) setting, and you can see the colors are even.
 With the sunlight setting, you can see it's way too orange, and she's done with letting me take her picture.
 Finding a more willing subject, here is another example of with the sunlight setting indoors with a tungsten lamp, and then the correct setting.
 So there you go! You're on your way to getting great looking pictures. A few parting words before you go. If you have lots of different light sources, say you are inside, with a lamp but there's a big window beside your subject with natural light coming through, what should you do? You want to do what you can to make one light source the dominant source. So either choose a setting to shoot on, and edit later if you have editing software, or close the shades, so the Tungsten is your dominant, or turn off the lamp. You could also use a flash to try and blast out the other options. But just try and think of which setting is going to give you the most even colors.
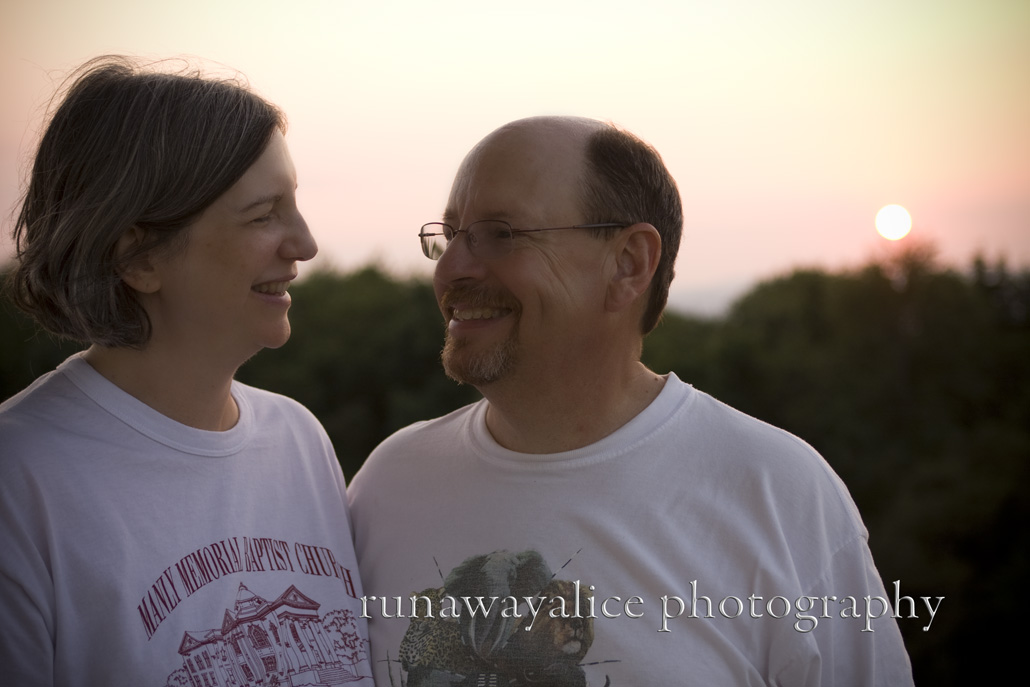
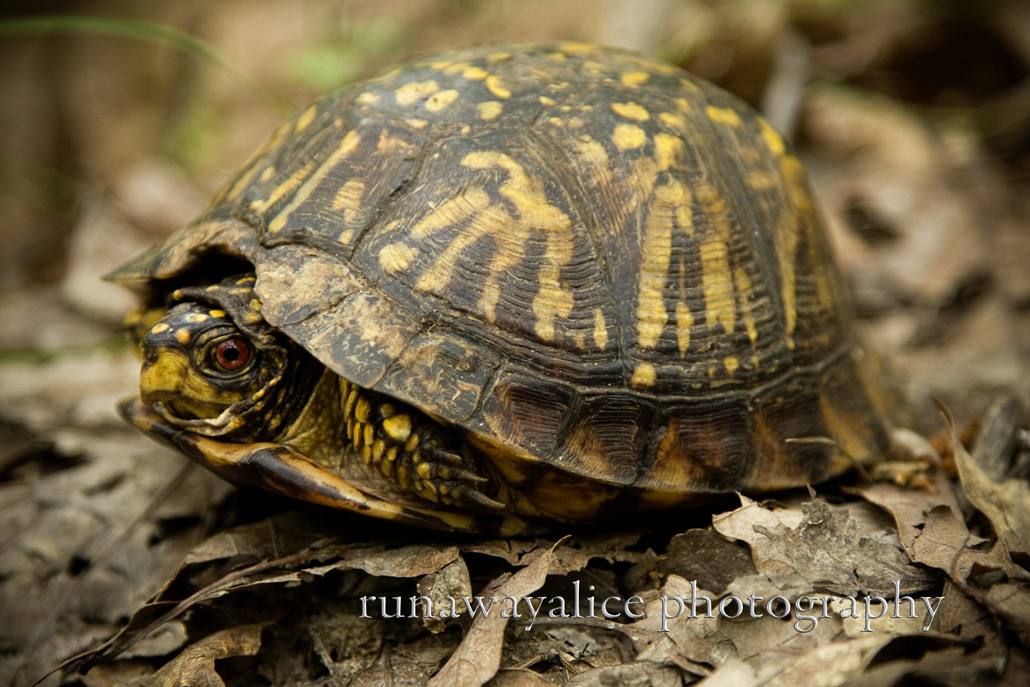
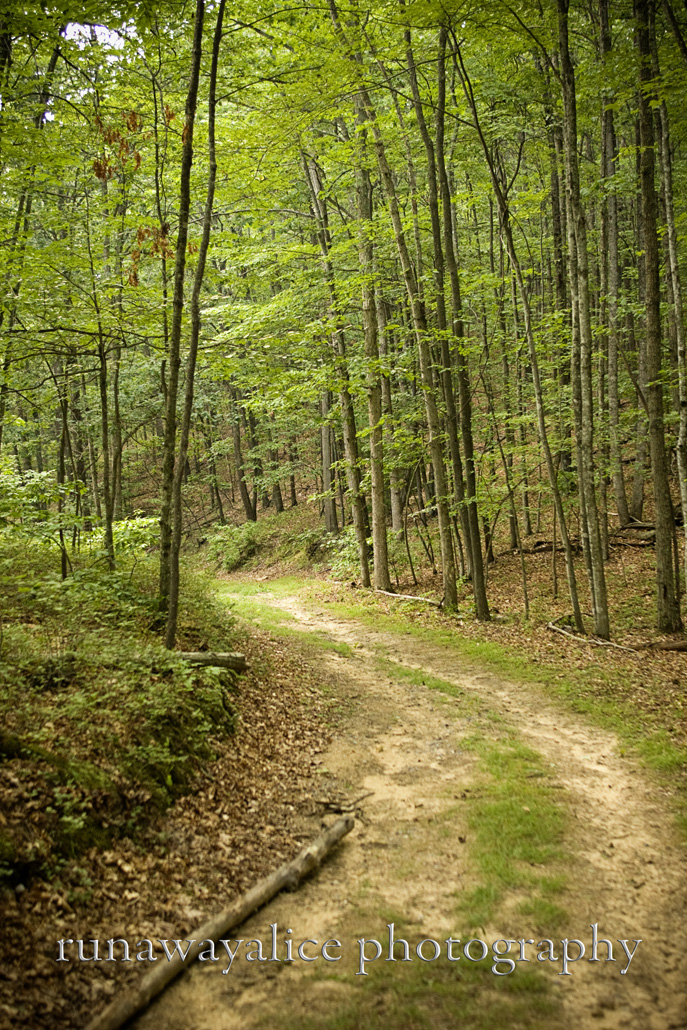
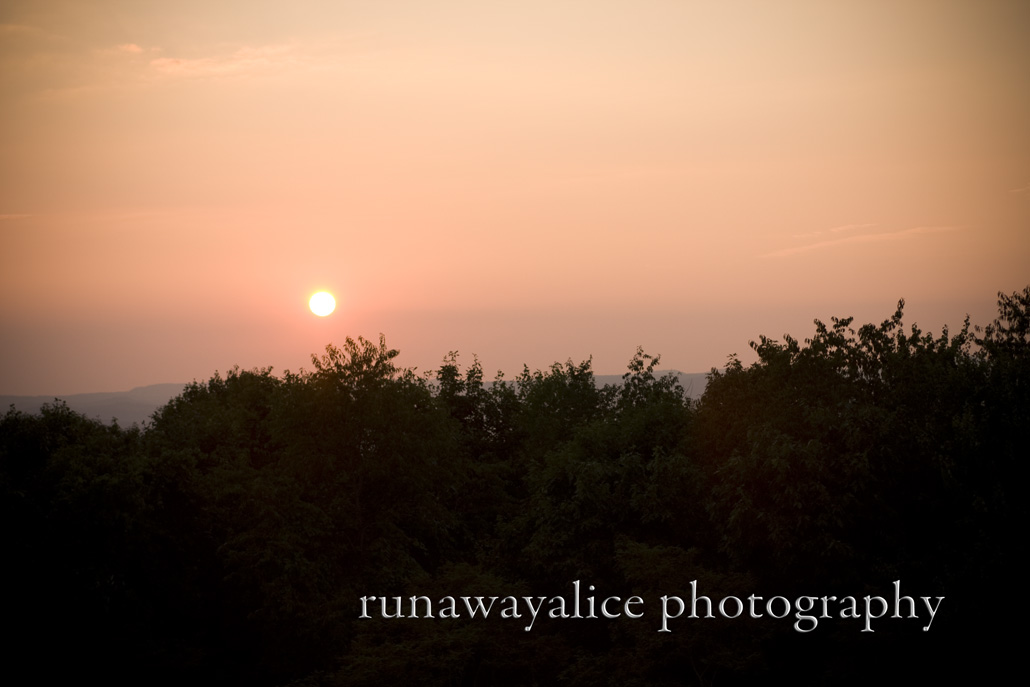
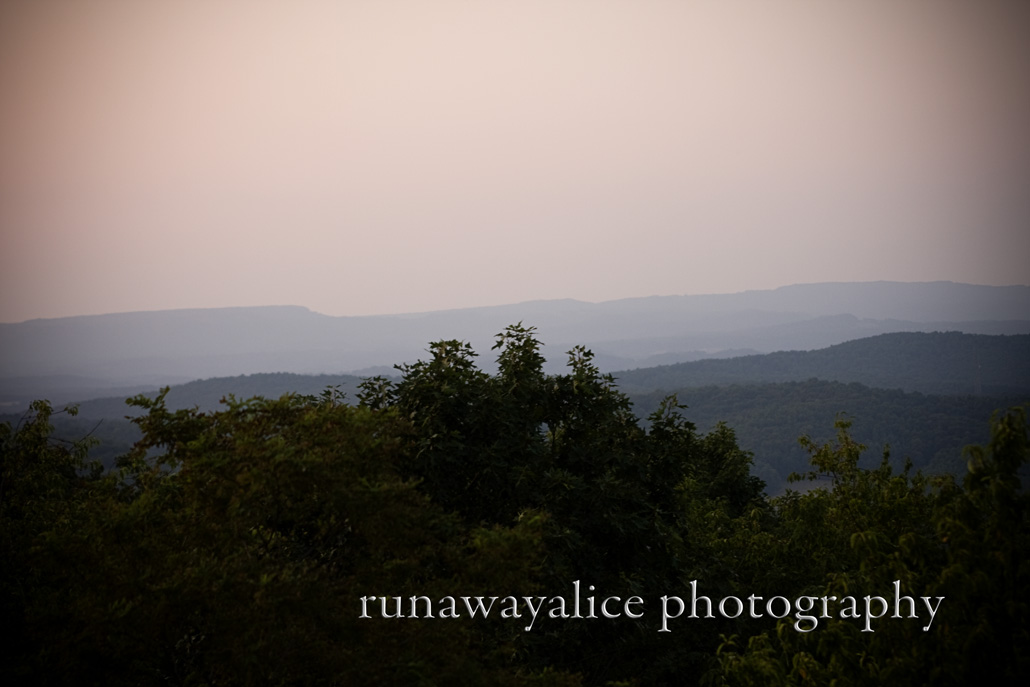
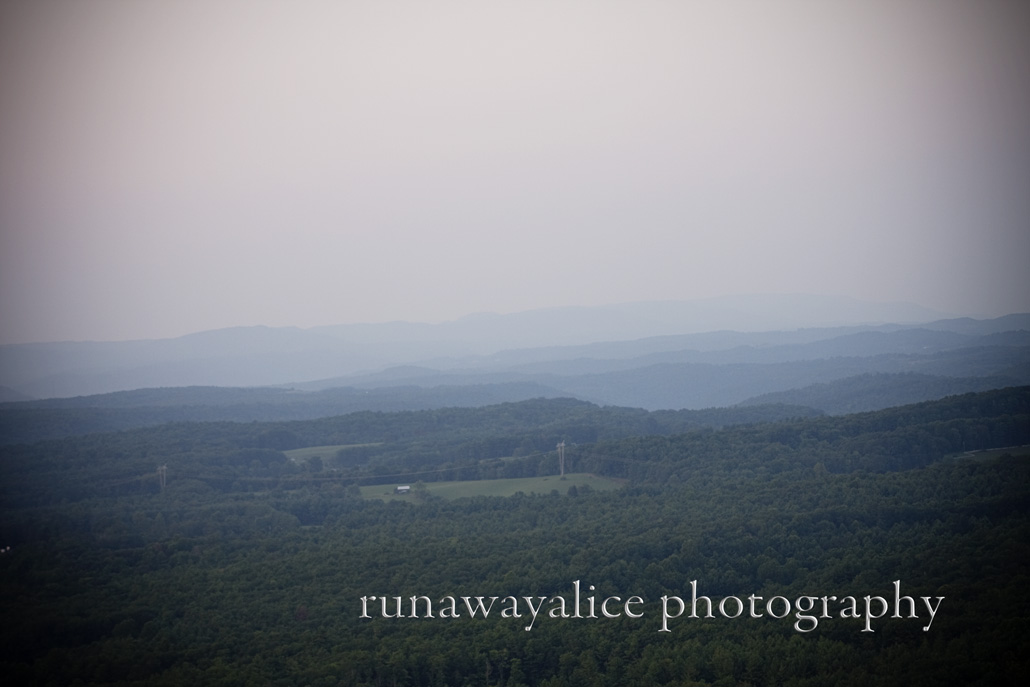
Also, color as always, is subject to opinion and taste. In other words, if you like a photo but it's on the wrong setting, no biggie! This is a creative art, and it's always fun to experiment. I like most of my nature shots as realistic as I can get color wise, but for people I like to have a little warmer tone. It's all about preference, so have fun!

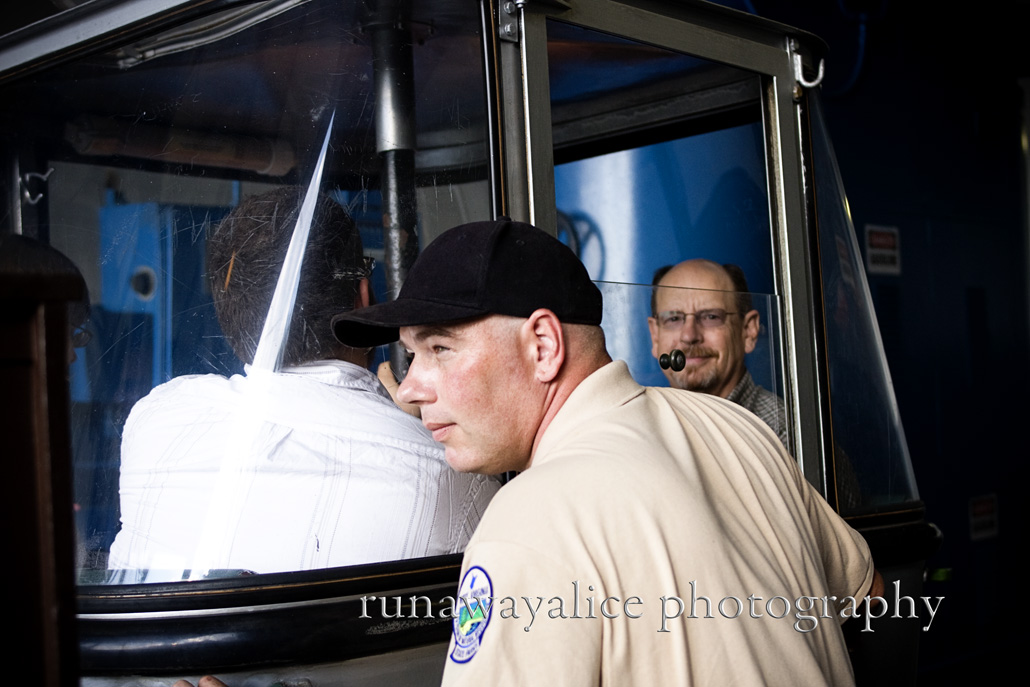
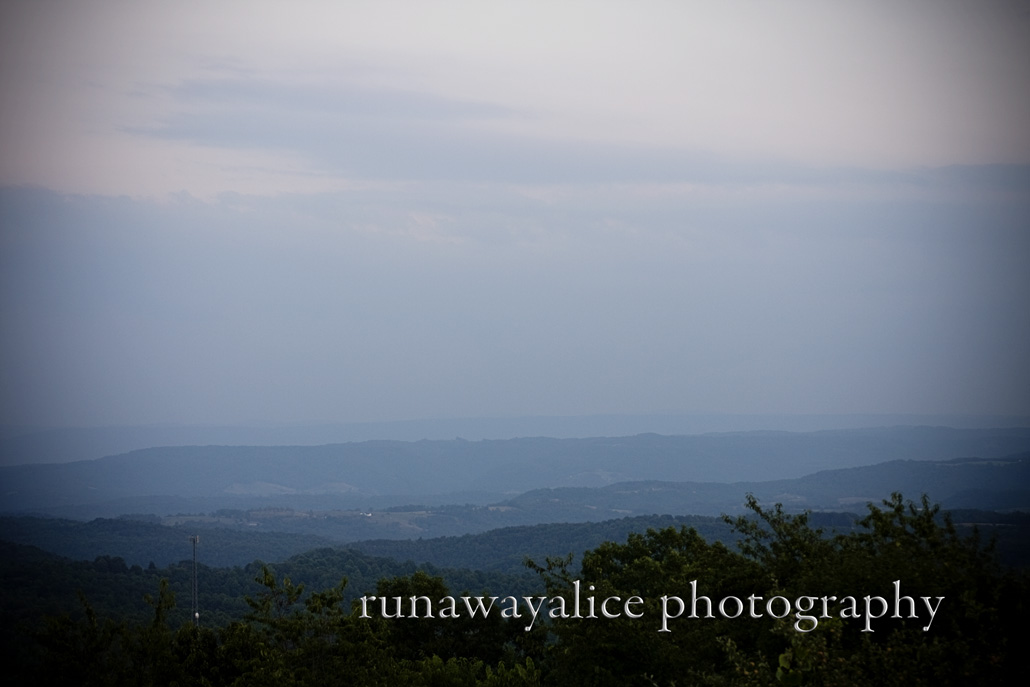
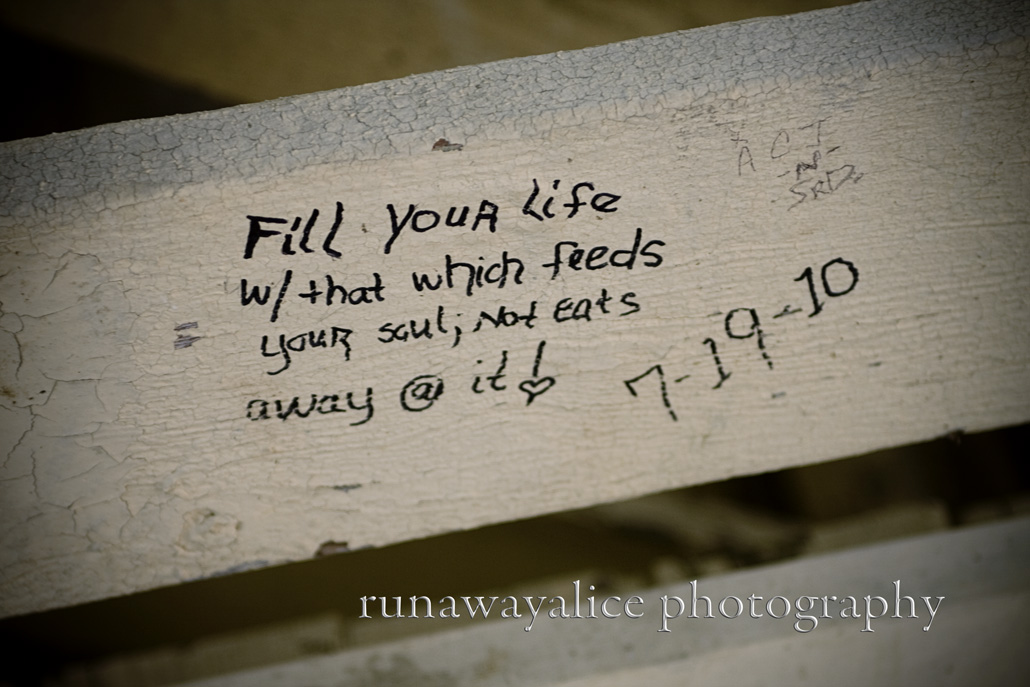
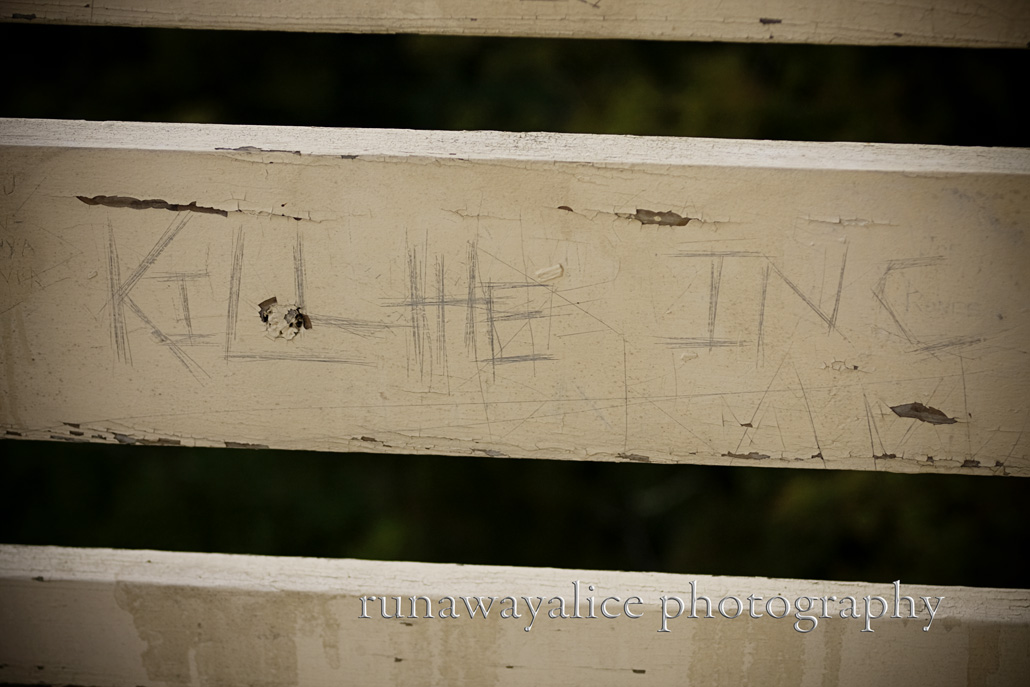
 A couple weekends ago, Speed Racer, Speed Racer's Dad, and I went on a little photo trip. We were all in the mood to get out of the house and take some pictures, despite the bitter cold. So we headed off and came across this cool factory. It was creepy, musty, and had huge holes in the floor. It would have been perfect for a horror film complete with scary scratching metal sound every time the wind blew.
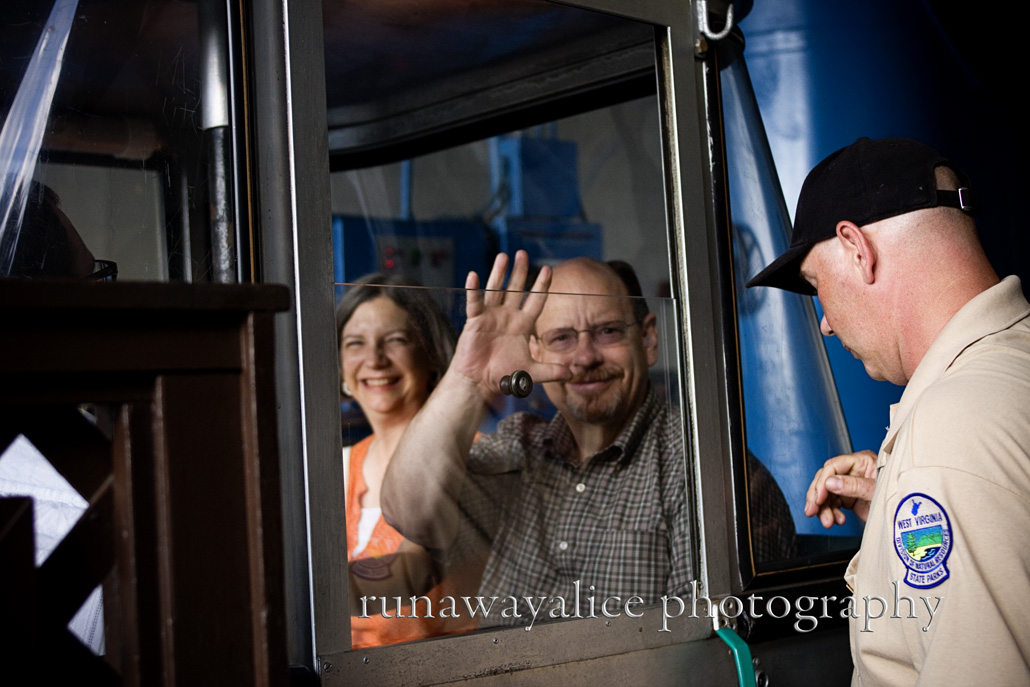
 Ironically none of brought our tripods. It was a sunny sunny day and we didn't think we'd be inside. So some of my pictures didn't turn out, but some were fun anyway. Also Speed Racer and I were sharing a camera, so some of these are his....and some I can't remember if they are mine or his. I should have known better, I mean camera 101, ALWAYS HAVE YOUR CAMERA. I got lured in because I love my husbands camera and it's one of those things, if I had brought mine, we would not have gone out. Such is life.


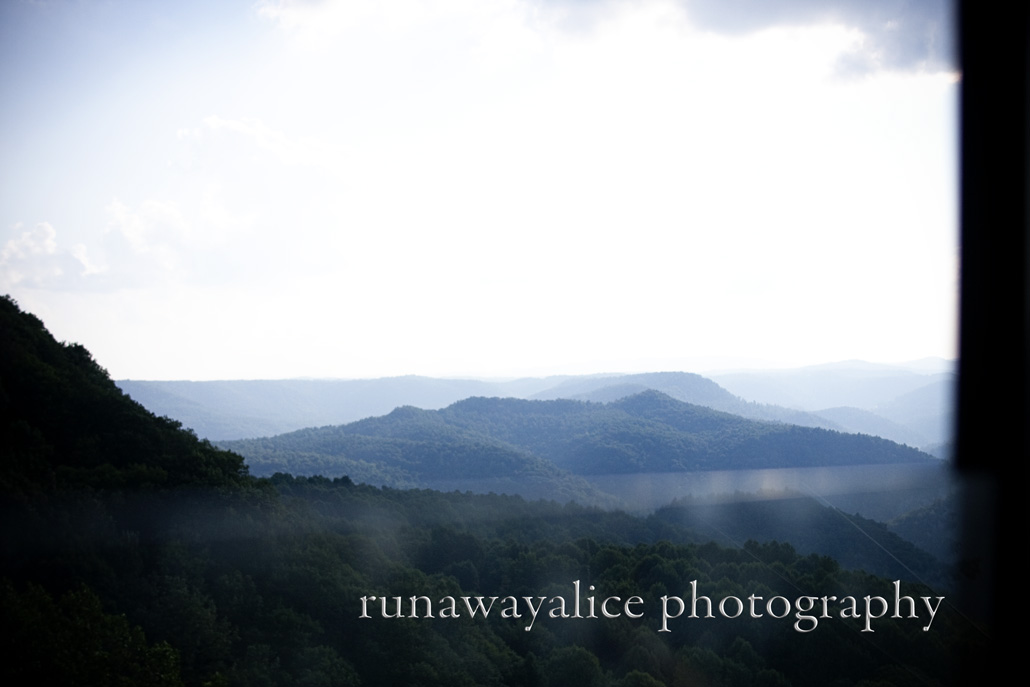
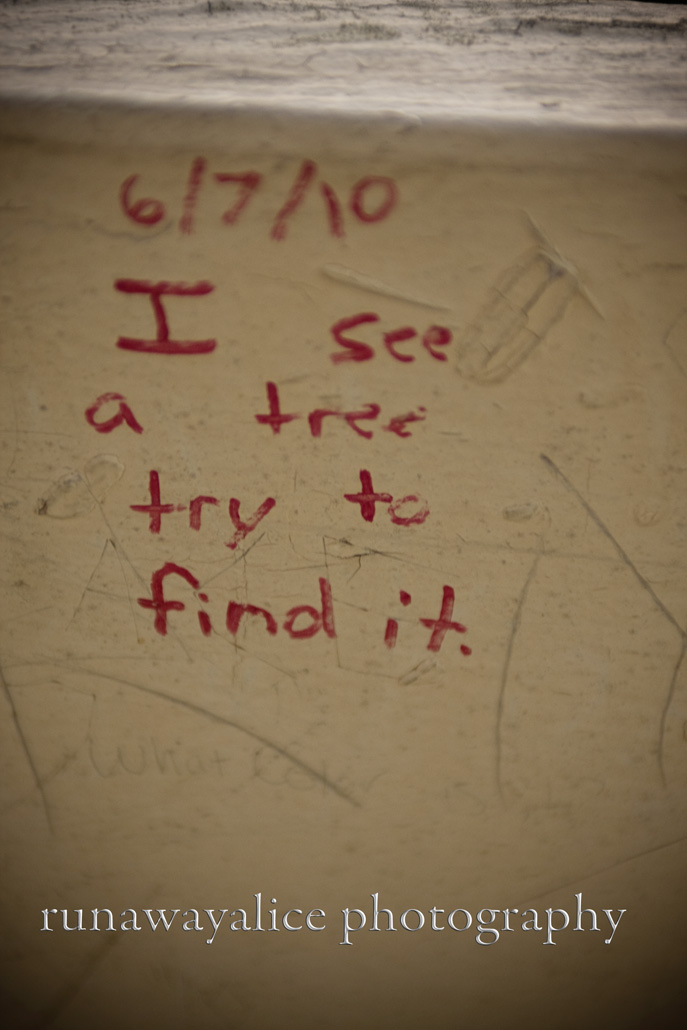
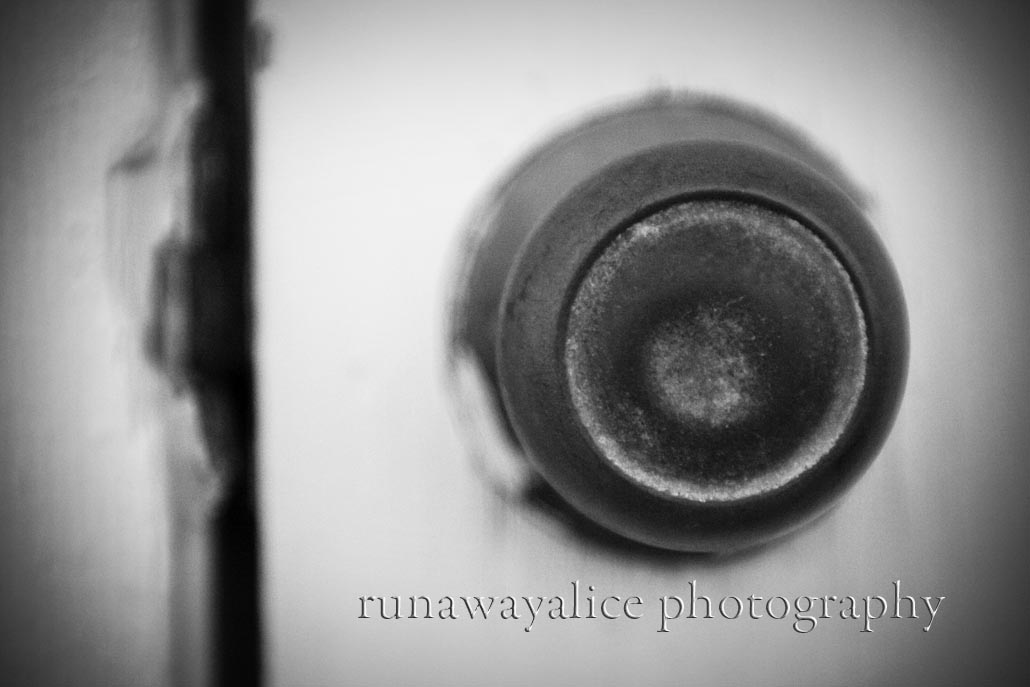
 This is one of Speed Racer's photos. Great detail of the glass pipes.
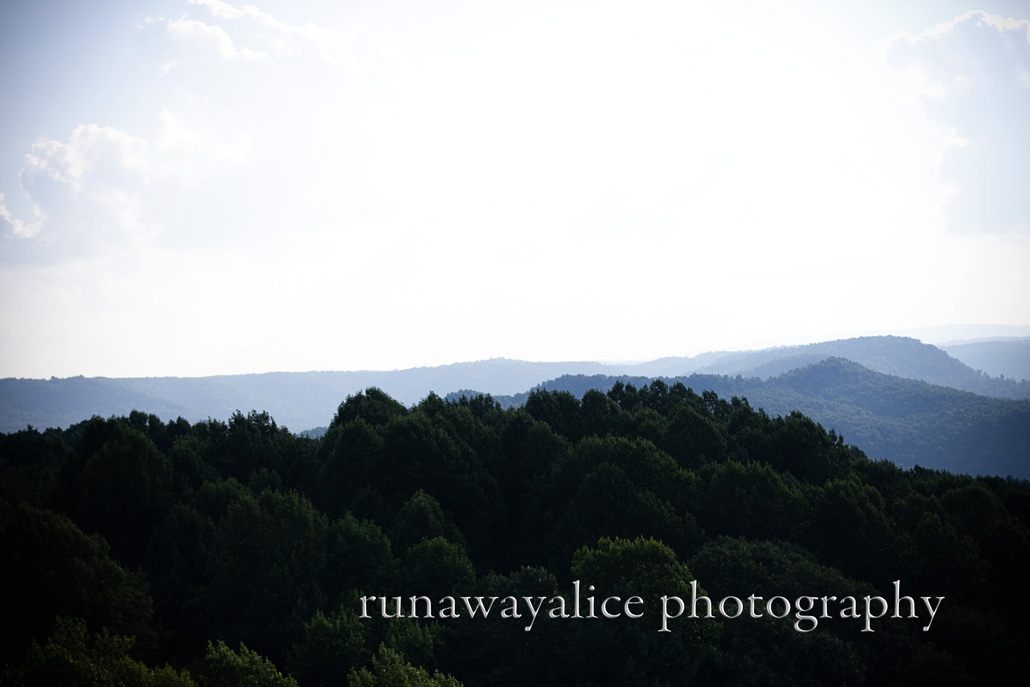
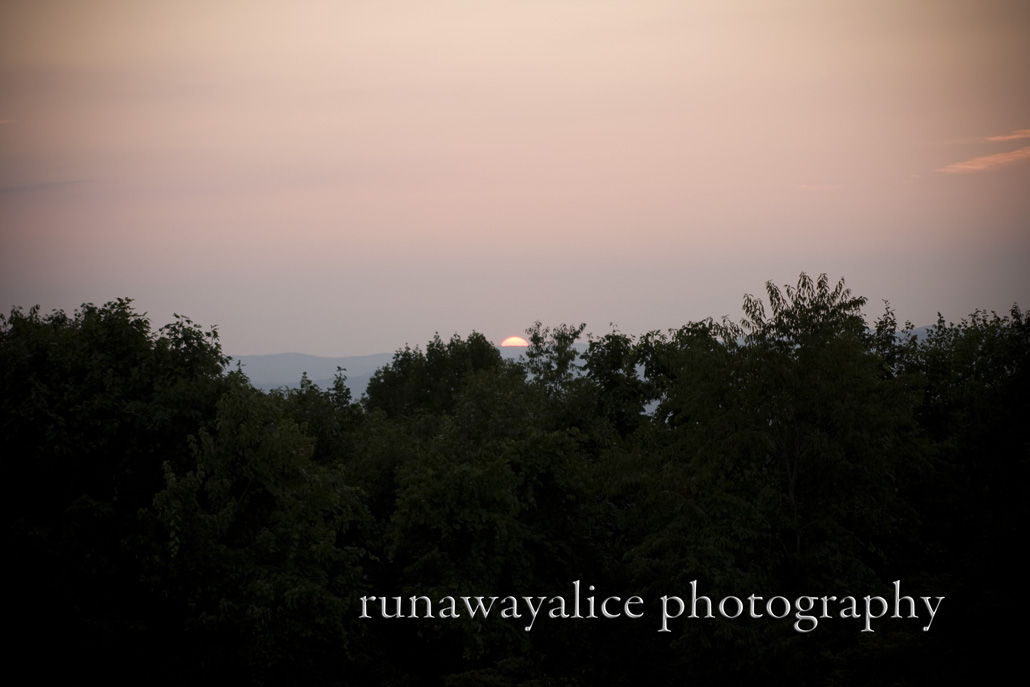
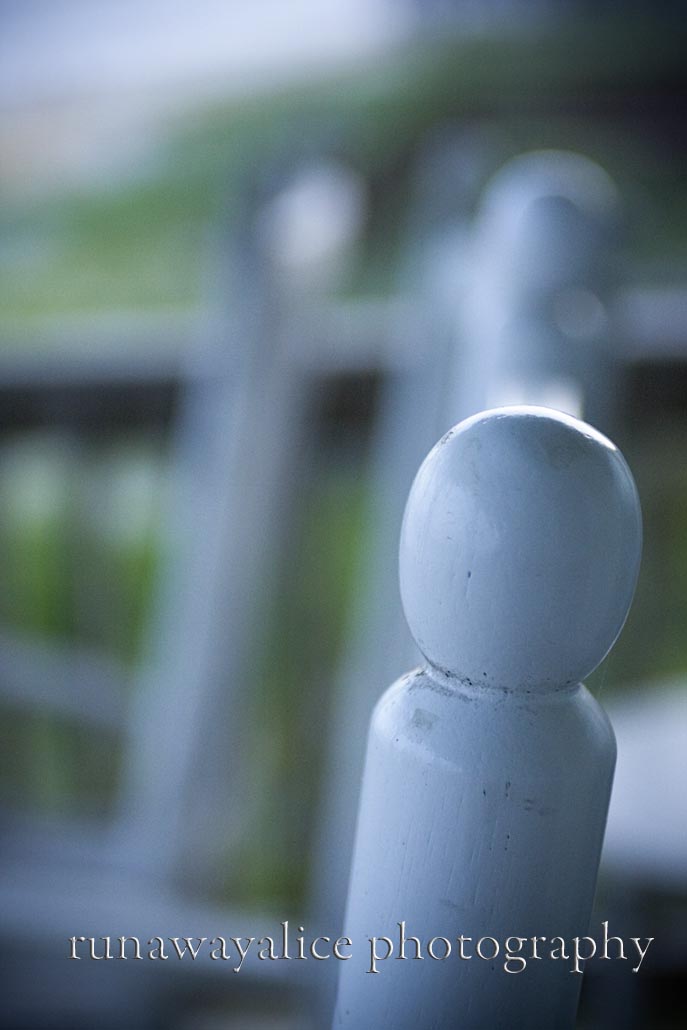
 Another of Speed Racer's and probably one of my favorites from the day! I just love it.
 I feel that I must end with a very important note from your sponsor. DO NOT DO THIS ALONE. For reals people, as a fellow photographer I understand taking risks to get fun, cool, new, exciting shots. However, as a former rescue squad volunteer, these shots are not worth your life. So let's roll over the basics. When shooting urban terrain whether it's at night or abandoned places, always have a buddy. Do you have your buddy? Second, always tell someone who is not with your buddy or your group where you are and around what time you will be back. I am very serious about this. It takes one false step to fall down a hole, break a leg, have no reception, and no one know where you are. So be responsible so that you can have fun and everyone else can enjoy your future photos too!